 PawStyle Daily
Pet Loss Memorial & Rainbow Bridge
DIY Pet Memorial Jewelry: Keepsakes You Can Wear
A memorial you can wear starts from what is already in the house: one photo, the curl of fur left in the brush, the collar tag, a felt box under the bed. This page walks two home methods, shrink plastic for a drawing and resin for a sealed portrait, then the hardware that turns either one into a pendant, the box it lives in, and the two lines to write on the card. Nothing here needs a purchase to be worth making.
By PawStyle Daily · Updated 18 November 2026
For informational purposes only, as a craft page for someone who is grieving · Materials named generically, nothing has to be bought · No prices, no urgency.
A keepsake is one form among many
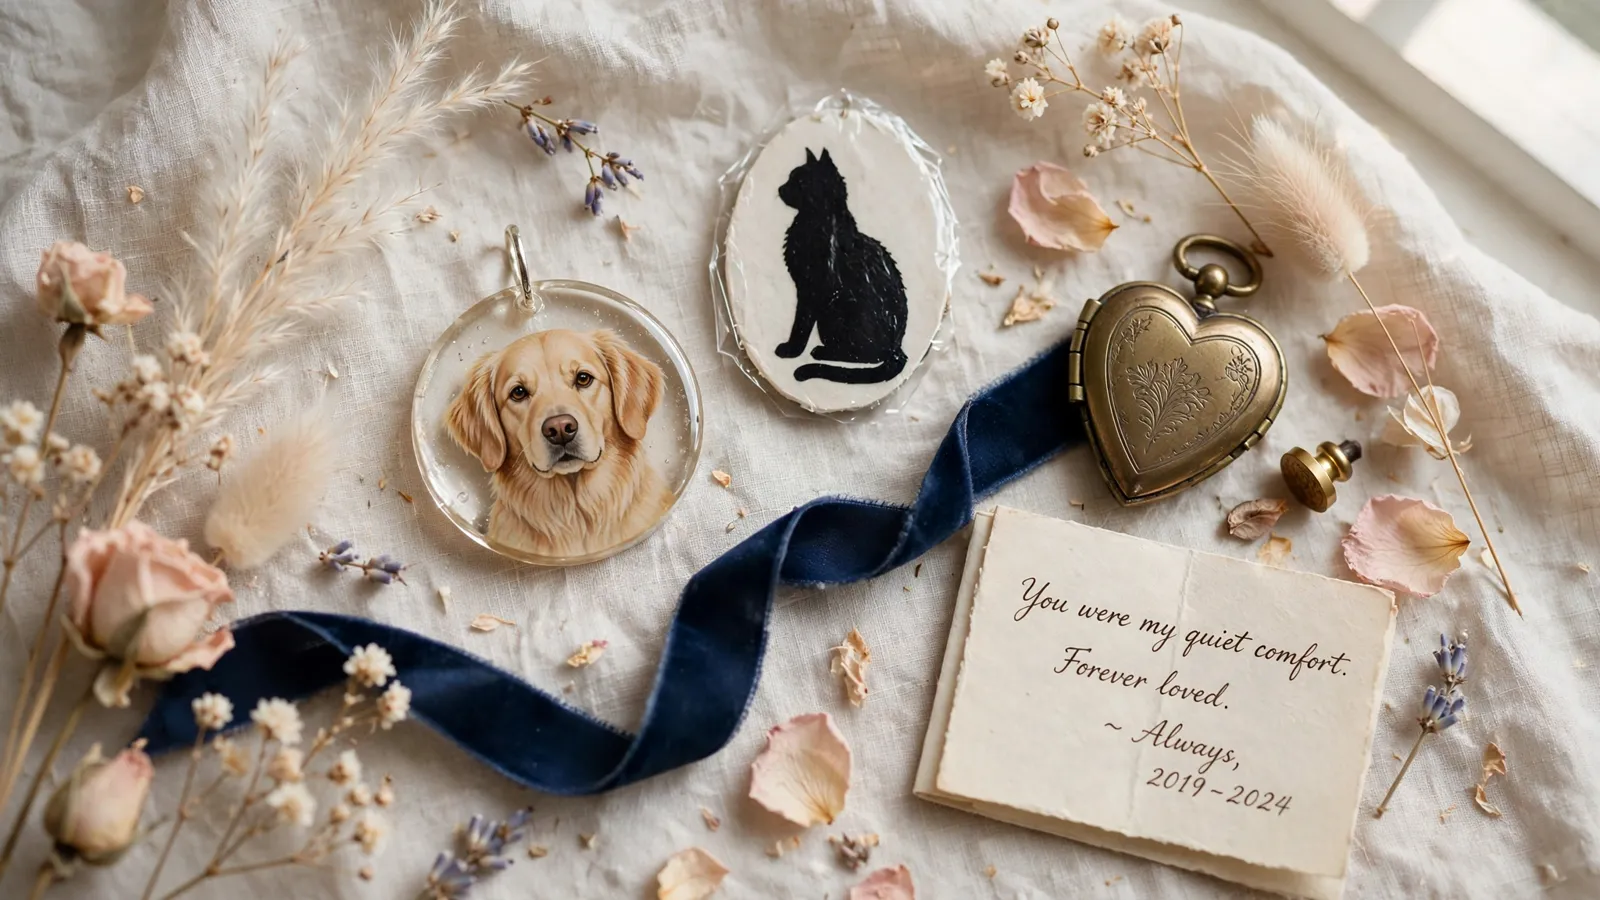
Memorializing a pet can include scattering ashes in a meaningful place, planting a tree or flowers, keeping an urn with a photo and collar, making a scrapbook, or writing a letter to the pet. A pendant is one line on that list rather than the correct line on it.
Pick the form that fits the person you are. If you are someone who wants nothing on a chain, the letter or the garden stone may be the whole thing, and that is a complete answer. Skipping a keepsake entirely is allowed too; the box will wait for you without an expiry date.
The frame and keepsake ideas page covers the shelf-bound corner of the same list, for the people who would rather not wear anything.
What you actually have on hand
Almost every wearable keepsake starts from one of these, and none of them needs a special gathering:
- A photo you already like: the clearest one on the phone, not the most polished one
- A curl of fur left in the brush, or a lock from the grooming table
- The collar tag, with the name still readable on it
- A paw print pressed in clay or in a corner of paper
- One strand from the blanket they slept on
Ashes are the one material you cannot simply find in the house. If the idea interests you, ask the funeral home what they return, what they keep and how they prefer to hand it over; their own answer is the one to build around. Gathering nothing today is also fine. The photo route below needs no permission from anyone.
Pick the photo first
A pendant is small, so the picture has to survive being small. Look for one clear eye line and a plain background: the shot where they lifted their head, not the wide one from the park where the whole family is in frame. Crop square, then pull the crop tight until the eyes and the nose fill it.
To enlarge a phone photo without turning it to mush, resist the zoom slider and print the original file instead. A print shop will enlarge and mount it on paper you can hold, which is the version worth sealing; a home printer is enough for the test sheet where you check the crop. If the picture is dark, nudge the brightness before printing rather than after, because ink cannot recover a shadow the file never had.
For a portrait that lives on a wall instead of a chain, the watercolor print guide covers the same photo at a size you can see from across the room.
Method one: shrink plastic
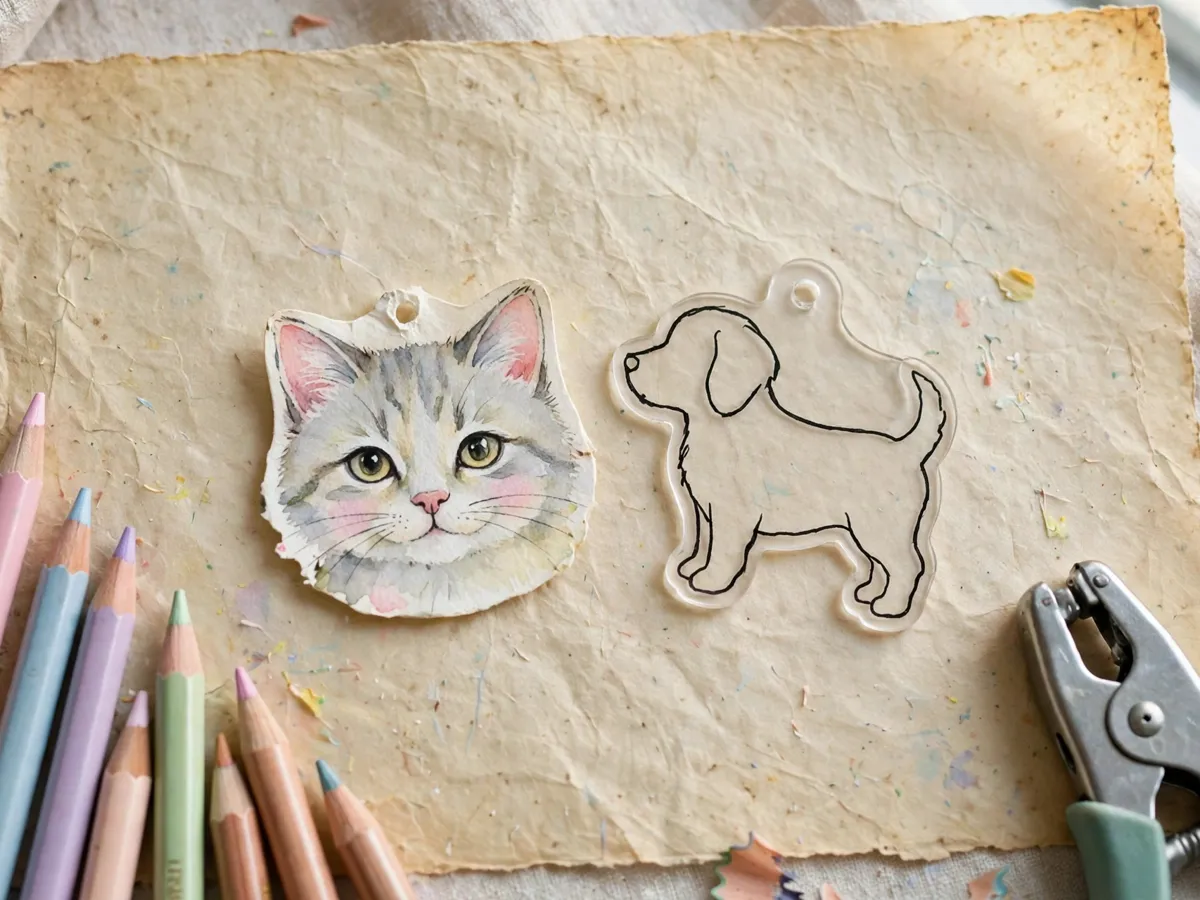
This is the forgiving method, the one for a wobbly afternoon, because the plastic shrinks and thickens as it bakes, so a loose drawing comes out of the oven looking deliberate.
- Trace the outline onto the frosted side of a shrink sheet, or print the photo small and trace around it. Leave a margin of plastic outside the drawing; the edge shrinks faster than the middle.
- Color it with pencils on the frosted side, pressing firm enough to leave real pigment. The color darkens as the sheet curls and shrinks, so a pale shading reads stronger at the end.
- Cut the shape out with a margin, then punch the hole with a single hole punch before it goes in the oven. After baking, the plastic is thick enough to split.
- Bake at the temperature and for the time printed on the package, and stay near the oven: the sheet pops up flat in the last moment, and pulling it early leaves a curled pendant.
- Press it flat under a heavy book while it is still warm, so it cools as one plane instead of a shallow bowl.
Tip: a top coat of the same clear resin used below, or a brush-on sealing glaze, keeps pencil colour from rubbing off at the edge.
Method two: resin and a sealed portrait
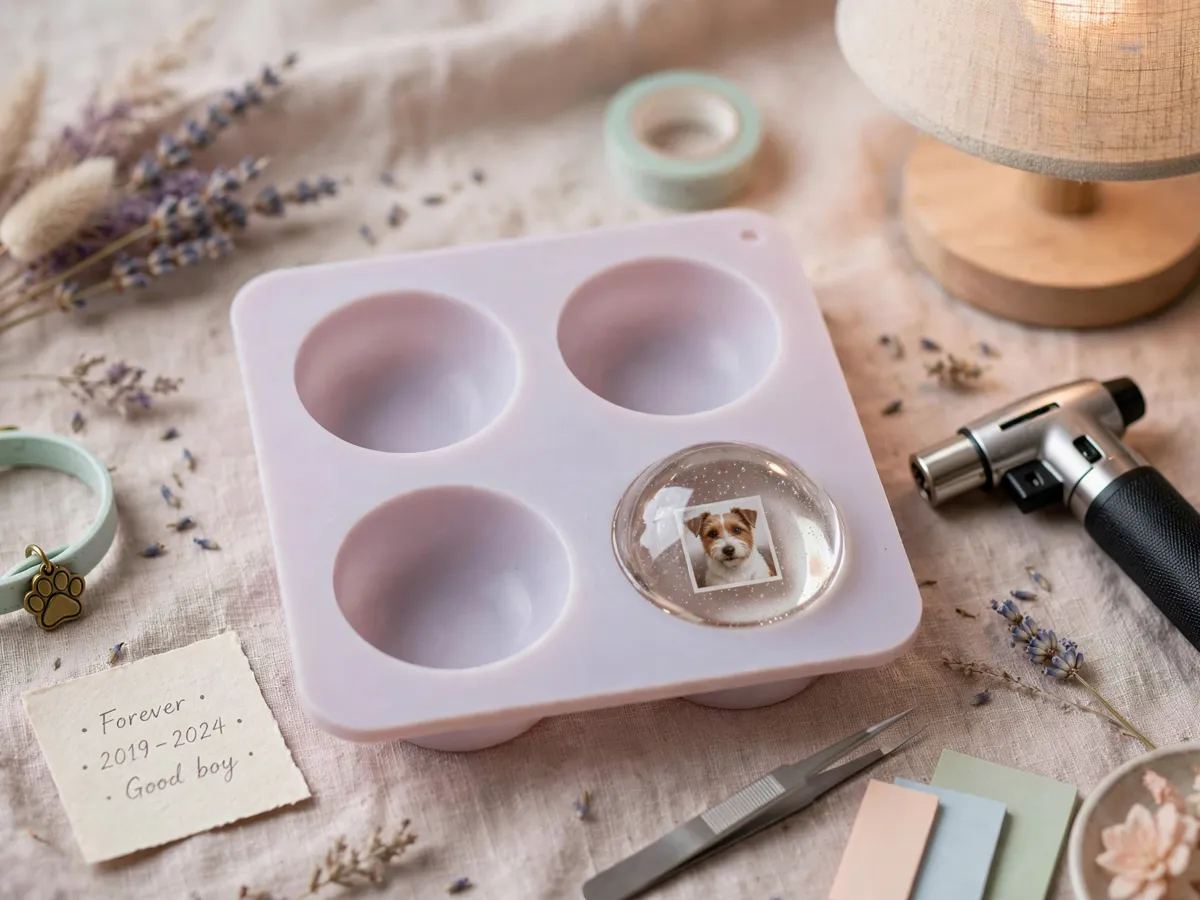
Resin is the method for a photograph, because it holds the picture under a clear dome that you can wipe. Trim the print so a hair of white is left outside the image, then seal the back of it with a thin coat first; bare paper drinks the pour and turns grey.
- Set the portrait in the mould face up, and hold it down while the first thin pour settles. A thick pour traps air under the print and the bubbles arrive later than the pour.
- Mix only what you can use in one sitting, at the ratio on the bottle, and stir slowly rather than briskly. Whipping air in is the fastest route to a dome full of tiny bubbles.
- Let it harden for the time on the package, until it is warm to the touch and hard when you turn the mould over. Rushing the demould leaves a soft, cloudy face.
- Finish the dome with a UV-resistant top coat in thin passes, which keeps a printed portrait from fading at the edges.
Work near an open window and keep the finished piece out of direct sun while it sets.
Some people seal a small keepsake of ashes in the dome with the portrait. It is a choice, not the intended use of the method, and the funeral home’s own guidance is what to follow about what you may take and how it is handed over. Nothing about this page asks you to, and a dome with only a photo in it is the same kind of keepsake.
The hardware
The pendant is the hard part; the hardware is a trip to the craft drawer. A jump ring closes the hole you punched and hangs from anything, while a bail glues to the top of a resin charm and reads like a bought piece. For a necklace that goes on and off every day, a clasp is worth the small fiddle, because rings opened and closed by hand wear oval and eventually let go.
- Chain reads cooler and lasts; a leather cord is softer on the neck and quieter against a shirt
- The ring is the first thing to wear at the contact point, so a slightly thicker one outlives a fine one on a daily pendant
- A low-neckline day, a pendant on a bracelet instead: the same jump ring, a shorter chain, two links through
- Keep the spare ring and a length of chain in the same box, so the pendant is never stranded by one lost loop
Wear it, or keep it in a box
Not every pendant goes on a neck. Some stay on a hook by the front door and get touched on the way out; some go into a journal beside the letter and come out on the harder months; some are made by a friend and handed over at a service, then returned.
It can help to memorialize a pet in a way that includes others who cared about them, and friends and family can form a support network. One pendant passing hand to hand for the day of a service is a small version of that, and so is a second print tucked into a friend’s bag.
If the keepsake is for a child in the house who is also grieving, the page on telling a child a pet has died covers what to say before anyone starts making things.
Boxing it as a gift
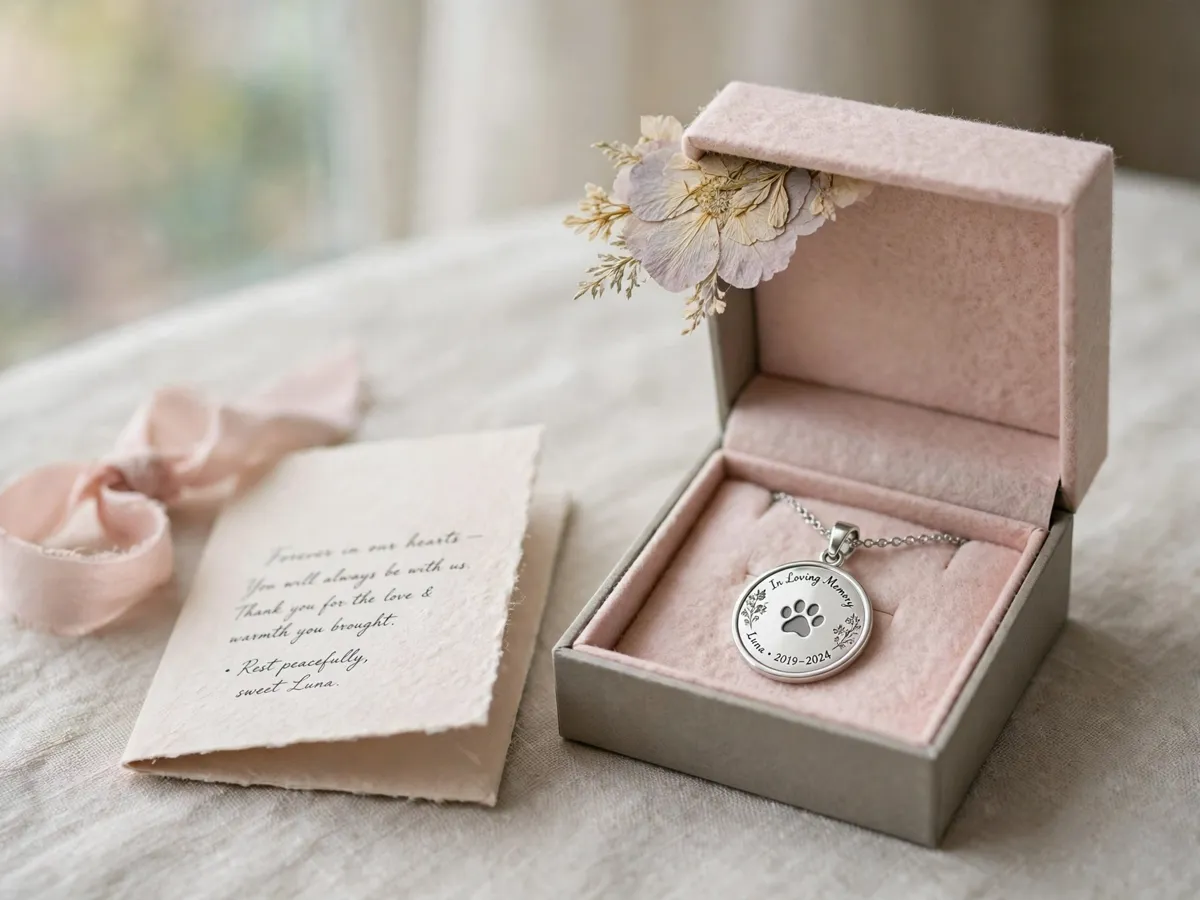
A felt-lined box, a square of tissue under the lid, and one pressed flower laid beside the pendant is the whole presentation. The box matters more than the ribbon: it is what the person keeps, and the pendant will live in it between wearings.
Then the card. Two lines that do not ask the person to be strong, that name the pet, and that say what you remember: the greeting at the door, the sunbeam, the sound of the collar. Hand-written beats anything printed, and the card is the part people keep longer than the object. The sympathy card wording page has lines for the people who freeze at a blank card.
Materials and what each one is for
Generic names only, because every shelf carries a different label:
Both methods, side by side
| Material | What it holds | What to watch for |
|---|---|---|
| Shrink sheet | A traced drawing, or a small print glued on | Colour on the frosted side; the glossy side stays pale |
| Coloured pencils | The pigment that survives shrinking | Pens and ink run when the sheet curls in the heat |
| Single hole punch | The loop the jump ring passes through | Punch before the oven, never after it cools |
| Clear resin | A sealed portrait under a hard dome | A thin pour, mixed at the ratio on the bottle |
| UV-resistant top coat | The face of the dome, and the pencil under it | Thin passes; a heavy coat stays tacky |
| Jump ring and bail | The pendant on the chain | The ring wears first, so carry a spare |
| Felt-lined box | The pendant between wearings | Out of the window, where sun fades a print |
Nothing on this list needs a brand, and most of it is already in a drawer or a hardware shelf.
Common failures and the fix
- Cloudy resin. Moisture in the print or air whipped into the mix. Seal the back first, stir slowly, and pour thin.
- A curled pendant. Pulled from the oven while still lifting. Press it flat under a book while warm and it cools as one plane.
- A hole that shrank shut. Punched after baking. Re-punch with a sharp awl from the frosted side, gently.
- Ink that ran. Ballpoint on a shrink sheet. Pencils only, and layer them rather than press harder.
- A portrait too dark to read. The crop, not the print. Pull it tighter on the eye line and brighten the file before printing, not after.
Questions people ask before making a wearable keepsake
Is it okay to make something from ashes?
It is a choice, and only yours to make. The funeral home's own guidance is the one to follow on what they can return and what they keep, so ask them before you plan the dome. Plenty of people make a pendant from a photo alone and never touch ashes at all, and that is the same keepsake by another route.
Can I make one from only a photo?
Yes, and it is the easiest start. A printed photo trimmed small, sealed, and set under a dome or on a shrink sheet needs nothing but the picture you already have. The fur, the tag and the print can wait for a day you feel like gathering them.
What if I cannot face making it yet?
Then do not make it. Buying nothing and making nothing is a complete answer, and the photo will sit in the album until a day when an evening at the table sounds right. A pendant made in a rush usually goes back in the drawer; one made on a steady afternoon tends to stay on the hook by the door.
Can a friend make one for me when I cannot?
Yes, and this is common. Send the photo, the name and one line about what you want on the card, then let them choose the method. The card carries more than the object does, so write it yourself even if the pendant is theirs.
How do I store it when I am not wearing it?
A dry box with a felt liner, kept out of the window where the sun lands. Sunlight fades a printed portrait faster than handling does, and the felt keeps the dome from knocking against the box wall. Between wearings, the box on the shelf is a fine home.
Gentle notes
- Make one pendant, or none; a skipped page is not a skipped grief
- Nothing here has to be bought, and nothing here is required
- Wobbly lines and a blurry print are part of the honesty
- Private grief is valid; a keepsake can stay in a box, unseen
- For comfort only, and a sadness that blocks daily life deserves real support
Save these on Pinterest
Pin this for the evening the drawer is open, or send it quietly to someone who is carrying one. The free rainbow bridge keepsake journal gives the letter a place to live, and the pet loss collection holds the gentler pages for the days a craft is too much.
The images on this page are AI-made illustrations, hand-checked before publishing.