 PawStyle Daily
DIY Cat Tree & Pet Crafts
DIY Wall Scratcher With Sisal Rope for Cats
A wall scratcher is the one piece of cat furniture a small apartment can fit without giving up a corner. A board, a coil of sisal rope, and a couple of wall anchors turn a blank stretch of wall into the spot a cat reaches for instead of the sofa arm. The build takes an afternoon, the materials cost less than a single store-bought post, and the placement is the part that decides whether it gets used or ignored.
By PawStyle Daily · Updated 19 November 2026
Good to know: one afternoon · a board, sisal rope and wall anchors · mount beside the sofa or a nap spot.
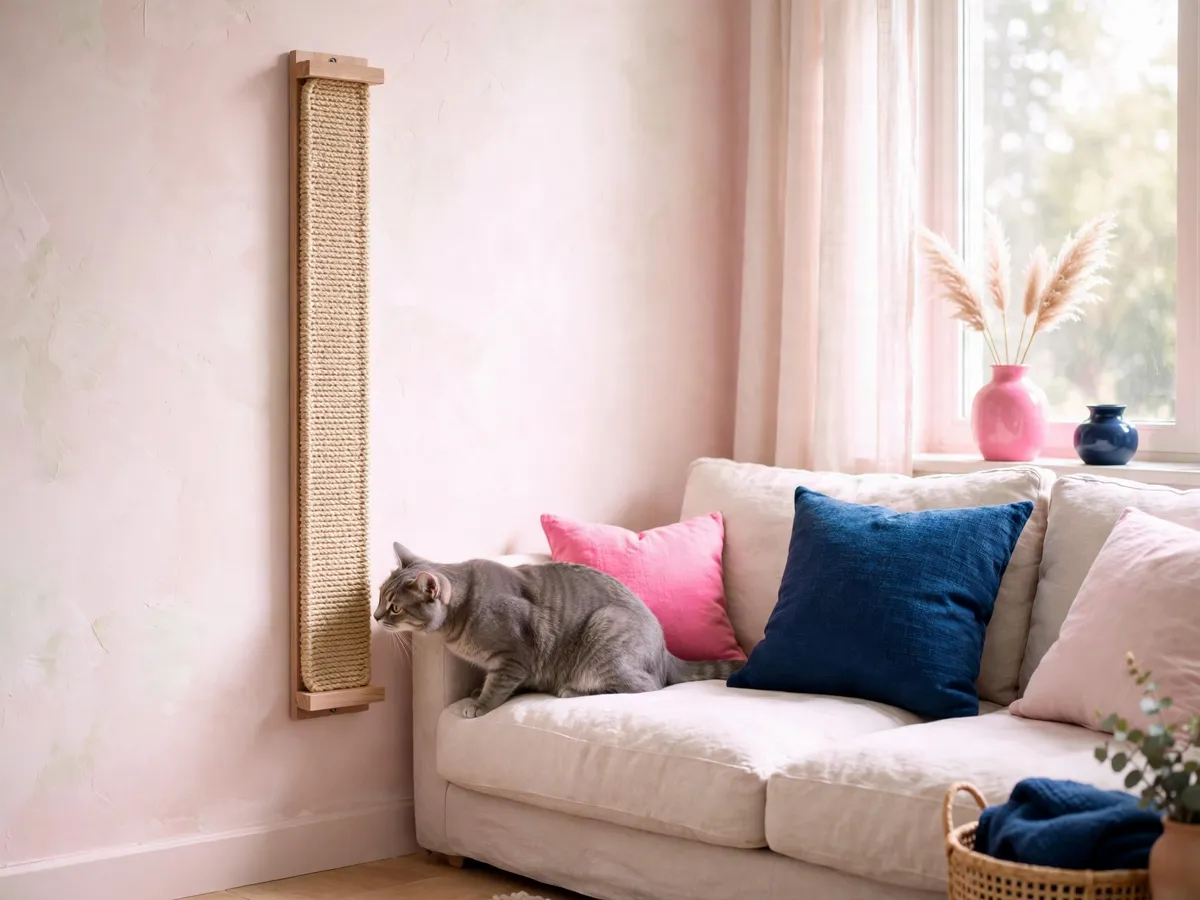
Why a wall scratcher earns its wall space
A floor scratcher takes up square footage a small apartment does not have, and a cat tree is a big piece of furniture for one job. A wall scratcher does the same work from a surface the room was not using, and it mounts at the height a cat reaches when it stretches up, which is the motion the board is built for.
The build on this page is a vertical board wrapped in natural sisal rope, mounted to the wall with anchors that hold steady when a cat pulls down. The rope gives the claws something to catch, the board gives the rope a frame, and the wall gives the board a home. For the wider shelf and gallery side of the same wall, our cat wall shelves cover the rest of the run.
The materials, measured
The whole build is four pieces: a board, a coil of sisal rope, two wall anchors, and a handful of screws. The board is the frame, the rope is the surface, the anchors are the hold, and the screws keep the rope ends tidy. Pick each one for the job it does rather than for the price, because a scratcher that wobbles is a scratcher a cat walks past.
Materials for a sisal wall scratcher
| Material | What it is for | What to look for |
|---|---|---|
| Board | The frame the rope wraps around | Solid pine or plywood, 1 inch thick, sanded smooth |
| Sisal rope | The surface the claws catch on | Natural, untreated, 5/16 inch gauge, 50 feet or more |
| Wall anchors | Holding the board to the wall | Heavy-duty anchors rated for the board weight, or studs |
| Screws | Tacking the rope ends to the board | Flat-head wood screws, short enough not to poke through |
| Stud finder | Finding the solid anchor behind the drywall | Any battery stud finder, or a strong magnet |
The board width sets the scratch area. A board 10 inches wide and 24 inches tall fits most apartments and most cats.
The stud finder step
The stud finder is the step that decides whether the scratcher holds or wobbles. A cat pulling down on a board puts real load on the wall, and drywall alone is not built for that load. Run the stud finder along the wall at the height the board will sit, and mark the stud edges with a pencil so the anchors land in solid wood rather than in plaster.
If the wall has a stud where the board sits, a single screw into the stud at each end is enough. If the board sits between studs, use heavy-duty wall anchors rated for the board weight, and set two anchors at the top and two at the bottom so the load spreads across four points rather than two. The scratcher needs to hold steady when the cat pulls down, and a board that shifts under a paw is a board the cat stops trusting.
The wrap tension
The wrap is the part that looks easy and is not. Start the rope at the bottom of the board, tack the end with a screw, and wind the coil up the board in tight, even rows. The tension is the whole trick: each row sits flush against the row below it, with no gap for a claw to slide between, and the rope stays firm enough that a cat pulling down does not pull the wrap loose.
Keep the rope taut as you wind. A loose row creates a soft spot the claws dig through instead of catching on, and a soft spot is where the rope frays first. Tack the top end with a second screw when the board is covered, and trim the tail so nothing dangles. The finished surface is a wall of tight, natural rope that gives the claws a clean catch on every pull.
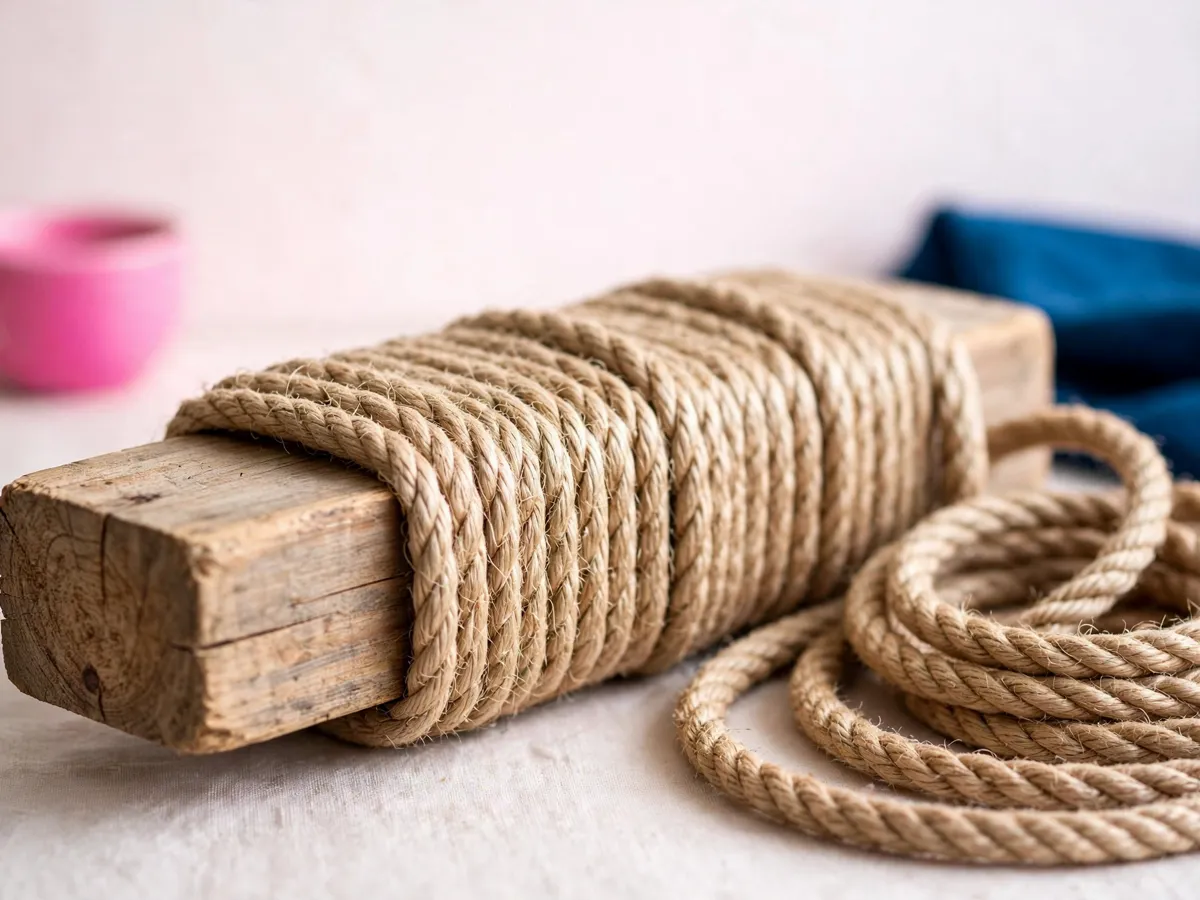
Mount the board to the wall
Hold the wrapped board against the wall at the marked height, and check it with a level before any screw goes in. A board that sits crooked is a board the cat notices, and the eye notices it every time it walks past the sofa. Set the level on top of the board, adjust until the bubble sits centered, and mark the screw holes through the board into the wall.
Drill the pilot holes at the marks, set the anchors if the wall needs them, and drive the screws through the board into the wall. Two screws at the top and two at the bottom hold the board steady under the pull, and a board that does not move is a board the cat comes back to. Give the board a firm tug with both hands before the cat gets a turn, because a build that holds under your hands is a build that holds under a paw.
Placement by the sofa
Placement does the work on a wall scratcher. A board mounted in a hallway the cat never walks down is a board that gathers dust. A board mounted beside the sofa, where the cat already stretches after a nap, is a board that gets used on the first day. The scratcher goes where the cat already reaches, not where the wall happens to be empty.
The sofa arm is the classic spot, because a cat that stands up from a nap reaches for the nearest vertical surface. Mount the board so the bottom sits at the height of the sofa arm, and the cat steps from the arm to the rope in one motion. The board lives where the nap was, so the stretch and the scratch are the same move. For the wider room plan, our scratching post placement guide covers the floor-post side of the same room.
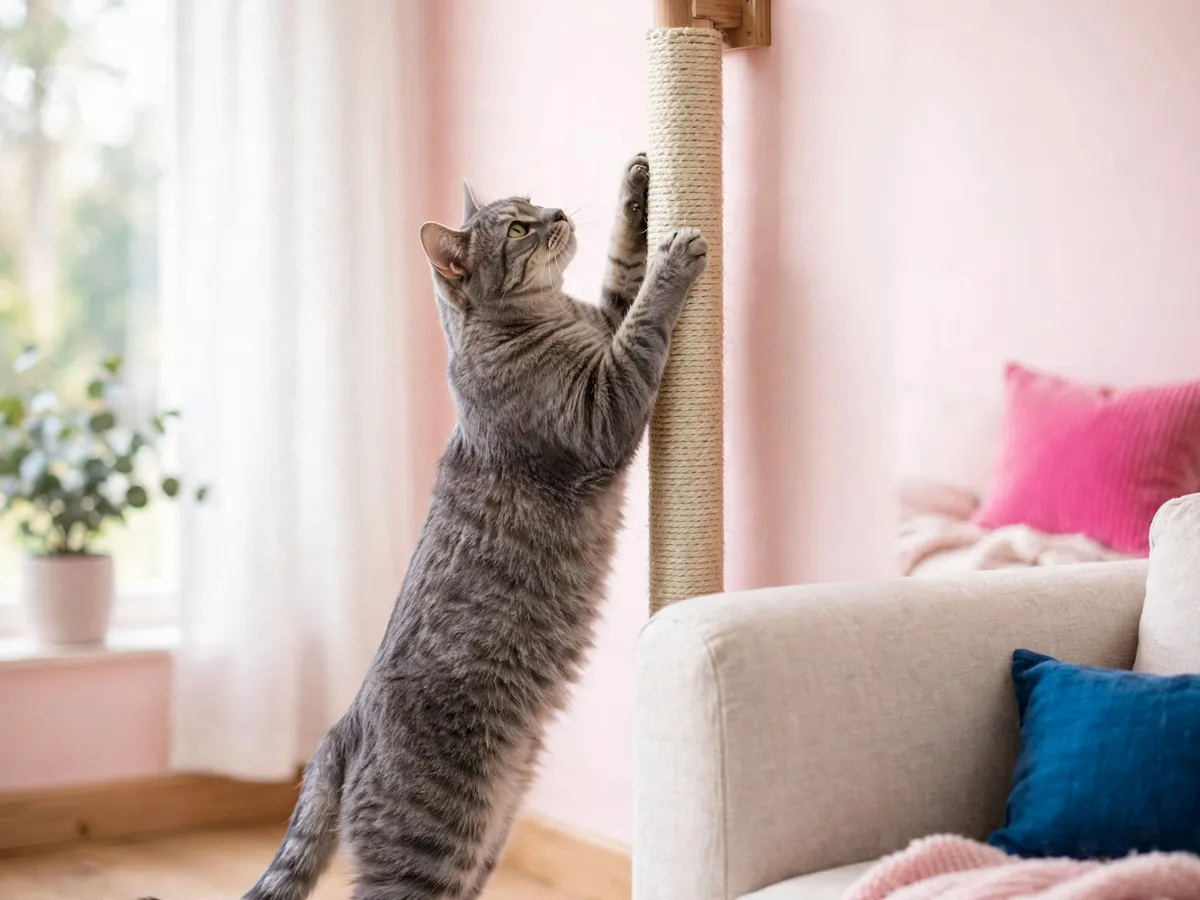
The near-the-nap-spot rule
The near-the-nap-spot rule is the one that decides whether the build earns its wall space. A cat stretches when it wakes, and the surface it reaches for is the surface it scratches. The scratcher goes near the nap spot the cat already uses, whether that is the sofa, a chair, or a window perch, so the stretch and the scratch land on the rope instead of the furniture.
A second scratcher near a second nap spot covers the other end of the apartment, because a cat does not walk across the room to scratch when a sofa arm is closer. Two boards, two nap spots, and the furniture stays whole. For the corner that holds the nap spot itself, our small apartment cat corner guide ties the scratcher, the perch and the shelf into one setup.
Questions we get about sisal wall scratchers
Will my cat actually use a wall scratcher?
Placement does the work. Mount it beside the sofa or near a nap spot the cat already uses, and most cats will try it within a day or two.
What rope should I use?
Natural sisal rope is the standard. Avoid treated or oiled rope. The weave gives the claws something to catch without shredding.
How do I mount it without damaging the wall?
Use a stud finder and anchor into the stud, or use heavy-duty wall anchors rated for the board weight. The scratcher needs to hold steady when the cat pulls down.
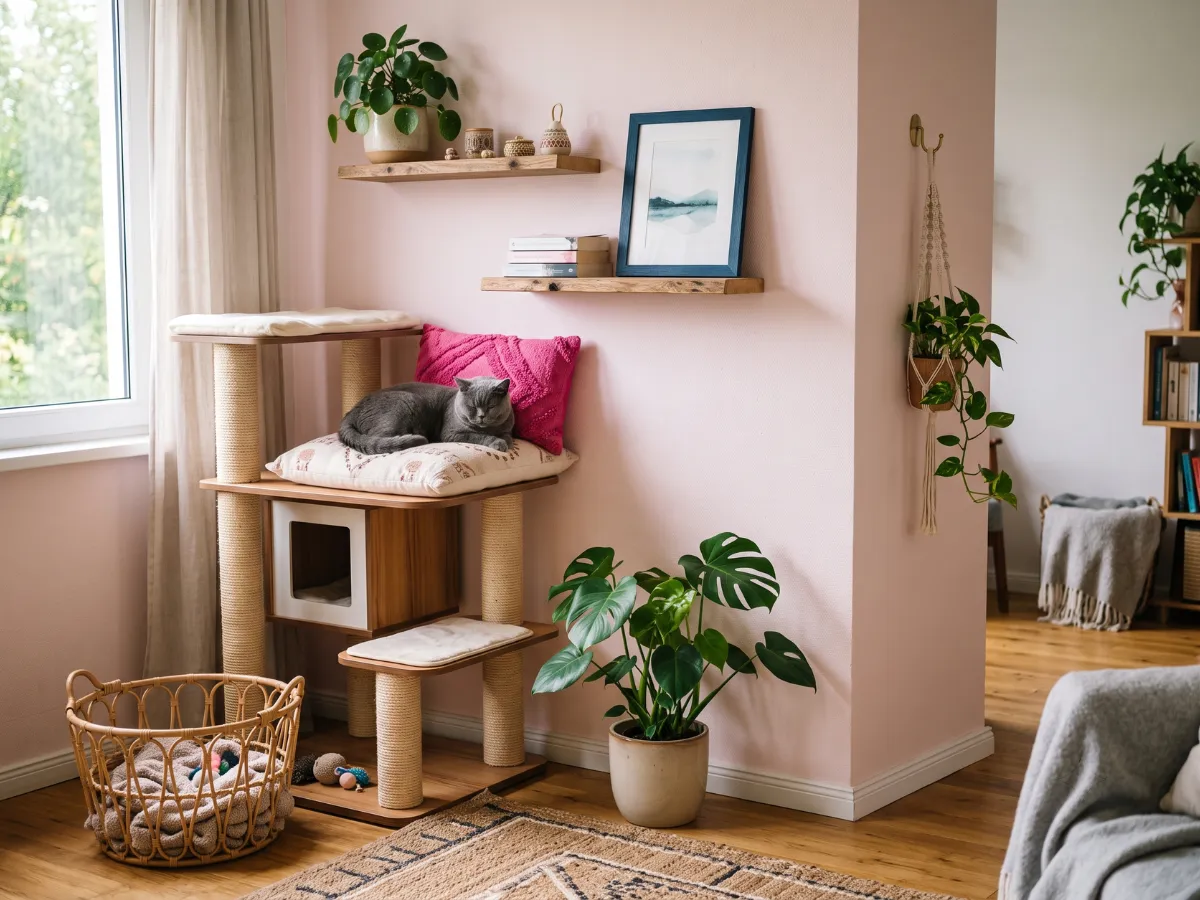
What we use
Sisal rope, anchors and a scratching post
Natural sisal rope in the right gauge, heavy-duty wall anchors rated for the board, and a ready-made post for the corner that needs one today.
See what we use →As an Amazon Associate we earn from qualifying purchases.
Save these on Pinterest
Pin the sisal wall scratcher build for the next free afternoon, then browse the scratching post placement guide and the cat wall shelves for the rest of the wall. The Cat Home collection holds every build and corner guide on the site.
A wall scratcher finds a stud and stays put; the shelf anchor placement is the same read stretched across a whole run of shelves.