 PawStyle Daily
Dog Food & Treats
Homemade Dog Jerky: Dehydrator and Oven Steps
Homemade dog jerky is the treat with the shortest ingredient list in the whole kitchen: one meat, dried hard. No binder to balance, no flour to press, no jar of checked peanut butter — just slices on trays and a machine that does the waiting for you. This page walks both routes, the dehydrator and the low oven, plus the raw-meat handling rule that the rest of the batch depends on.
By PawStyle Daily · Updated 18 November 2026
One meat at a time · thin, even slices · dried, never rare · for informational purposes, consult your vet.
Pick one meat, read it clean
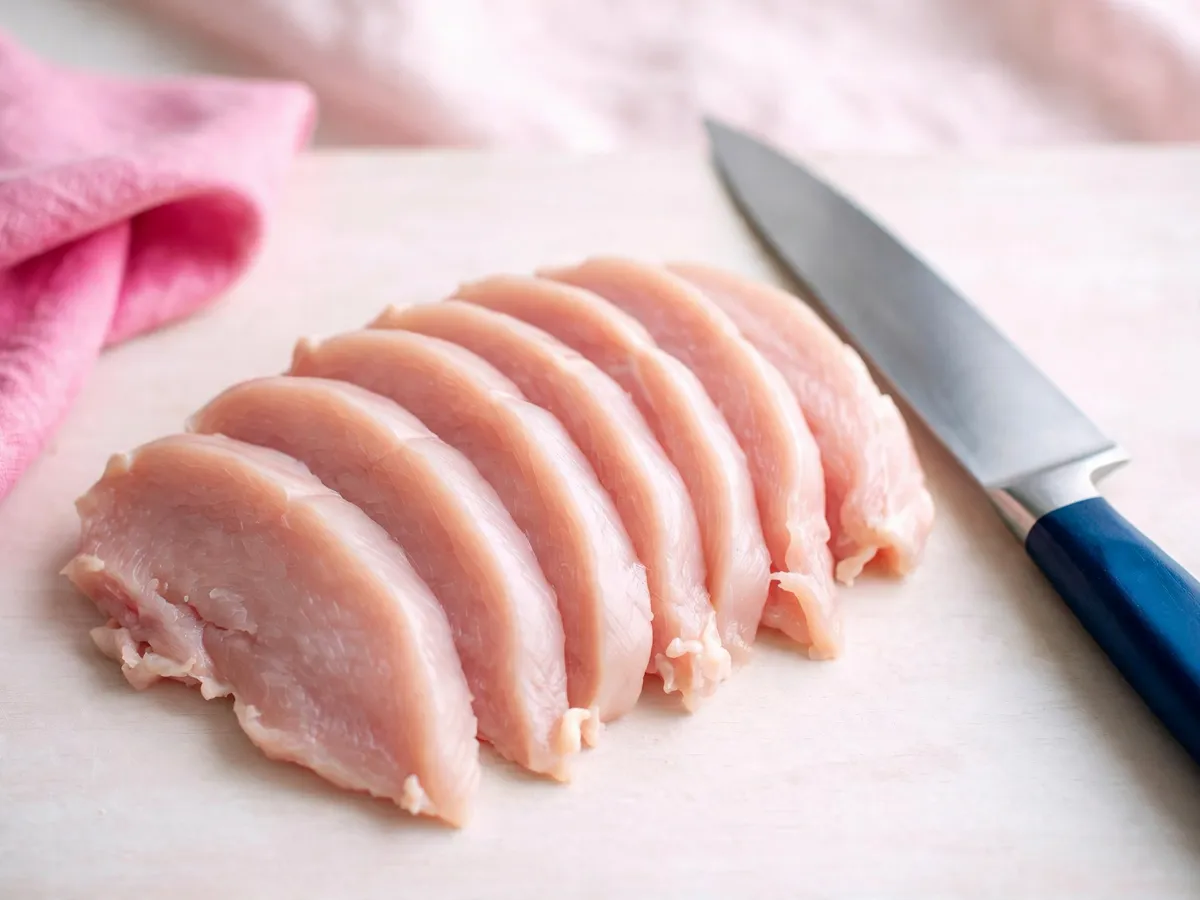
Small amounts of lean cooked chicken, turkey, beef or pork with no bones and no seasoning are fine to share. That registered line is the whole recipe's spine, and the rest of this section is really just the shopping note underneath it. Jerky runs on one meat per batch — and the pick matters less than the reading. Lean is the word to shop by: fat does not dry, it goes rancid and slicks a batch, so choose the leanest cut on the counter and trim every visible ribbon of fat yourself before the slices ever meet a tray. The package itself stays boring by design — meat, nothing added, no seasoning already hiding in it. Never raw and never seasoned is the whole rule; the flavor a dog wants is baked into the cut itself. The label reading walkthrough on the same pages is built around that habit.
The raw-meat rule you cannot skip
Raw meat and raw eggs can carry salmonella and E. coli, and cooked bones can block a gut and need surgery. That pairs two habits at the board: wash hands, knife and tray like any raw chicken night, and keep every bone far out of this project — jerky is dried meat, and the bone never comes through the door with it. If a batch ever looks or smells off after storing, the bin is the answer, not a taste test. The full handling and shelf-life rules live on the homemade food safety and storage page.
Slicing for even drying
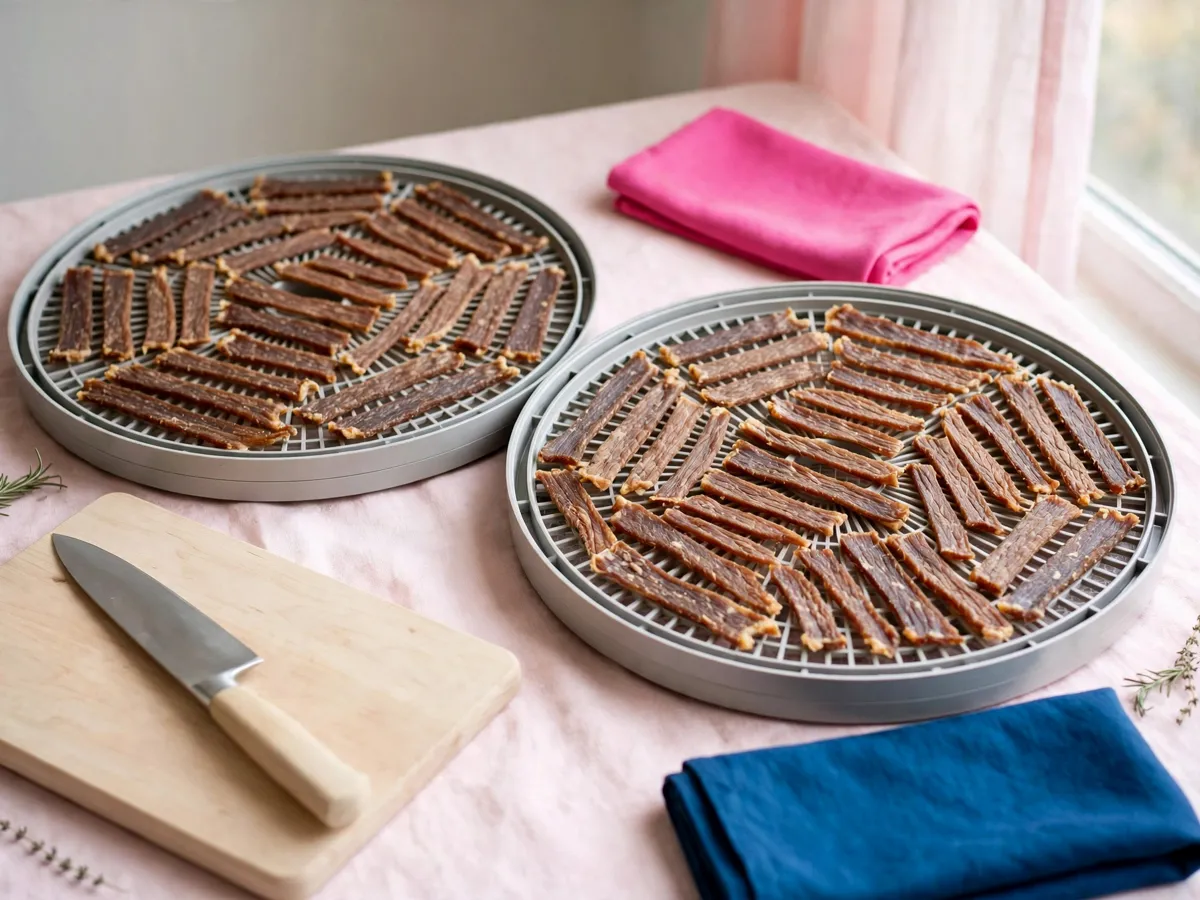
The dry run is won at the knife. Thin, even, one thickness per tray — every slice a different width means every piece finishes at a different moment, and the thin ones are leather while the thick ones still steam. The freezer firm-up comes first: firm the meat in the freezer until the surface sets, then slice — partially firmed meat takes the blade cleanly instead of smearing under it. Lay the slices in a single layer with a breath of space between them, and they dry as one batch instead of a crowd.
The dehydrator route
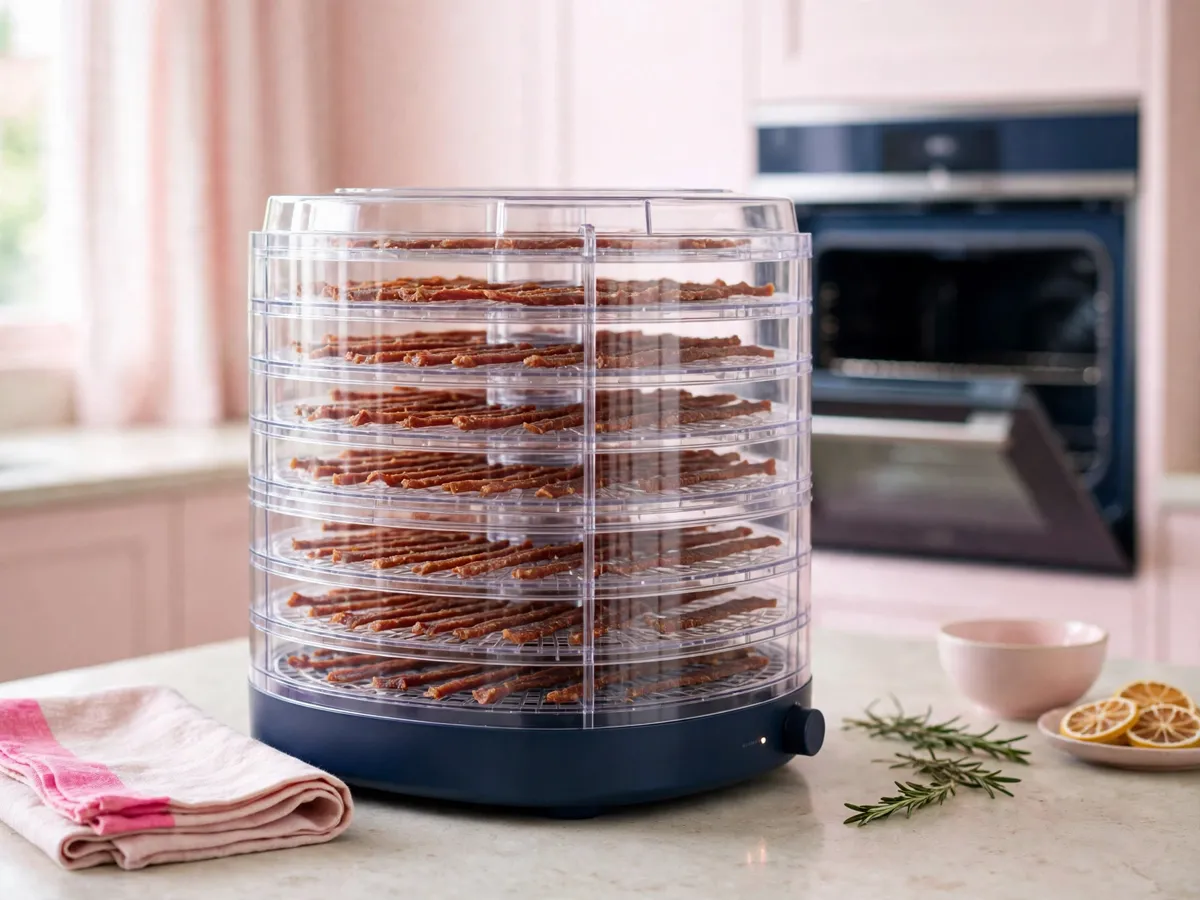
The dehydrator is the set-and-forget route: trays loaded in a single layer, the machine doing exactly what its dial says, and no oven door to babysit. Run the machine the way its own manual spells out — this is the one place a number belongs to the maker, not the recipe. Partway through the run, turn the trays and turn the pieces so the faces dry evenly; the edges set first and the middle is where a chewy surprise hides. Starting a batch in the morning and bending a cooled piece in the evening is a rhythm most machines settle into, and your manual is the truth for yours.
The oven route
No machine, no problem — the oven dries jerky on its lowest setting with the door cracked on a rack rather than a sheet, so air moves around every strip instead of steaming the ones touching metal. Follow the manual for the setting the same way you would with a dehydrator; the blade and the bend test do the rest. Prop the door, run the fan if the oven has one, and expect the kitchen to smell like a very good deli for a while. Slices laid over the rack, turned once mid-run, come out as even as a tray batch.
Doneness and storing the batch
The done test in words rather than numbers: a cooled piece bends and cracks without snapping in two, matte and dry all the way through, with no darker damp middle. Then the jar — airtight, cool, and out of the light, with pieces checked now and then for any fog or moisture that says the batch was pulled early. Jerky that sweats in the jar goes back to the machine, not onto the shelf, and a batch that grows anything fuzzy bin-bound without a second look. Write the meat and the day on the lid; the jar should never make you guess.
Portioning the batch
Treats should stay at no more than five percent of a dog's daily calories, so keep the pieces small. Jerky is a rich treat, and it is a strip torn into training-size bits rather than a whole strip handed over. A full piece is a lot for a small dog and barely a snack for a big one, so tear to the mouth in front of you and let the bits stretch across a session instead of landing all at once. The jar counts down honestly that way — and the cost per treat drops to almost nothing, which is the quiet reason homemade jerky is worth the counter space.
Jerky batch questions
Can I use ground meat for jerky?
Yes, with a change of shape rather than a change of method. Press the ground meat into an even, thin sheet between two sheets of parchment, then dry it the same way as sliced strips — single layer, air moving, done when a cooled piece bends and cracks instead of feeling damp. Ground jerky comes out more crumbly than strip jerky, which some dogs love and which breaks up neatly for training.
How do I know the jerky is done?
Trust the piece in your hand, not a timer. Take a strip out, let it cool fully — warm jerky always feels more flexible than it really is — then bend it. Finished jerky bends and cracks without snapping clean in two, and the inside shows the same dry texture as the outside, with no damp darker middle. If a piece feels leathery or the center still gives, the batch wants more time in the machine.
Can puppies have jerky, and in what form?
For a puppy, think smaller and softer rather than different. A full strip is a lot of chew for a young mouth, so tear the jerky into training-size bits and check with your vet about where treats fit into a puppy's daily food. One-ingredient jerky has nothing hidden in it, which is exactly why it suits small portions — the treat is meat, and that is all it ever was.
Why did my jerky come out greasy?
Fat is the culprit, and it sneaks in two ways: a cut that was never as lean as it looked, and fat left on the slices before drying. Trim every piece hard before it goes on the tray — fat does not dry, it goes rancid and slicks the whole batch. Next round, choose the leanest cut on the counter and cut any visible marble the knife can reach.
Can I marinate the jerky?
No — and it is not only about salt. Marinades bring the exact things this treat is built to leave out: seasoned sauces, sweeteners, garlic, onion powder. Water is the only thing this meat needs a splash of, and even that is for the blade rather than the flavor. The dog is not scoring the marinade; the plain strip is the whole point.
Save these on Pinterest
Pin this for the next time the jerky urge hits and the tray comes out — the one-meat rule, the bend test and the trimming line are the whole method, and they fit on a pin. The batch below the jar always stretches further than you think it will. The Dog Food collection also holds the crockpot topper week and the no-bake batch for picky eaters.
The batch below the jar wins over most dogs, and the the dog that eats like a critic page is for the handful it never does.