 PawStyle Daily
Dog Food & Treats
Dog Treat Maker Recipes: One Dough That Presses
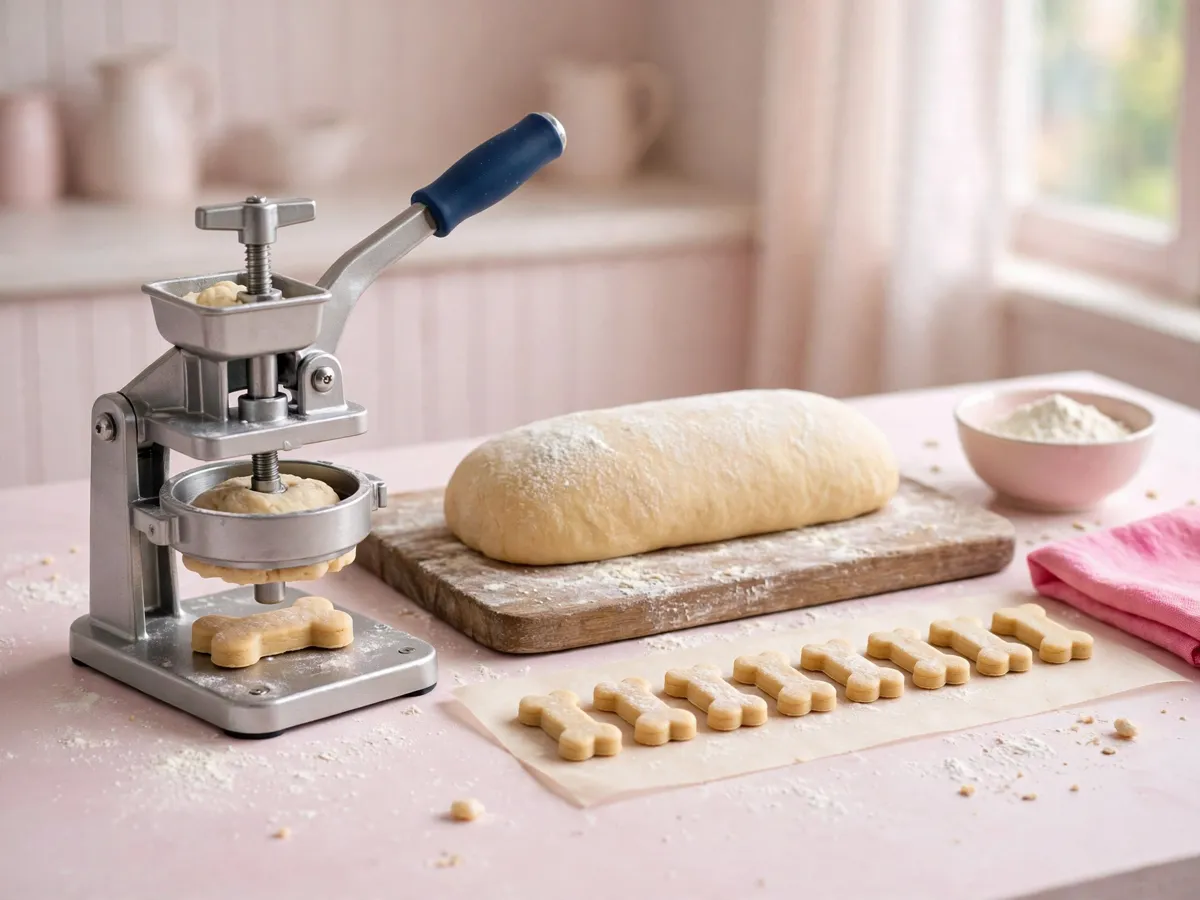
A treat maker earns its counter spot the day you stop treating it like a gadget and start treating it like a small press with one job: turn one firm dough into however many little baked pieces the week needs. This page walks that method through — the dough that extrudes clean, what stays out of the hopper, and the portioning habit that keeps the whole thing honest. Everything here is for informational purposes.
Good to know: one dough, many shapes, and pieces small enough to count · For informational purposes, consult your vet.
By PawStyle Daily · Updated 18 November 2026
Why a treat maker earns its counter spot
Rolling and cutting treats by hand is lovely on a slow Sunday and a chore the rest of it. A treat maker flips that: you mix once, load the hopper, and press out dozens of little pieces in one sitting — and because every piece comes off the machine roughly the same size, the portioning problem sorts itself before the baking even starts.
It is also a quiet kind of appliance work. No big oven heating the kitchen, no sheet pans shuffling between racks — just one bowl, one dough, and a machine that keeps its footprint small. The honest case for it is small batches: bake what the week needs, freeze the rest, and never let half a tray of treats go stale in a jar.
The one dough that presses clean
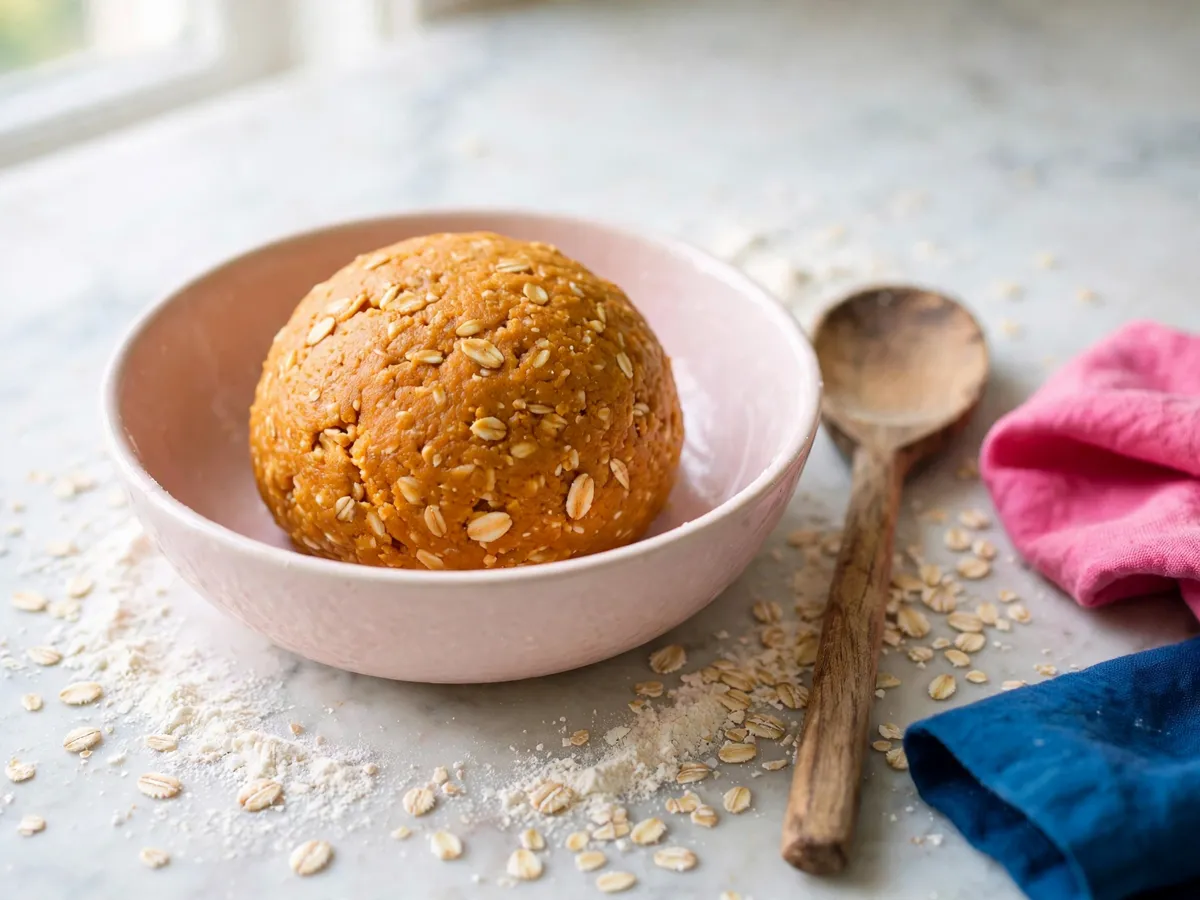
Start with the binders and let the flour find its level. An egg carries the binding, pumpkin brings the moisture, and oat flour — either ground from rolled oats or bought as flour — builds the body. Stir the wet half together first, then work the flour in a spoonful at a time until the dough stops sticking to your fingers and starts holding together.
You are aiming for the feel of firm play-dough: wet enough to extrude without clogging the press, dry enough to hold the shape it lands in. A dough that smears at the edges of each piece wants more flour; one that cracks apart on the way out wants a touch more pumpkin. Fill the hopper, press onto an ungreased baking sheet, and work quickly while the dough is fresh — it presses easiest before it starts to dry out.
What never goes in the hopper
Xylitol is a sweetener that can drop a dog's blood sugar and hurt the liver, so it never goes into a homemade treat. Check the peanut butter jar before the spoon goes in — sweetened pantry items are where this sweetener hides.
The rest of the keep-out list is short and worth memorizing: chocolate in every form, grapes and raisins, and the whole onion family — onion, garlic, leek, chive. Nothing sweetened, spiced, or salted goes into the mix either; the dough gets its flavor from the pumpkin. When a new ingredient shows up in your head at the store, run it past the full keep-out list before it touches the bowl — and if a dog has already eaten something from that list, the answer is a phone call, not a page.
The raw-dough rule
Raw dough can swell in the stomach and bloat, and the yeast in it turns into alcohol as it sits there. This is the reason a rising loaf never gets left out where a counter-surfer can reach it, and it is worth naming at the press because a treat-maker session is exactly the kind of busy, hands-full hour when dough gets left sitting out with nobody watching it.
The kitchen version of the rule is short: if the dough hangs around raw too long while you fiddle with the press, put it away — baked pieces only leave the kitchen. Dough that is waiting its turn goes back under a towel and off the open worktop, never parked where a curious nose can reach while your hands are full. Treat dough as a thing in motion, and the raw-dough window never opens long enough to matter.
Shapes and sizing
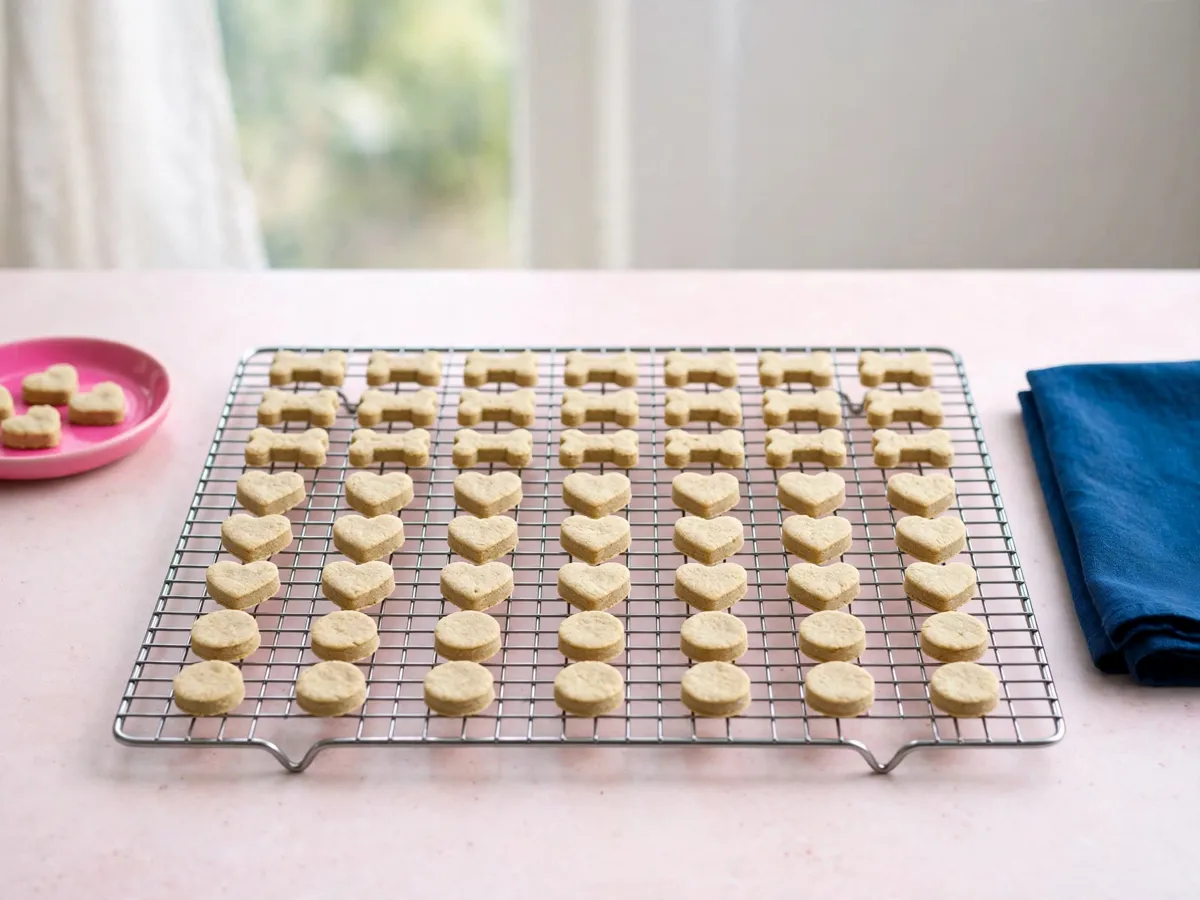
Here is the fun half. The shape dials and discs are where the machine shows off — bones, stars, little twists — and mixing a few shapes in one batch keeps the jar from looking like a production line when you photograph it. Rotate the disc mid-batch and the same dough shows up as a different treat.
The practical note underneath the fun: small pieces press easier and portion better. Big shapes clog the extruder and bake unevenly, while small ones come out crisp all the way through and hand out nicely during training. If the jar starts to feel generous, go smaller with the shapes rather than fewer in the batch — the dog cares about having a thing to chew, and you care about keeping each piece a light touch on the day.
The five percent habit
Treats should stay at no more than five percent of a dog's daily calories, so keep the pieces small. That line is the whole portioning policy, and the treat maker makes it easy to live up to because a press naturally turns out small pieces you can count — two after a walk, one for holding still at nail-trim time.
Most of a pet's nutrition should still come from their regular diet, with treats as the extra bit. In real-house terms: count the treats into the day, not on top of it. If the training-heavy afternoon filled the quota, dinner runs a touch lighter to keep the totals where they belong — the weekly meal prep planner is where that arithmetic stops being a guess.
Baking off the batch
Pressed pieces bake firmer and set quicker than rolled-and-cut ones, because the press packs the dough tighter than a rolling pin ever does. That is good news for the jar — they dry out hard and keep their shape — and it nudges the bake time down a touch from whatever a rolled recipe called for, so check early.
The doneness cue is in the surface rather than the clock: the tops go matte and dry to the touch when the batch is ready, and a piece lifted from the tray sounds faintly hollow when tapped. Pull the batch while the centers still give a little under a fingertip — they finish firming as they cool. Then comes the step nobody skips twice: cool the batch completely before any jar gets involved, or the trapped steam softens everything you just baked into leathery regret.
Storing the batch
An airtight jar is the whole system. Cool pieces, dry jar, lid on, and the batch keeps its snap for daily handing-out. Label the lid anyway — a jar marked only “treats” answers nothing the next time you reach in, and mixing batches in one jar muddles the portion count.
If you cannot finish a batch within the week, freeze half. Spread the pieces on a flat tray to freeze loose before bagging, so they tip out a few at a time instead of as a solid block, and thaw only what the day will hand out. The freezer half-stays crisp and the counter half stays honest — a jar that stays moving is always better than one you are trying to empty before it goes stale.
Treat maker questions
Can any dough go in a treat maker?
Think stiff, not sticky. The dough that presses clean holds together when you squeeze it, stands up in a log without slumping, and snaps off the spoon in one piece rather than dripping. Wet batters and pourable mixes belong to other appliances — a press wants something you could roll between your palms without it leaving a coat on them. If the dough smears instead of extruding, it wants more flour worked in a spoonful at a time.
Why do my pieces crumble after pressing?
Almost always the moisture balance, and it swings both ways. A dough short on wet ingredients binds loosely, so the pressed shape falls apart the moment it dries; one that is too wet holds in the press but slumps on the tray. Aim for the middle: the dough holds its shape, shows a faint crack at the edges of each piece, and still feels supple. The egg is doing the quiet binding work here, so do not leave it out.
Can I freeze the dough?
Yes, and freezing works better for pressed pieces than for the soft dough itself. Press the full batch, lay the pieces out until they firm up, and freeze them on the tray before bagging — then thaw only a few at a time, straight from the freezer to the bake. That way the jar never holds more than the week will actually eat, which is the whole point of small-batch treating.
Are these a meal replacement?
No, and they are not trying to be. The bowl underneath stays the complete meal; a pressed treat is the small extra that rides on top of a good day. If you find yourself filling the jar with treats and letting dinner slide, the ratio has flipped — the pieces exist to make training and cuddle time easier, never to stand in for the food that carries the actual nutrition.
Which model should I buy?
We stay out of brand names — the honest answer is about the shape of the machine, not the logo. You want a press that extrudes a firm dough without clogging, comes apart into pieces you can actually wash, and makes pieces small enough to hand out during a training session. Read the reviews for the words a real owner uses: does it clog, does it strip, can the discs go in the dishwasher. Any machine that gets a yes across those is the right one for this dough.
Set up the treat maker
Molds, binders and baking tools
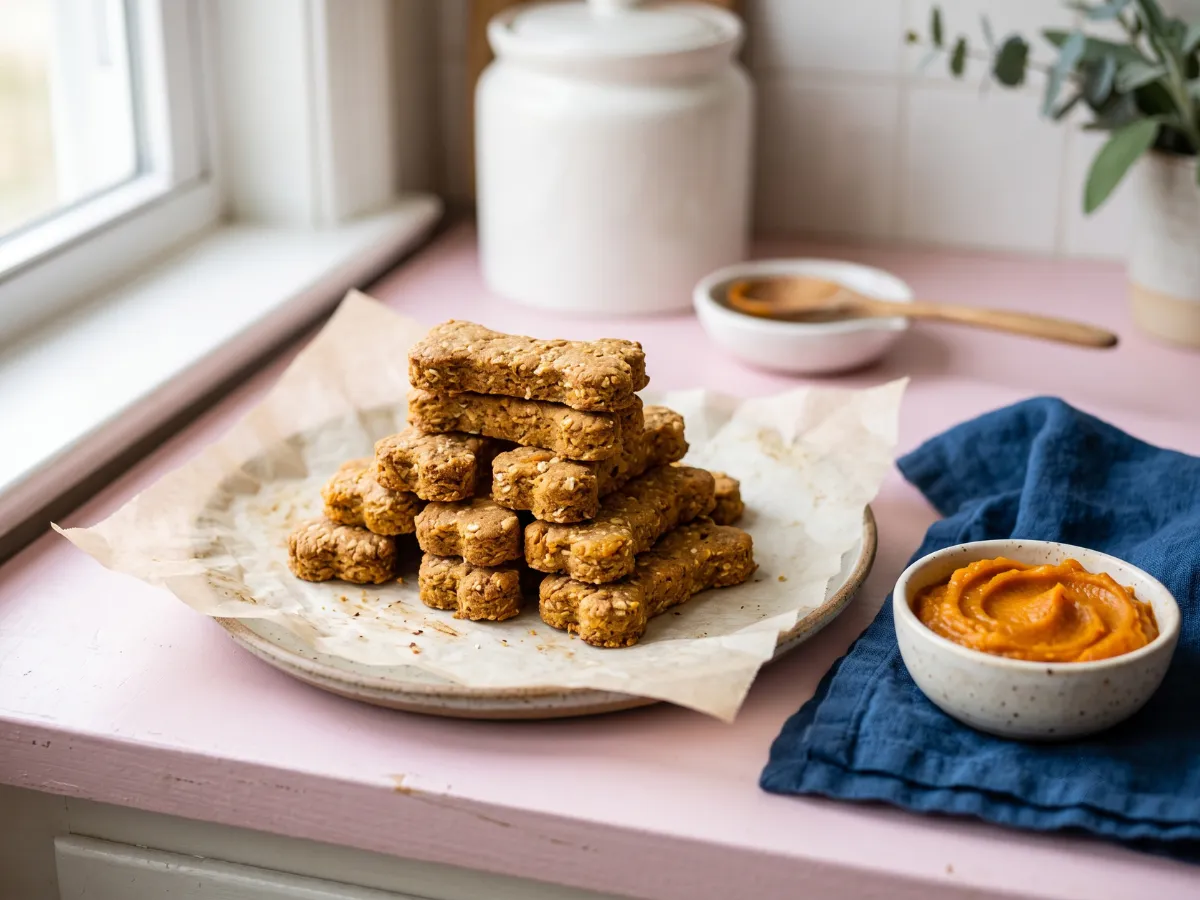
The small kit behind every clean batch: a treat maker that extrudes without clogging, oat flour and pumpkin for the binders, parchment for the sheets, and airtight jars for the cooling rack that comes after. Every piece is one you will reach for again at the next batch.
See the setup →As an Amazon Associate we earn from qualifying purchases.
Save these on Pinterest
Pin this page for the next time the treat maker comes off the shelf and the dough question comes with it. The Homemade Dog Treats collection holds the rest of the batch pages — the blueberry oat treats for a fruit-forward batch, and the no-bake peanut butter treats for the day the oven is spoken for.