 PawStyle Daily
DIY Cat Tree & Pet Crafts
5 No-Drill DIY Cat Window Perch Ideas for Renters
A window perch gives a renter cat the one thing a small apartment is short of: a soft seat at eye level with the street. These five builds hang from suction cups, drape from the glass or press between the window reveal walls, so the deposit stays intact and the drill stays in the drawer. Weight-test every build before the cat gets a vote, clear the landing zone, and supervise the first three days. For informational purposes, consult your vet.
By PawStyle Daily · Updated 16 November 2026
Good to know: one afternoon each · Suction cups or a tension rod · Weight-test before the cat does.
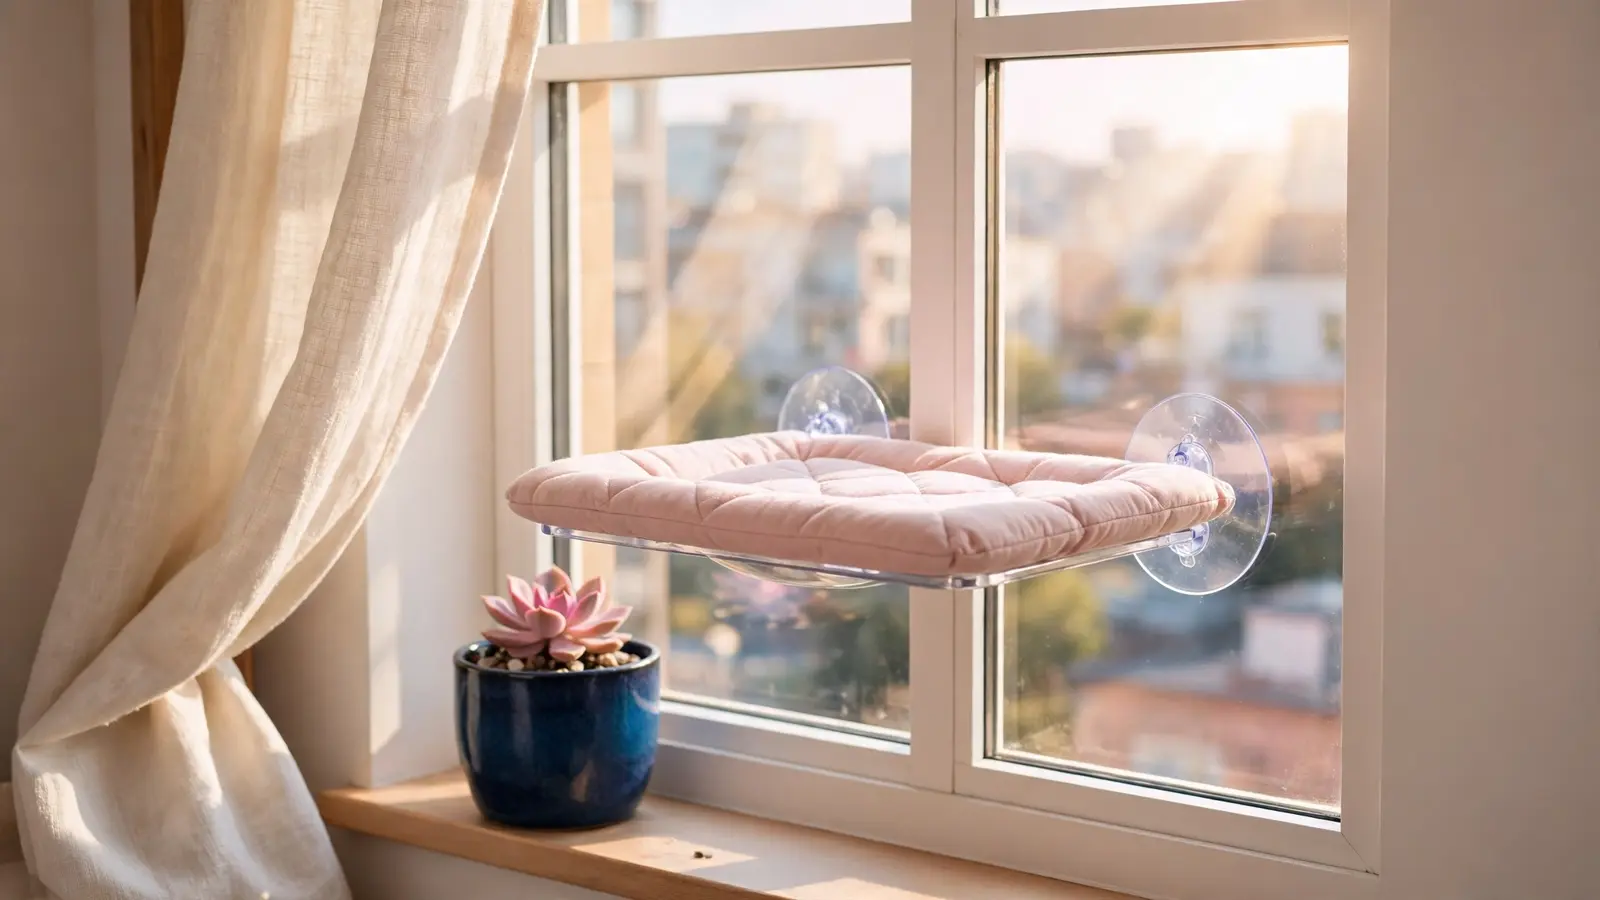
Start with the window, not the perch
Stand at the window at the hour your cat naps and run a hand along the frame, the sill and the glass. Three measurements decide every build on this page: the depth of the sill, the width of the reveal, and the height from the floor to the bottom of the glass. Then look down at the landing zone, because a cat that jumps up also jumps down.
Indoor resting areas, such as a perch or a secluded surface, should include a spot where the cat can see outdoors. An ideal perch is elevated, with a padded cover, and an elevated area gives a cat vertical space to monitor its environment. On a rental window that means the lower pane rather than the very top of the glass: high enough for a view, low enough that the sill does the climbing.
A radiator, a lamp cord, a charging cable or a stack of spare batteries under the window all sit in the landing zone of a cat that jumps down. Move them before the perch goes up, not after. If the only free window is above a radiator, pick a different window or keep the build at sill height, where the cat steps on and off instead of dropping.
Window check before the first cup
| What to check | What good looks like | What to build instead |
|---|---|---|
| Glass | Clean, flat, one uncut panel wide enough for two cups | Clean with warm water and dry it; a filmed or textured pane gets the sill build |
| Sill depth | Deep enough that the board sits over the sill, not over the room | A tension-rod perch between the reveal walls |
| Reveal width | Two straight side walls inside the window opening | A hammock that hangs from the glass |
| Below the perch | Clear floor, not a radiator, a table or a lamp | Move the landing zone first, then build |
| Cords and batteries | Nothing loose within a cat's reach of the sill | Clip or box them before the perch goes in |
| Screen | Closed and out of the load path | Hook the sling to the glass, never to the screen |
Two minutes with a tape measure saves a build that never sits level.
1-3. Three builds that leave the wall alone
Every build below uses the window itself as the anchor: the glass, the sill or the reveal. None of them needs a drill, a bracket or a hole in the paint. Work through them in order of how much you want to look at your window.
1. Suction-cup shelf perch. Two cups, a board and a pad make the classic renter perch. Press the cups onto clean glass a hand’s width apart, set the board across them and screw nothing. The pad is not decoration: it is the part the cat kneads, so pick a cover that lifts off and washes. Once the cups are seated, leave the build loaded with books for a day before the cat tries it.
Beginner · About 20 minutes · Two cups + one board + a washable pad.
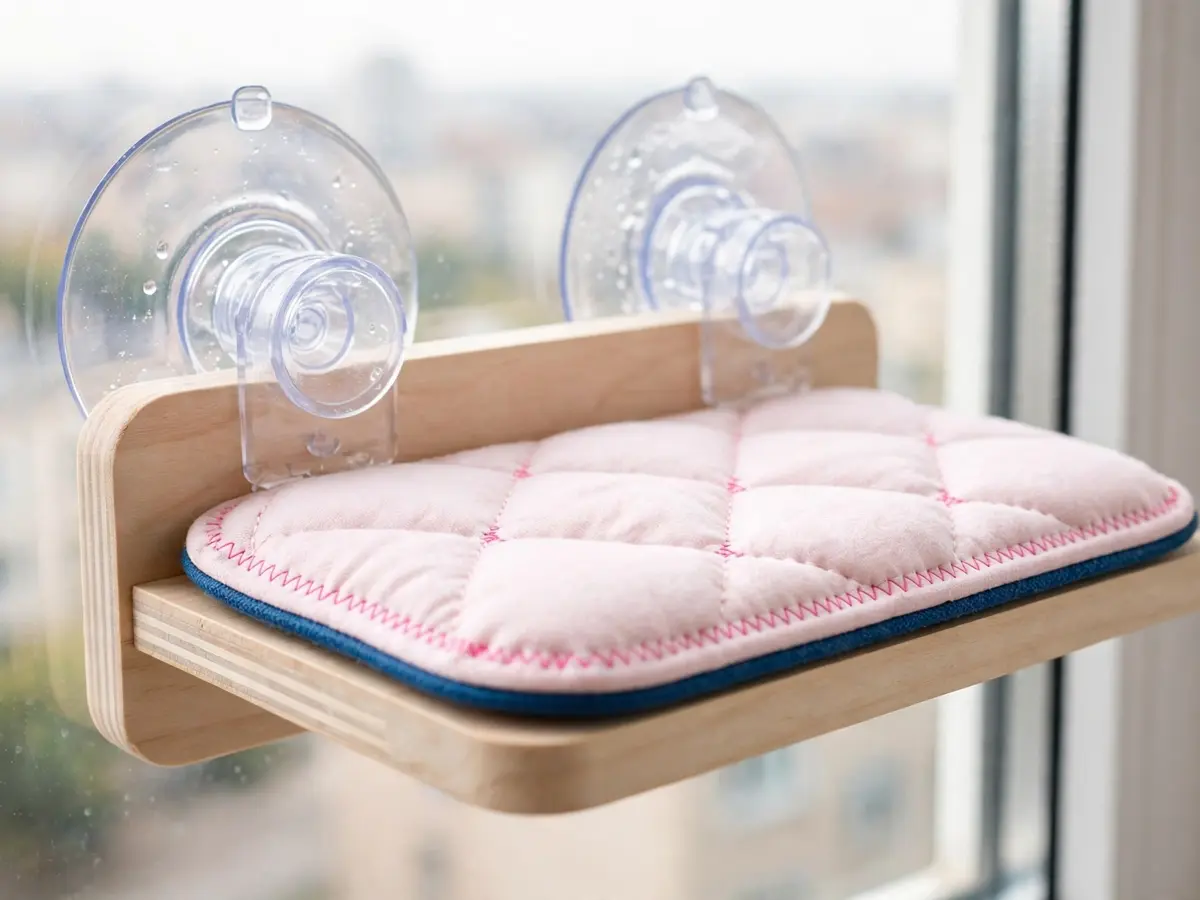
2. Sill hammock. A canvas sling on two cups turns a pane into a hammock: the fabric dips between the cups and the cat lies along the bottom of the dip. Pick a canvas with bound edges rather than a loose weave, wash it on the same day as the litter mat, and move the cups closer together when the dip sits too deep for the cat to step out of.
Beginner · About 15 minutes · Two cups + one canvas sling.

3. Tension-rod perch. In a deep reveal, a spring tension rod wedged between the two side walls holds a board at window height, and the sill below keeps the board from sliding toward the room. Measure the reveal at its narrowest point, set the rod there, then cut the board an inch short of the room. A level on the board before the cat arrives saves a re-cut.
Intermediate · About 30 minutes · Tension rod + board + pad + a level.
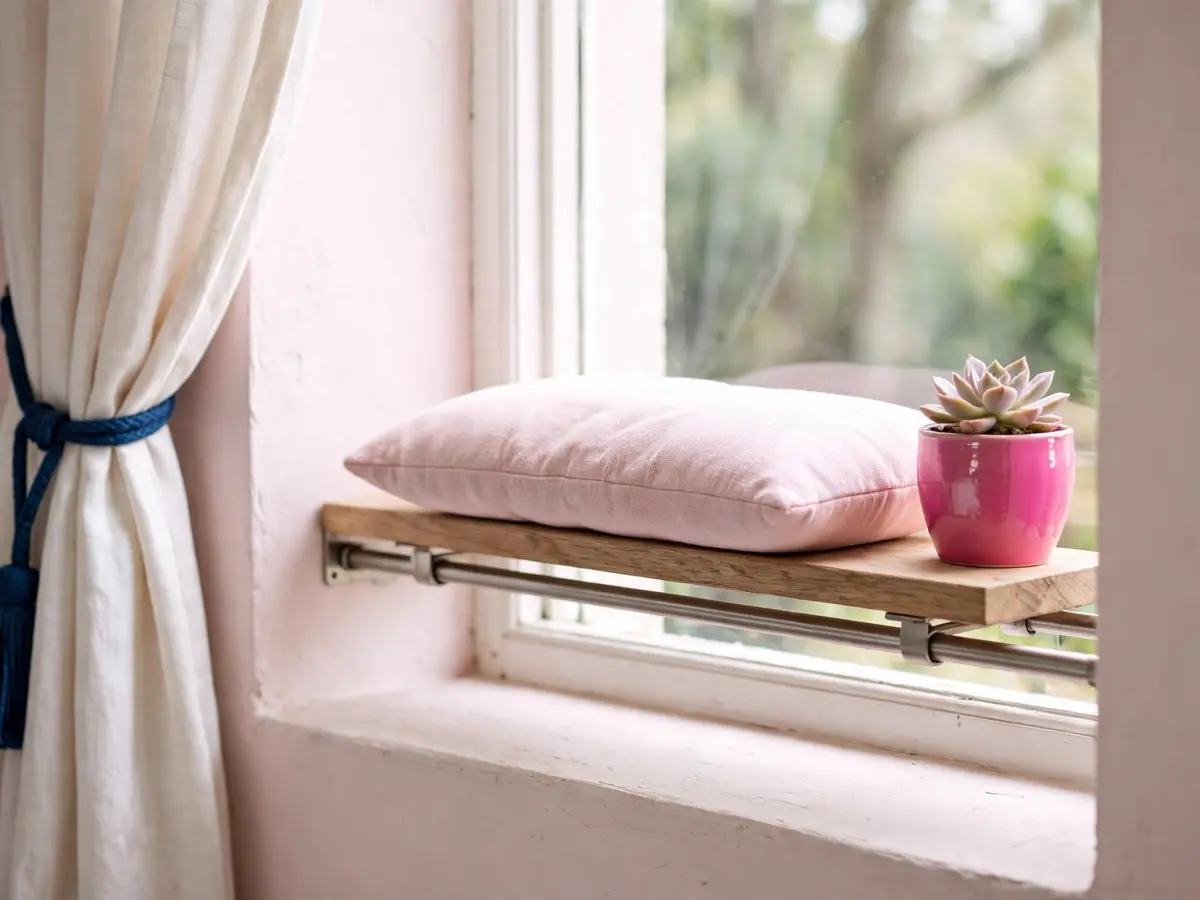
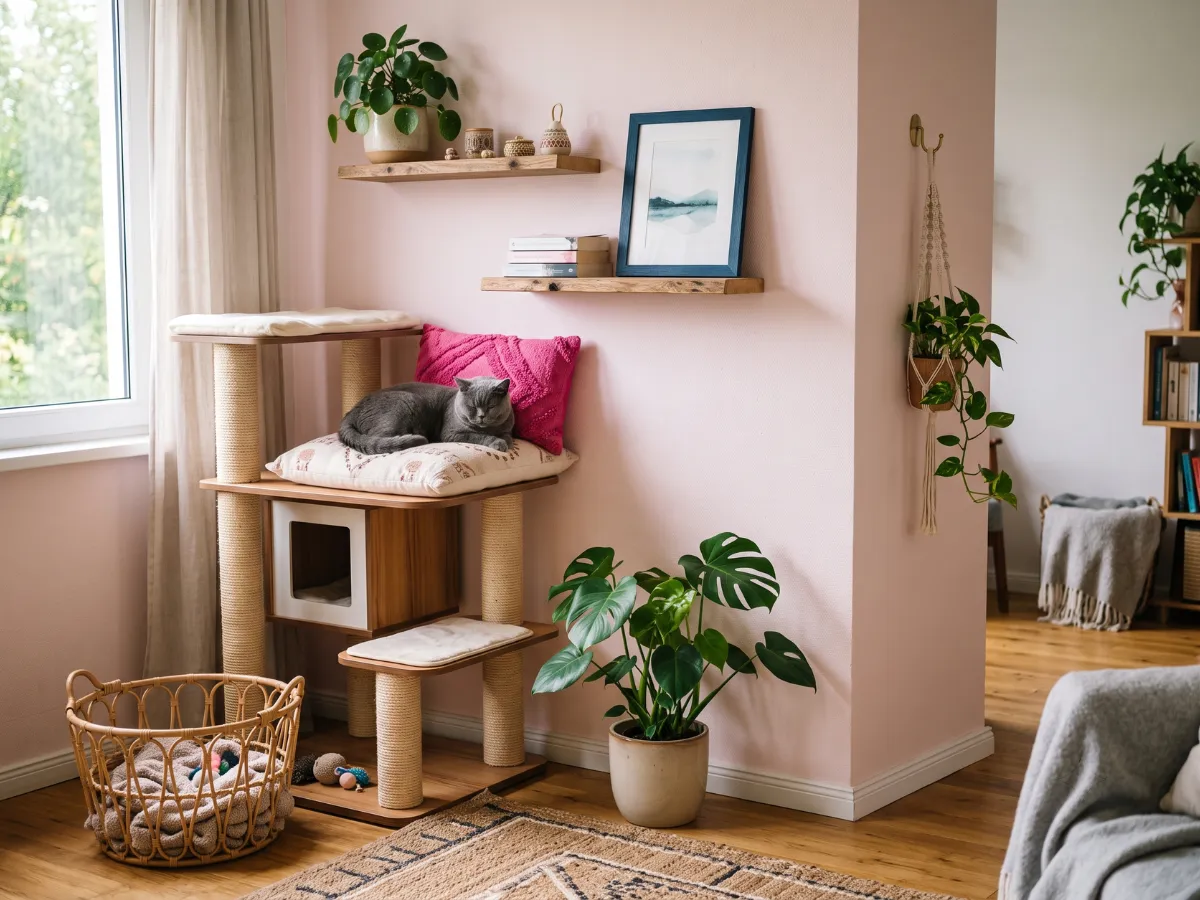
To style the wall on either side of the window afterwards, see our 300sqft cat corner guide for the shelf and gallery side of the same room.
Weight-test before the cat gets a vote
Every failed window perch we have seen failed on a test that was skipped, not on a cup that was cheap. This is the order we run on all three builds, and it takes one evening plus one overnight wait.
- Set the build up empty and press the board with a flat hand, hard enough to move the whole frame rather than the pad alone.
- Stack books on the board until they weigh about what the cat weighs, then leave the stack there for a day.
- Slide the top book sideways. If the board moves with it, a cup is not seated and the build comes down for a re-press.
- Re-press every cup once a week for the first month, then once a month after that, and again after any warm spell.
- Retire a cup that creeps under the book weight, and keep a spare pair in the drawer rather than buying a whole second perch.
- Leave the perch alone for a day after any move, the same rule as a new cat tree in a new corner.
If the window turns out to be the wrong shape for all three builds, the cat tree buying guide covers freestanding towers that put the top perch at window height without touching the glass.
Materials, measured
| Material | What it is for | What to look for | What to skip |
|---|---|---|---|
| Suction cups | Holding the shelf or the hammock to the glass | A rated pair sold together, with a lever or a twist lock | Cups from a kitchen hook, or a cup with a split rim |
| Board | The flat shelf the cat sits on | Solid wood or ply about an inch thick, sanded and sealed | Cardboard, a swelling MDF offcut, or a shelf with a sharp edge |
| Pad and cover | The padded top the cat kneads | A washable cover over a foam pad an inch thick | A loose cushion that slides when the cat lands |
| Tension rod | Wedging a board between the reveal walls | A spring rod rated well above the board and the cat | A shower rod that bends under a hand press |
| Canvas sling | The hammock the cat lies in | Bound edges and a tight weave that holds its shape | A loose knit that stretches the first week |
| Level | Checking the board before the cat checks it | Any small bubble level | Eyeballing it from the doorway |
| Wall anchor | Not needed for these builds | Nothing at all | Screws, brackets and anything that marks the paint |
Every build on this page skips the drill; if a landlord allows one bracket, the shelf run in the corner guide is the sturdier version.
Cords, blinds and batteries
The window is the one wall in a small apartment that collects cords: blind cords, lamp cables, chargers left on the sill. Clear them before the cat finds the new seat. Keep electrical wires and batteries out of reach, because a wire can deliver a potentially lethal electrical shock. Blind cords get a cleat high on the frame, charger cables go into a raceway along the baseboard, and spare batteries move to a lidded drawer in the hall.
Supervise the first three days of a new perch, and watch what the cat does when it lands: a launch from the sill to the curtain rail means the rail needs clearing too. If a cat has chewed a cord, unplug it before you touch it and call your vet the same day.
Kittens, older cats and the height question
For kittens and older cats with limited mobility, keep boxes, perches and shelves low or reachable by a ramp. On a window perch that means the lower pane rather than the middle of the glass: a kitten needs a hop of a few inches, and an older cat needs a step between the sill and the seat. A folded blanket on the sill is enough of a step for most cats, and it doubles as a landing pad for the jump down.
A perch at sill height still keeps the view. The cat looks out over the street from the sill, steps up onto the pad, and steps back down without a drop at either end, which is the whole reason this build suits a first perch in a rental.
Two cats, one window: build two seats rather than one wide board. A single pad becomes a contested spot, and the second cat gets pushed off at the worst moment. Two separate builds on two panes give each cat a landing, and neither one has to guard the sill.
Common failures and the fix
Window perches fail in a few predictable places, and none of them needs a new cup. Work down the table and change one thing at a time.
What goes wrong and what to do
| Failure | Why it happens | Fix |
|---|---|---|
| A cup lets go overnight | Glass was dusty, the cup was seated cold, or the board overhangs the cup | Wash and dry the glass, re-press the cup, and re-run the book test |
| The board tilts toward the room | The front edge hangs past the cup line | Cut the board shorter, or move both cups out to the front third |
| The pad slides when the cat lands | A loose cushion on a smooth board | Tack a cover under the board, or pick a pad with a non-slip base |
| The cat ignores the perch | The seat faces a blank wall or a corridor | Turn the build toward the view and leave it empty for a week |
| The hammock sags too deep | Cups set too far apart for the width of the canvas | Move the cups closer, or pick a shorter sling |
| The window will not close | The rod or a cup sits proud of the frame | Move the build to the fixed pane, or switch to the sill build |
| Blind cords dangle at the pad | The cleat was never fitted | Fit a cleat high on the frame and shorten the cord loop |
The first row is the one that matters: a cup that moves under books is a cup that moves under a cat.
When to skip the perch
Four windows where a perch is the wrong answer, and what to do instead.
- A window above a radiator. The cat lands on a hot surface it cannot see from the pad, so keep the build off that wall and use the other window in the room.
- A single-glazed pane with a crack or a chip. Any glass that already has a fault is not a place to press a cup and load it; switch to a freestanding tower by the window instead.
- A window that opens inward. The frame sweeps through the space where the board would sit, so the build lives on a fixed pane or comes down.
- A cat that chews cords. Keep the window clear until the chewing habit has been looked at, and keep every cable boxed in the meantime. A perch above a cable run is a perch above a problem.
For the box-and-cardboard side of the same room, our DIY cardboard cat castle plans sit under the window without touching it at all.
Window perch checklist
- Sill and reveal measured before anything is bought
- Two rated cups, one board, one washable pad
- Build loaded with books for a day before the cat tries it
- Cords, blind cords and batteries out of the landing zone
- Lower pane and a sill step for kittens and older cats
- Supervision for the first three days
- Cups re-pressed weekly for the first month
Questions we get about window perches
Will a suction-cup perch hold a cat?
Weight-test it first: a cup that slides under a stack of books slides under a cat. Press each cup onto clean glass, leave the build loaded with books for a day, then re-press every cup once a week for the first month. A cup that still creeps after that gets retired from the build, not topped up with a fresh press.
Can I put a perch on a window with a screen?
A sling hooked to the glass sits inside the screen frame, so the screen stays closed and keeps its job as the fly barrier. Never hang a perch on the screen itself: the screen is not part of the build. If the screen is the only thing between the cat and the drop, fix the window first and skip the perch for now.
How high should the perch sit?
An ideal perch is elevated, with a padded cover, and an elevated area gives a cat vertical space to monitor its environment. Indoors that usually means the lower third of the glass, where a hop from the sill lands on the pad rather than the frame. For kittens and older cats with limited mobility, keep boxes, perches and shelves low or reachable by a ramp, and start at sill height.
Which build suits a deep window reveal?
The tension-rod perch. Measure the reveal at its narrowest point, set the rod there, and cut the board an inch short of the room so the front edge cannot lever the rod loose. A sill hammock works in the same reveal when the side walls are uneven; it hangs from the glass instead of pressing on the frame.
What about cords and batteries near the window?
Clear the landing zone before the perch goes up. Keep electrical wires and batteries out of reach, because a wire can deliver a potentially lethal electrical shock. Blind cords get a cleat high on the frame, charger cables go into a raceway along the baseboard, and spare batteries move to a lidded drawer. For informational purposes, consult your vet.
Can I take the perch down without marking the glass?
Yes. Release the lever on each cup, lift the board off, and peel the cup from its tab rather than its rim. Warm water on a soft cloth lifts the ring the cup leaves behind, and the glass dries clear. Store the cups on their storage discs over the summer, so the rubber is not pressed flat against a shelf for three months.
What we use
What we use for window perches
Rated cups, boards, pads and washable covers for all three builds, in one list.
See what we use →As an Amazon Associate we earn from qualifying purchases.
Save these on Pinterest
Pin the build that matches your window. The Cat Home collection holds the corner, castle and litter guides.
Sources
The perch and placement rules on this page come from feline environmental needs guidelines, not from our own head: