 PawStyle Daily
DIY Cat Tree & Pet Crafts
DIY Cat Tree: Wood + Shelf Plans
The cardboard castle is fun, and it is also a consumable. This is the version that survives a move: solid boards, a posts-and-ladder design you can carry through a doorway, and shelves that mount to a wall only if your lease allows it. Two plans, one supply list, a cut list in inches, and the build order that keeps the wobbling stage of the build short. For informational purposes, consult your vet.
The design principle is simple. Scratching areas can be a sisal-covered surface on an elevated perch or a scratching pad, and key resources should be available in multiple locations. An ideal perch is elevated, with a padded cover, and an elevated area gives a cat vertical space to monitor its environment. So the plans below put sisal on the posts, padding on every platform, and a window in the plan.
By PawStyle Daily · Updated 16 November 2026
Good to know: one weekend · Drill optional for plan one, needed for plan two · Untreated pine, sisal rope, carpet offcuts.
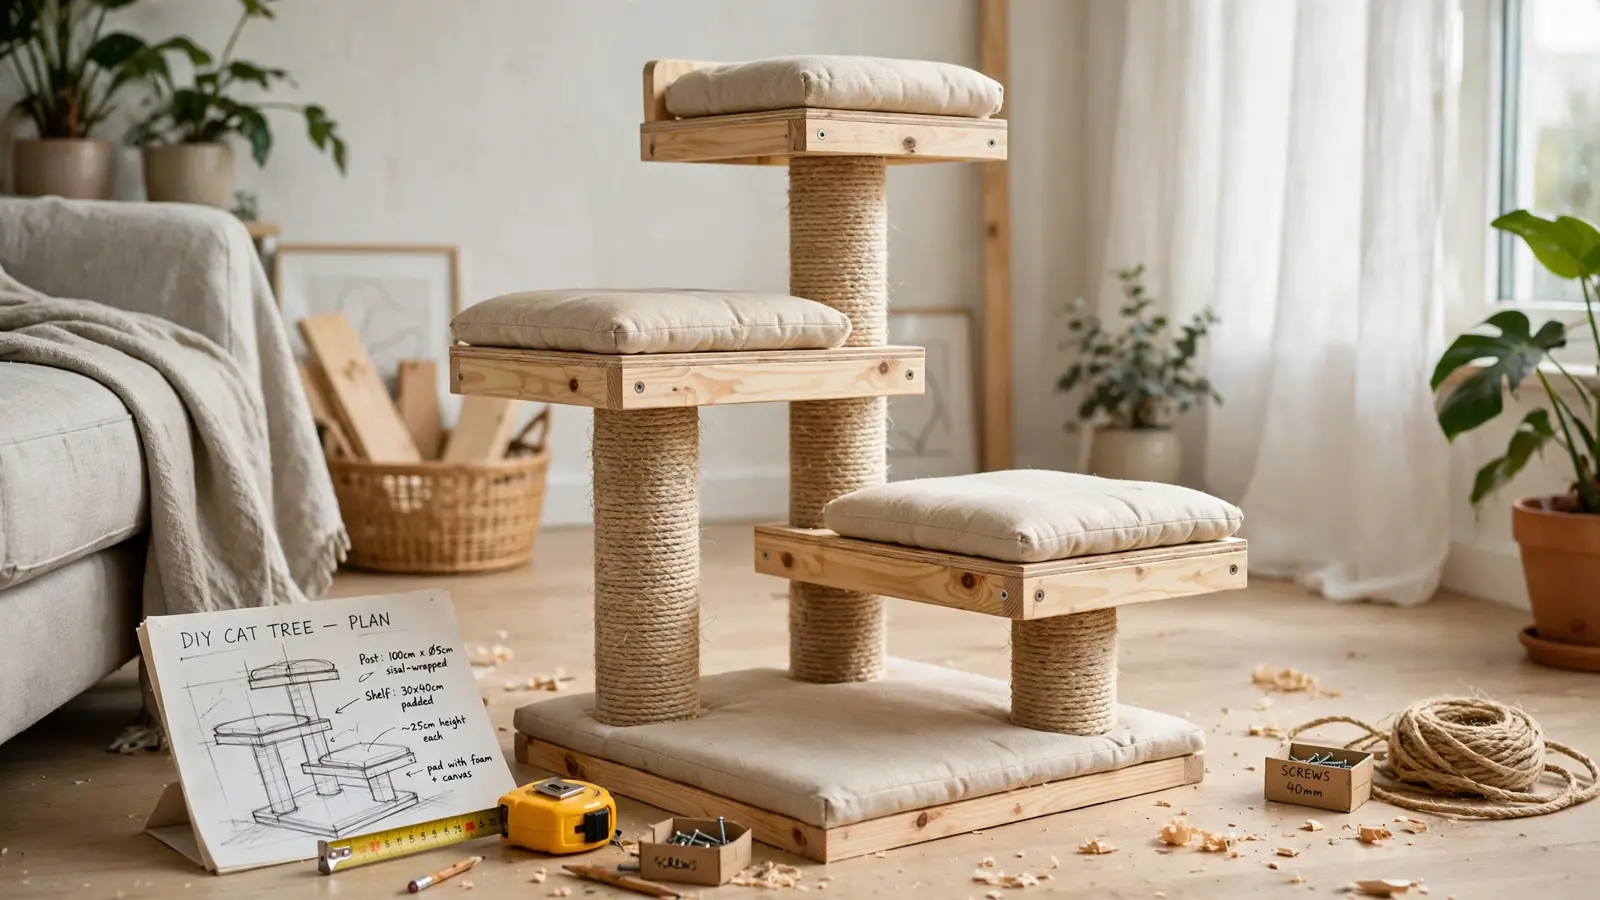
The shopping run
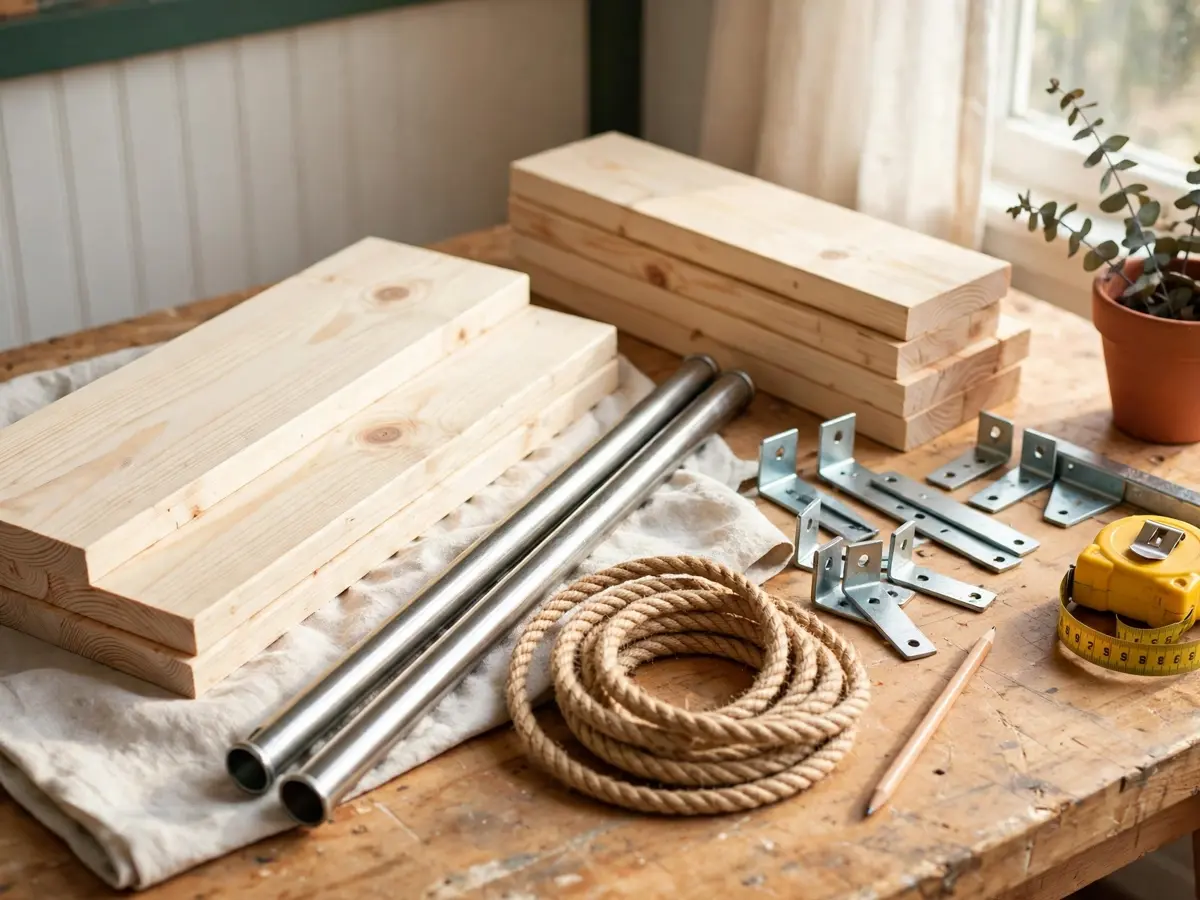
One trip, one hardware store, and the only specialist item is the sisal rope. Everything is untreated solid pine, which sands cleanly and stays safe under a chew.
- Two pine boards, 1 inch by 12 inches, 8 feet long
- Three pine closet poles, 1.75 inch diameter, 6 feet long
- 100 feet of natural sisal rope, quarter inch thick
- Wood screws, two-and-a-half inch, and a small box of one-and-a-quarter inch screws
- Heavy-duty L brackets and corner braces
- Sandpaper in medium and fine grits
- Cotton rope or wool blanket scraps for padding
- Water-based wood glue and, if you want color, a pet-safe water-based stain
Two notes on what stays out of the basket. Pressure-treated lumber is for fences, and the chemicals in it belong outdoors. MDF is fine for a desk but too soft to hold a bracket under a landing cat. Ask the store to do the long rip cuts on their saw, and carry the boards home flat on the back seat.
Cut list, in inches
| Piece | Quantity | Size | Used for |
|---|---|---|---|
| Base platform | 1 | 24 x 24 from the 1 x 12 board | The floor of plan one, everything stands on it |
| Mid platform | 1 | 16 x 24 from the 1 x 12 board | Level two, set an offset for the ladder |
| Top platform | 1 | 12 x 16 from the 1 x 12 board | The top perch, sized for one cat curled up |
| Wall shelf | 2 | 10 x 32 from the second board | Plan two, or extra levels for plan one |
| Ramp board | 1 | 8 x 30 from the second board | Floor to level one for kittens and seniors |
| Posts | 3 | 36, 30 and 24 from the closet poles | The three heights that make the ladder |
Measure once more after every cut: a 24 inch platform cut at 23.5 does not square with its brackets, and pine does not forgive a re-cut.
Plan one: the freestanding tree
This is the no-drill answer, and the one we would build first. It stands on its own base, leans on nothing, and disassembles into a flat stack that fits behind the back seat of a car.
- Sand every board and pole, then sand the cut edges a second time. Soft edges first, structure second.
- Screw the three posts to the base: the 36 inch post at the back corner, the 30 inch post at the mid platform, the 24 inch post to the front. Pre-drill every screw hole so the pine does not split.
- Set the 16 x 24 mid platform on the two shorter posts, level it, and fix it with L brackets underneath.
- Fix the 12 x 16 top platform to the 36 inch post with two corner braces, checked level before the screws go in.
- Stand the whole tree on a carpet offcut or a rubber mat so the base grips the floor instead of skating.
- Wrap the sisal rope tightly around two of the three posts, staple the start on the underside, staple the end flat, and pull each loop snug against the last.
- Glue and staple the padding to every platform, wrapped over the edge so no screw head or cut edge faces the cat.
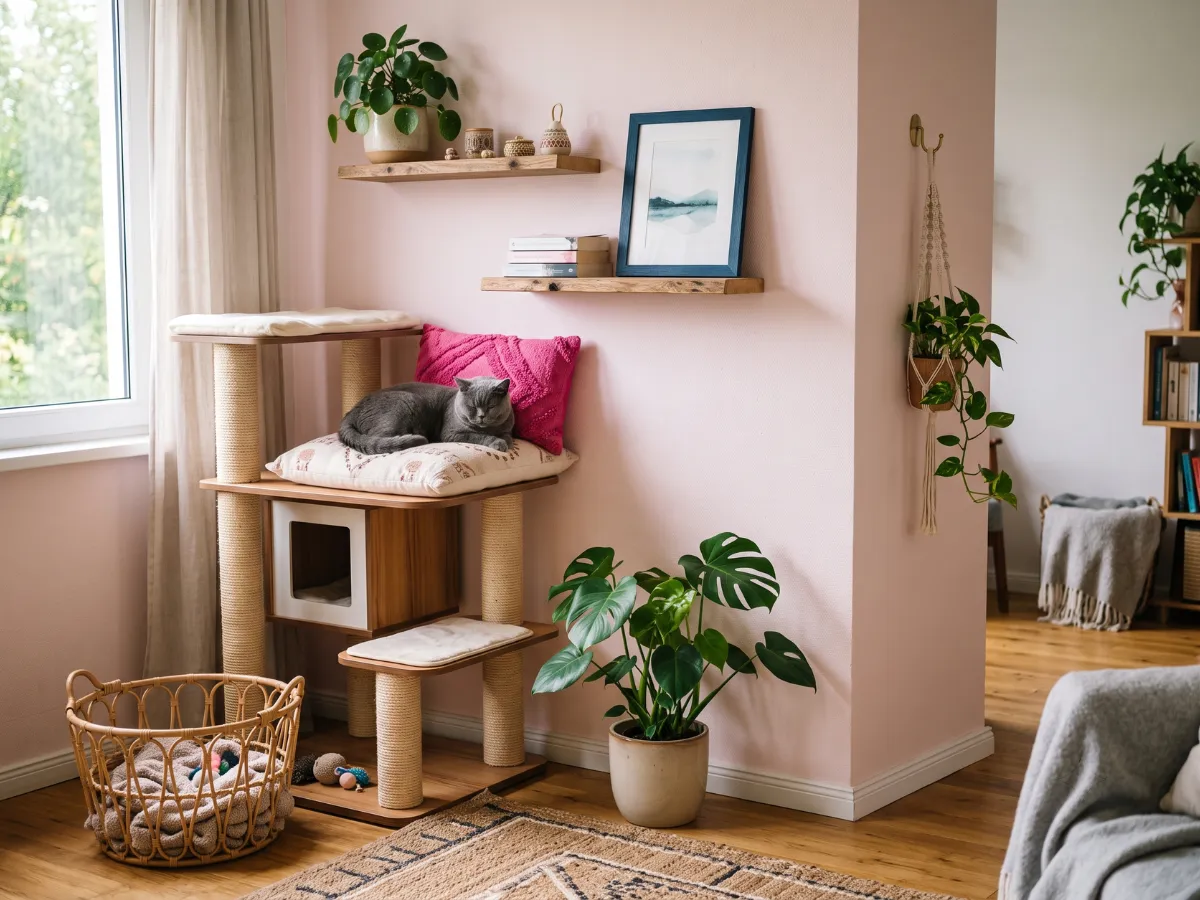
Place it where the cat already routes: the corner the bookcase stands in, the window wall, the stretch the morning zooms use. Give each resource its own spot and let the cat choose: a minimum of two resting areas, two feeding areas and two toileting areas. The tree is one resting area. The window is the second.
If you want to prototype the layout before committing a weekend to pine, our cardboard castle plans are the same design thinking in shipping boxes, and the towers double as a test run for which height your cat actually wants.
Plan two: the wall shelves
Wall shelves give more height for less wood, and they need a drill and a landlord who allows holes. If yours does not, the work-around is two freestanding posts set a shelf-span apart, or brackets mounted to a bookcase you already own.
Indoor resting areas, such as a perch or a secluded surface, should include a spot where the cat can see outdoors. That is the placement rule for the whole run: the lowest shelf steps up from a chair height, the top shelf lands at the window, and the middle shelf is the passing lane. Keep the gaps within a comfortable jump, and stagger the shelves so the route zigzags rather than climbs straight up.
Mounting, in the order that keeps you honest: find the studs with a finder, mark both shelf lines with a level, drill, bracket, board, screws. Check the wall anchor holds your cat’s weight by pressing down on the finished shelf with your own hand, hard, before any cat touches it. Where there is no stud, use the heaviest toggle the hardware store sells, and check the shelf again after the first month of jumps.
An ideal perch is elevated, with a padded cover, and an elevated area gives a cat vertical space to monitor its environment. Pad every shelf with the same wool or cotton as the platforms, wrapped over the front edge where the cat lands.

Sisal placement that gets used
Scratching areas can be a sisal-covered surface on an elevated perch or a scratching pad, and key resources should be available in multiple locations. Translated into this build: sisal on the posts the cat passes on the way up, so the scratch happens as part of the climb, and a separate pad on the floor somewhere else in the apartment, so the choice is real.
Wrap tightly, one loop pulled snug against the last, staples only on the underside and the hidden back of the post. Loose sisal loops catch claws on the way up and put the cat off the whole tree, so a loop that sags gets re-wrapped the week you notice it.
One shelf in the run also carries a sisal patch along its front edge. A cat that prefers a horizontal scratch gets its surface, and the run keeps working as a route.
Low reach for kittens and seniors
For kittens and older cats with limited mobility, keep boxes, perches and shelves low or reachable by a ramp. In this build that means three changes: the 8 x 30 ramp board set at a gentle angle from the floor to the mid platform, the wall-shelf run starting lower with smaller gaps, and the top perch optional rather than the point.
Wrap the ramp in sisal or carpet offcut so it grips, brace the underside with a triangle of scrap board, and test it yourself with a flat hand before the cat tries it. A cat that misses a jump twice stops trying, so the ramp stays until the cat stops using it. For informational purposes, consult your vet.
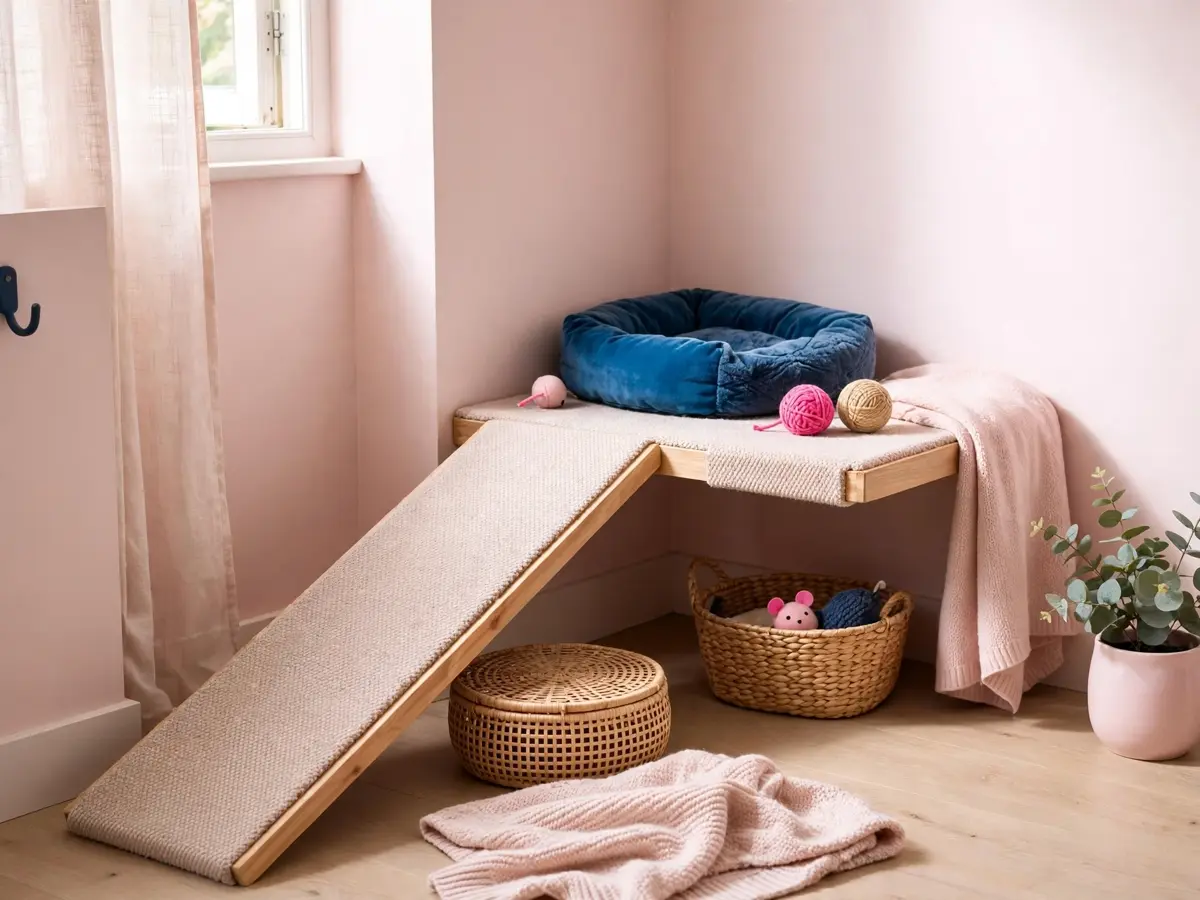
Test it before the cat does
Every joint gets a hand test before a cat lands on it. Press each platform down with a flat hand, hard. Rock the finished tree at the top and watch the base. Shim a wobble immediately with folded card under the base corner, and re-mount a shelf that shifts rather than hoping it settles.
Then re-check monthly. Screws loosen under a season of landings, sisal smooths where the cat scratches hardest, and padding wears thin at the landing edge. Ten minutes with a screwdriver and a staple gun, once a month, is the whole maintenance budget.
Build checklist
- Untreated pine only, no pressure-treated lumber, no MDF structure
- Pre-drill every screw hole so the posts do not split
- Sisal on the climb posts, a separate pad elsewhere
- Padding on every platform and shelf, wrapped over the edge
- Top perch lands at a window with a view outdoors
- Press-test every joint and shelf yourself, before the cat does
- Ramp and low first level for kittens and seniors
- Monthly screw, sisal and padding check
DIY wood cat tree questions
Do I have to drill into the walls?
No. The freestanding tree in plan one anchors to nothing, and the wall shelves have a work-around: two freestanding posts set a shelf-span apart, or a shelf bracket mounted to a bookcase you already own. If you do drill, fill the holes with color-matched filler at move-out. Check the wall anchor holds your cat's weight by hanging the whole shelf and pressing down on it yourself before the cat ever jumps.
Where does the sisal go?
Scratching areas can be a sisal-covered surface on an elevated perch or a scratching pad, and key resources should be available in multiple locations. Wrap sisal rope around the posts a cat passes on the way up, so the climb itself doubles as the scratch, and keep a pad on the floor elsewhere in the apartment so there is a second option.
What wood should I buy?
Untreated solid pine boards and pine closet-pole posts from the hardware store, sanded smooth and finished with a pet-safe water-based stain or left bare. Skip pressure-treated lumber, skip MDF for anything structural, and sand every edge until it is soft to a dragged finger.
How do I know the anchors are strong enough?
Check the wall anchor holds your cat's weight: mount the shelf, then press down on it with your own hand, hard, before any cat touches it. Use a stud where one exists, the heaviest toggle or anchor the hardware store sells where one does not, and re-press every anchor after the first month of jumps. A shelf that creaks or shifts gets taken down and remounted the same day.
Can kittens and older cats use it?
For kittens and older cats with limited mobility, keep boxes, perches and shelves low or reachable by a ramp. Set the first shelf as a step the cat can walk onto rather than jump onto, stack the levels closer together, and add a ramp of the same board stock between the floor and level one. For informational purposes, consult your vet.
How much does it cost versus buying one?
Our build ran well under the price of a store tower of the same height, mostly because the wood is cheap and the sisal is the only specialist item. The real difference is repairs: a shelf that goes soft gets sanded and re-covered on a Sunday instead of replaced, and a cat that outgrows the layout gets a new level instead of a new tree.
What we use
What we use for wood builds
Sisal rope, stud finder, heavy-duty anchors and a staple gun, in one list.
See what we use →As an Amazon Associate we earn from qualifying purchases.
Save these on Pinterest
Pin the cut list before the hardware run. The Cat Home collection holds the cardboard castle plans and the window perch builds, and the cat tree buying guide is the bought version of the same idea.
Sources
The placement and perch rules on this page come from feline environmental needs guidelines, not from our own head:
The plans page hands over the cut list and the build order; the climbing route order is what decides which shelf goes where.