 PawStyle Daily
Pet Loss Memorial & Rainbow Bridge
Paw Print Memorial Crafts to Make at Home
A paw print is the memorial that carries the animal itself in it. Not a drawing of this dog, not a stock silhouette, but the actual ridge and pad of one particular paw, pressed once and kept. That is why it is the keepsake households reach for most, and why it is also the one people worry about getting wrong. The good news: the work is forgiving. A print that comes out soft still reads as this paw, and a first attempt that smudges is part of the process, not a failure. This page walks through the two ways to take the print, the clay and dough materials that hold it, the sealing that keeps it readable for years, and the shelf that shows it off without turning a corner of the house into a shrine no one can sit near.
By PawStyle Daily · Updated 20 November 2026
Good to know: one press, then stop · air dry clay holds finer lines than dough · seal both faces · nothing here needs to happen this week.
The print that only this animal could make
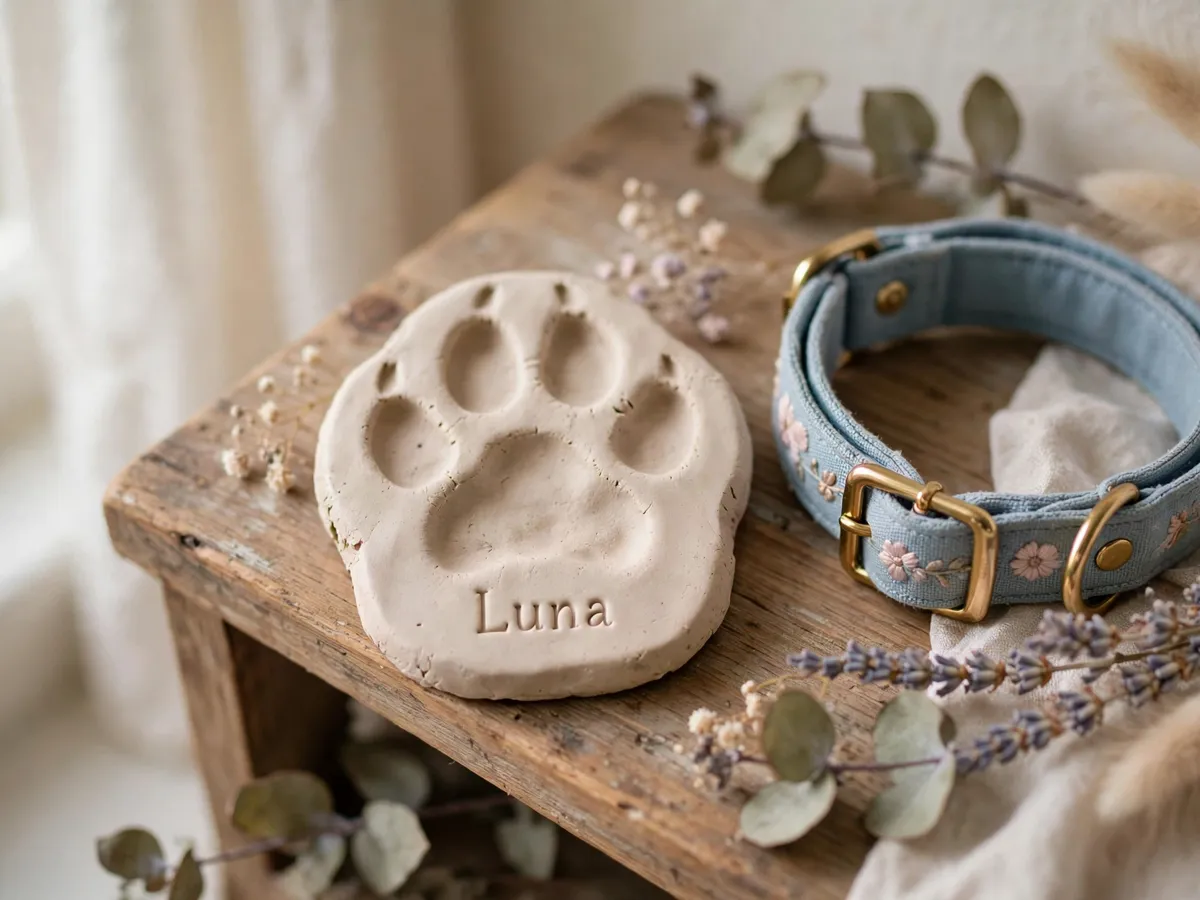
Every other memorial object is a representation. A portrait is somebody's drawing, an urn is a vessel, a stone is carved by a machine. A paw imprint is the animal's own mark, made by one paw pressing into something soft enough to take it. For many households that distinction is the whole reason the keepsake matters: it is the one object in the house made from this pet's own paw. It is also the memorial that works when there is no time to plan anything bigger, because the print takes a single session and the material comes from any craft shop.
The practical question people ask first is whether the print has to happen while the pet is alive. It does not, and it usually does. A living animal gives the cleanest impression, in a minute of patience at a kitchen table, and the session itself becomes part of the memory. A print taken later is possible too, since clinics often keep the impression they took at the visit. There is also a third route for households that never managed a print at all: tracing the paw outline from a photo, or keeping something else the animal wore or shed. The pet hair keepsake ideas page collects those versions, from the felted bead to the locket.
Taking the print: clay or ink
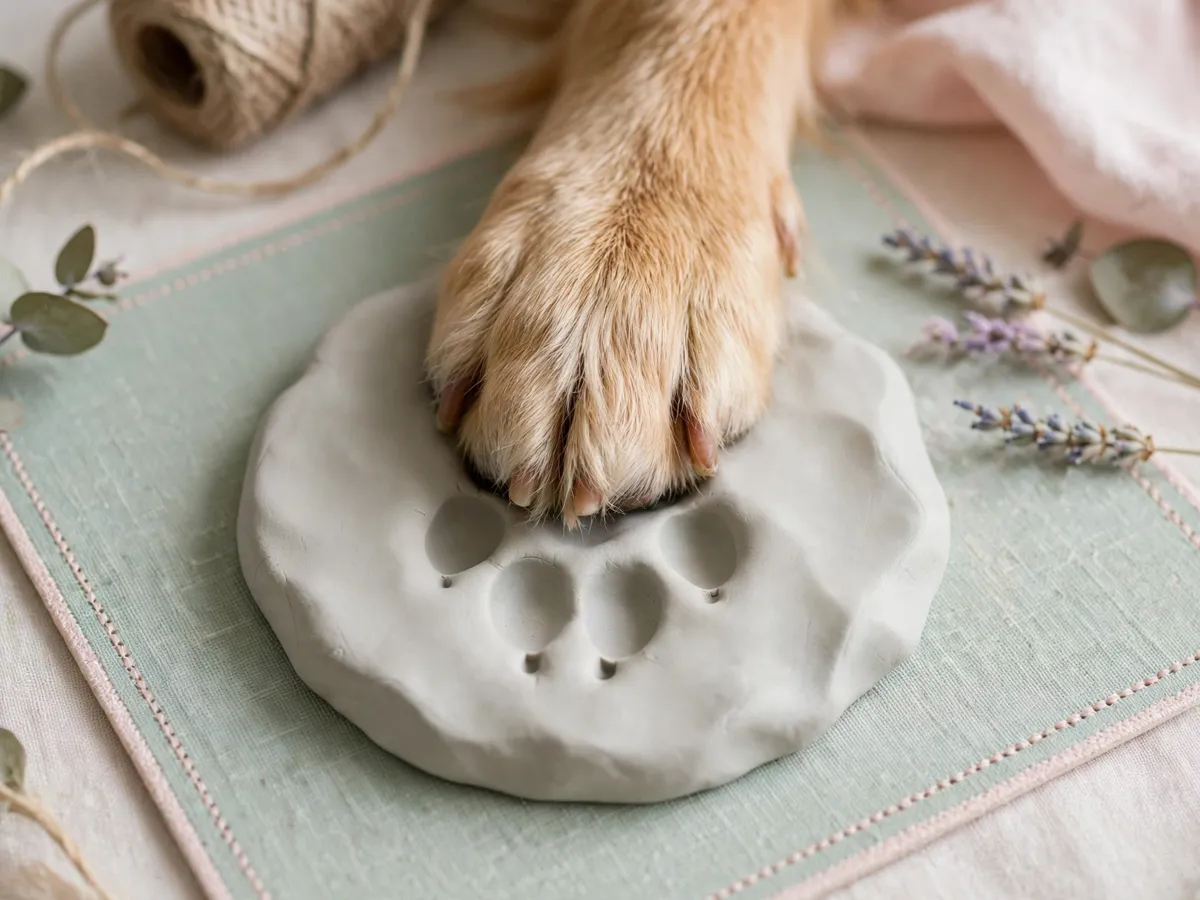
The clay route is the one to try first. Roll a slab of air dry clay flat, about the thickness of a finger, on a board so the finished piece has a straight back. Hold the paw above the slab, spread the toes gently, and press straight down in one steady move, deep enough that the pad prints cleanly but not so deep the clay squeezes up. Lift straight off. One press, then stop: a second attempt on the same slab turns a good print muddy, and a piece with soft lines still reads as this paw. Trim the slab to a circle or a square around the print while the clay is workable, and press the name and the dates into the border with a wooden stylus.
The ink route is faster and less tactile. Roll a pet printing pad out on paper first, press the inked paw onto card, and let the sheet dry before it goes into a frame. Non-transfer ink keeps the print from lifting off the page later, which matters for a framed piece that gets handled. Trim the nails and wipe the paw with a damp cloth before inking, because dirt and long nails blur the pad lines, and work on paper laid over a soft book so the paw gives a little under the pressure. A household that wants a print quickly, with no clay in the house, takes the ink route; a household that wants an object to hold takes the clay one.
Air dry clay: drying and sealing
Air dry clay is the material that holds the finest lines, and the one least likely to warp. The piece dries from the outside in, so the work is to slow that down: leave it on a rack or a folded cloth, out of direct sun and away from a heater, and turn it once a day so both faces dry evenly. Rushed drying is what curls the corners. A thick slab takes a few days to harden through, and a piece that still feels cool to the fingertip is not dry. Sand any raised burr with fine paper once it has hardened, then wipe off the dust.
Sealing is the step that decides how long the print stays sharp. Clay is porous, so it takes on colour from a spill or a humid room the same way marble does. Two thin coats of a clear craft sealer, brushed or sprayed, let dry fully between passes, is the working answer. Coat the back and the rim as well as the printed face, since moisture enters from behind. Acrylic varnish, epoxy resin and a matte spray all work; gloss reads best on a deep print, matte suits a piece with engraved lettering. A household that wants the keepsake hung rather than shelved drills the top corner before the sealer goes on.
Salt dough: the easy start
Salt dough is the version for a household that wants to make the keepsake tonight with what is in the cupboard. Flour, fine salt and water, kneaded until it holds a print cleanly, pressed the same way as the clay, then dried slowly in a low oven or on a radiator shelf. It is cheaper, it takes no ordering, and a child can press the paw too. It is also the softest of the three materials: the print lines are shallower than clay's, the piece is porous, and the edges chip if dropped.
Humidity is the honest weakness. A dough keepsake in a steamy kitchen softens at the surface over time, and unfinished dough in a damp drawer grows spots. Dry it thoroughly, seal both faces with two coats of clear varnish, and re-coat every year or two; most dough pieces that look ruined were simply unsealed. Bake low, let the oven cool with the door ajar, and poke the hanging hole before the piece hardens. Treat dough as the fast, replaceable version and air dry clay as the one that goes on the shelf for good.
Displaying a print at home
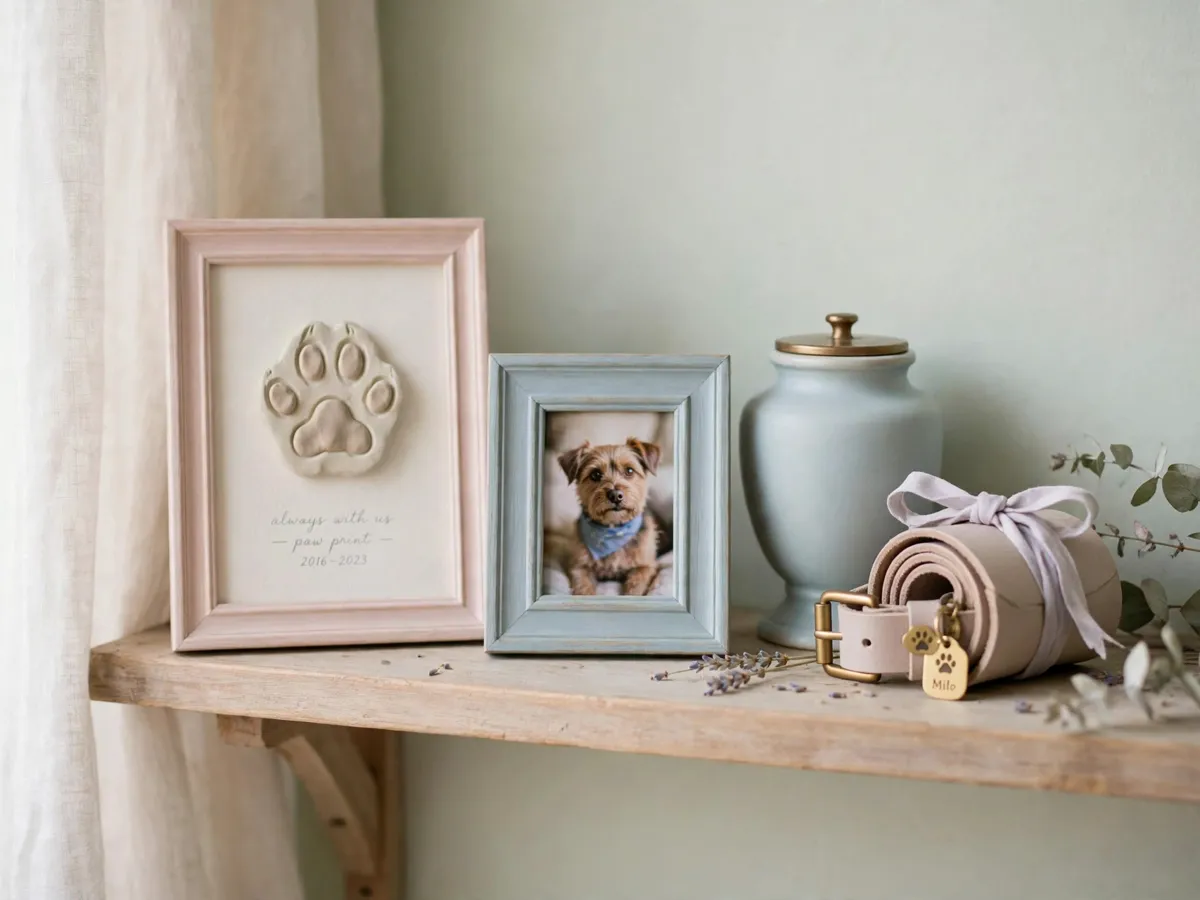
A single print on a busy wall disappears. Grouped with two or three things that belong to the same animal, it becomes a spot. The working cluster is small: the print, the collar rolled on a peg or laid in a dish, one photo, and nothing else. A shelf at eye level in a room people use beats a corner nobody enters, and a low shelf with a deep face beats a high mantel in a house with cats. A felt pad under a clay piece keeps it from marking the wood.
The second question is what to do with the paper version. A framed ink print sits on the shelf beside the clay one, and it is cheap to make twice, which matters for a household with more than one pet or a family member who wants a copy. Keep the spare in a flat box, not a tube, so the paper does not curl. For the written half of the memorial, the rainbow bridge keepsake journal holds the pages where the story behind the print goes: the day it was taken, the name nobody else used, and the things worth writing down before they fade.
Paw print keepsake questions
What is the gentlest way to take a paw print?
Press the paw softly into soft clay or an ink pad, one try, then stop. Treats and a quiet moment matter more than a perfect print.
Which keepsake material lasts longest?
Air dry clay sealed with a clear coat, or a fired ceramic print from a pottery studio. Salt dough is the easiest start but softens in humidity.
How do I display a paw print at home?
Group it with a collar and a photo on one shelf. A single print on a busy wall disappears; a small cluster becomes a memory spot.
Save this paw print guide
Pin it before the imprint session, and keep the clay rules handy for the drying days. The Pet Loss Memorial collection holds the keepsake gift list, the suncatcher and stone guides and the garden projects that sit beside this one.
For informational purposes only.