 PawStyle Daily
Pet Holiday Costumes & Party
7 No-Sew Bat Halloween Costumes for Dogs (Golden + Corgi Fits)
Bat wings are the easiest cute Halloween costume for dogs: one felt cut, two soft straps, zero sewing. These seven versions run from a 10-minute flat wing for Corgis to a layered wing for big Golden Retrievers, every one sized by chest measurement, never by guesswork, with a comfort check before any photo.
By PawStyle Daily · Updated 14 November 2026
Good to know: 10-30 minutes each · Felt + soft elastic only · Always supervised; never leave a costumed dog unattended.
Measure first: the only sizing that matters
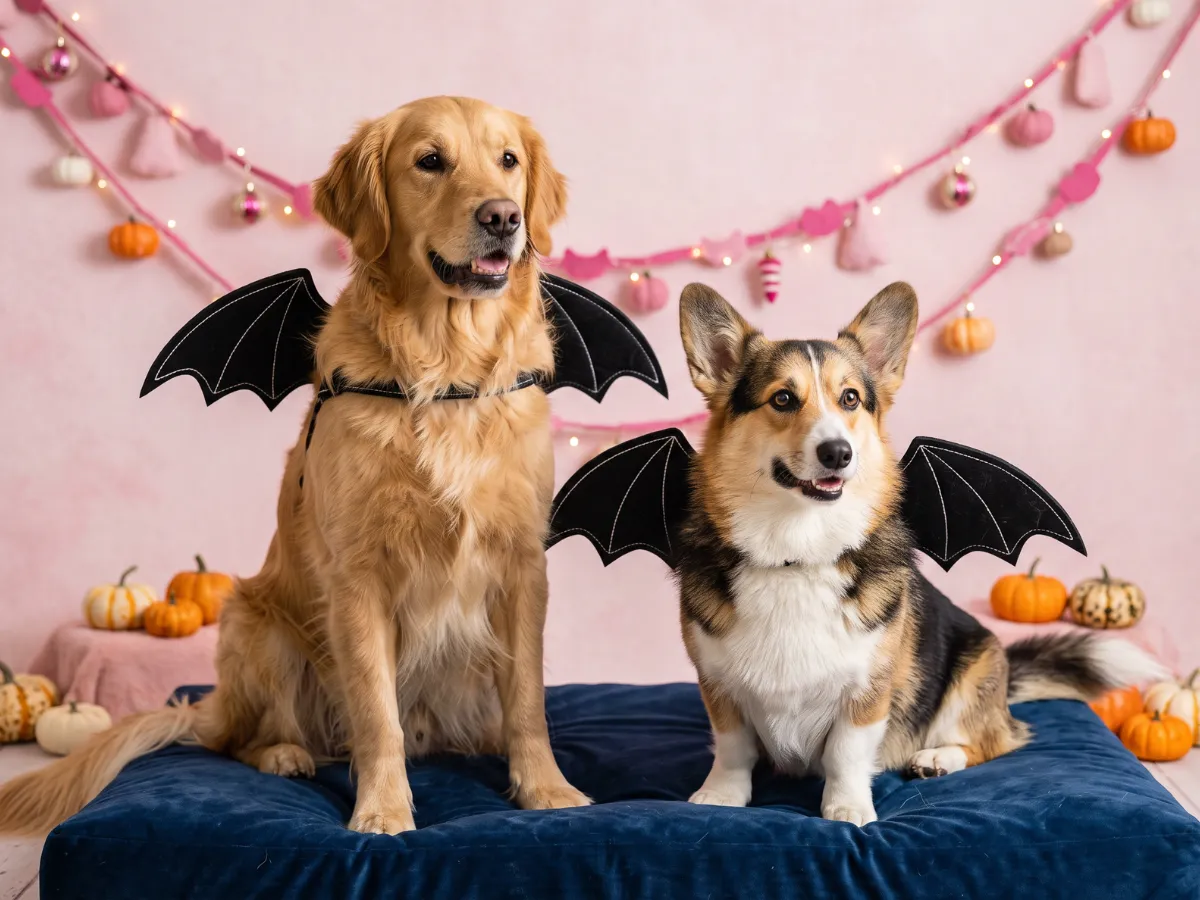
Wrap a soft tape around the widest part of the chest, right behind the front legs. Write the number down, because every cut on this page comes back to it: the template width, the strap length and the bow all start from that one measurement. Cut the straps longer than the measured chest so there is enough tail to tie a flat bow, then trim the tails short once the fit is checked. Two fingers should slide under the strap: snug enough to stay, loose enough to breathe. If your dog freezes, scratches, or sits down and refuses to move, the costume fails the comfort check: loosen, simplify, or skip it.
Watch a no-sew build start to finish
The same method every build below uses, shown on bat wings instead of a tutu: craft felt is cut, wired and tied at the chest with no sewing anywhere. The maker quotes about ten minutes of work. Watch how the ties sit before you cut your own felt.
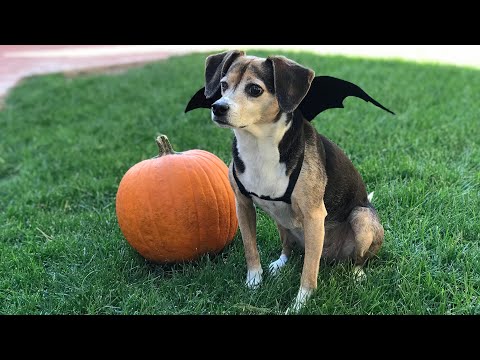
Bat wings cut from craft felt, wired and tied at the chest with no sewing anywhere in the build. Video by Dressed In Time on YouTube.
1. Flat felt wings (10 minutes)
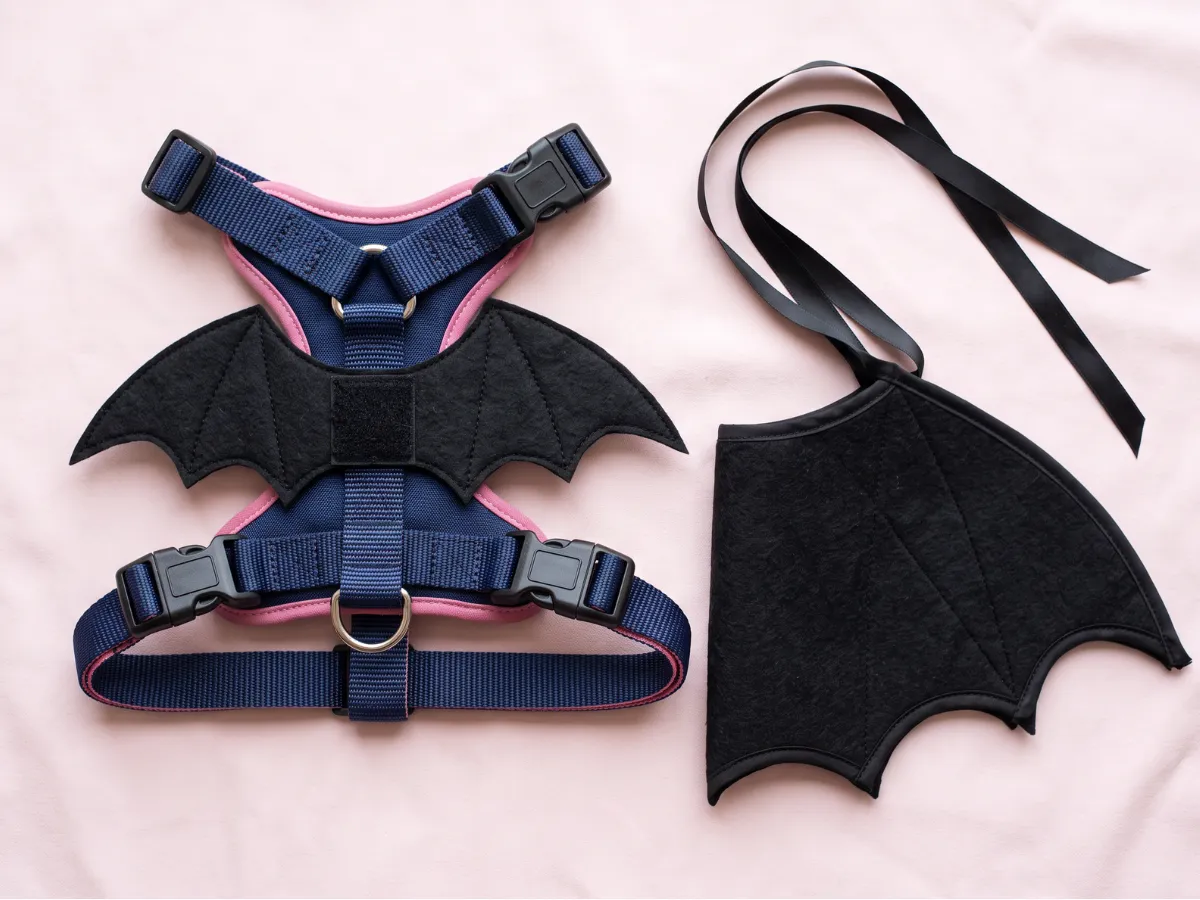
Cut one bat-wing shape from black felt, fold over the top edge, and glue a soft elastic loop on each side. Slides over the chest like a tiny vest. The Corgi default: short back, zero drag, photo ready in minutes.
Golden + Corgi · 10 minutes · Felt, soft elastic, fabric glue · Elastic flat, never cord; two-finger fit.
2. Layered wings for big dogs
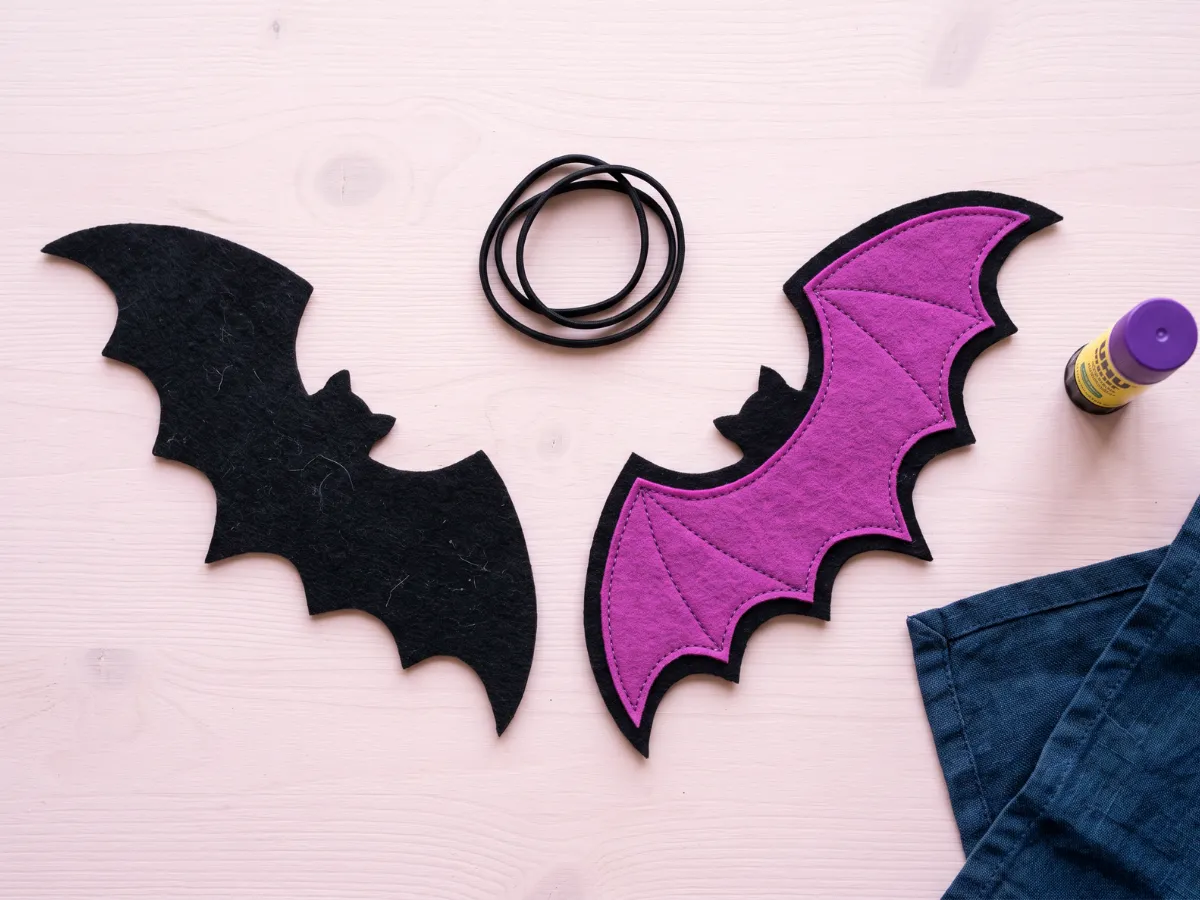
Two felt layers: a large black base plus a smaller purple top layer glued at the center only so the edges lift. Gives Golden Retrievers wingspan that reads in photos without adding weight. Same elastic-vest attachment as the flat version.
Golden · 20 minutes · Two felt colors, soft elastic, fabric glue · Keep total weight under a few ounces.
3. Harness-clip wings for walkers
Sew-free trick: glue small felt wings onto a strip of Velcro that wraps the dog's existing harness. Nothing new touches the body, and the leash clips where it always does. Best for dogs that tolerate a harness but hate new straps.
Any breed · 15 minutes · Felt, adhesive Velcro strip · Wings sit above the harness, never near the leash clip.
4. Hoodless bat cape
A half-circle of black fabric with wing points cut along the edge, tied loosely at the chest with ribbon. Skip the hood entirely: most dogs hate head coverings, and ears-out photos look cuter anyway. Ribbon ties, never elastic around the neck.
Golden + Corgi · 15 minutes · Black fabric, ribbon · Tie loose at chest; nothing around the neck or ears.
5. Glitter-edge party wings
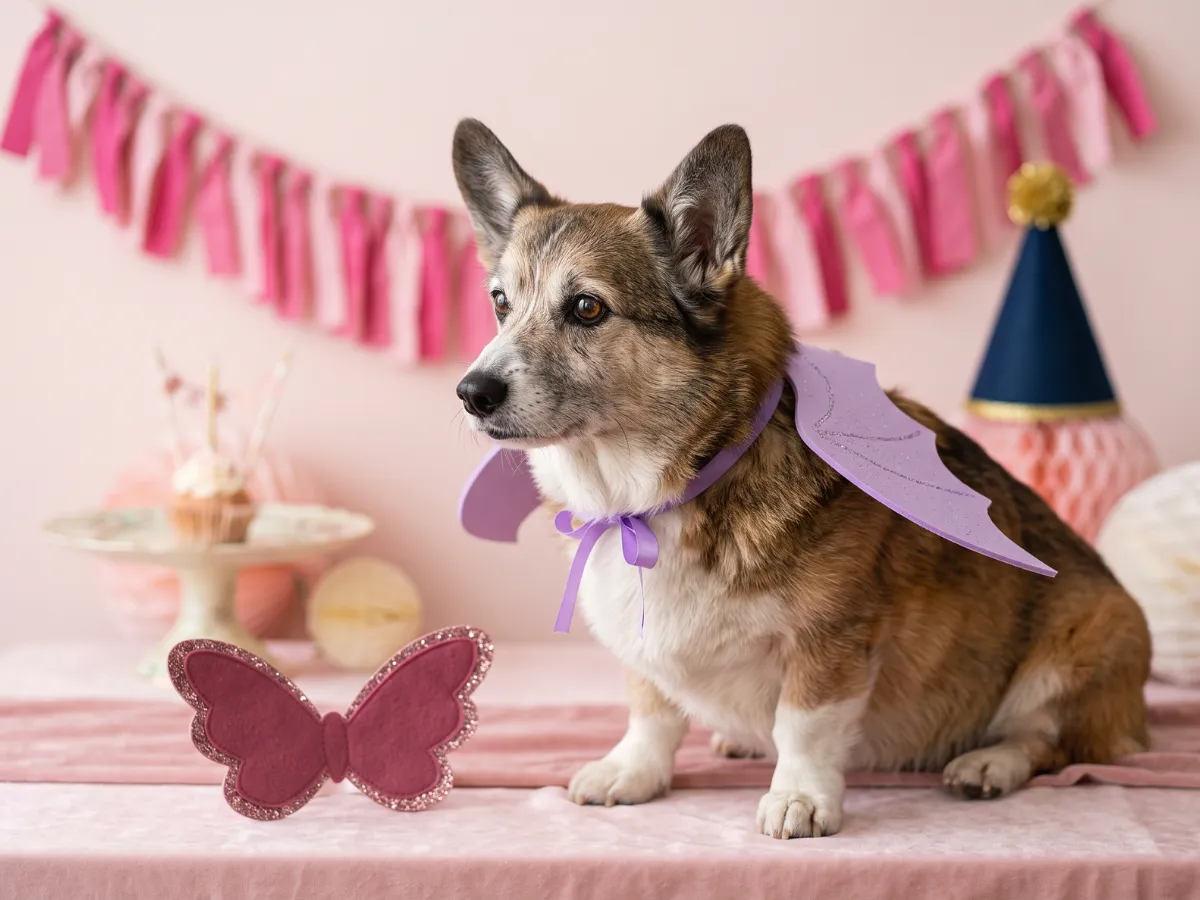
Flat felt wings with glitter-glue edges, dried fully overnight before wearing. The party version for indoor photos: glitter glue only, never loose glitter a dog can lick off.
Corgi · 10 minutes plus overnight dry · Felt, glitter glue · Must be fully dry and flake-free before wearing.
6. Owner-and-dog matching wings
Cut the dog wings first, then scale the same template up for a human tee or cape. Matching photos without dressing the human in a full costume: one template, two sizes, same felt.
Golden + Corgi · 30 minutes for both · Felt for two · Photograph together, then remove the dog's wings first.
For the full human-and-dog set, see our matching owner and dog costume pairs, and for a softer ghost alternative see the crochet ghost costume guide for Corgis.
7. Senior-and-puppy light wings
Craft-foam wings instead of felt: lighter than felt, holds shape with zero structure. For seniors, puppies, and any dog that notices every extra ounce. Single chest strap, a short wear test indoors before any outing.
If spooky season is not your dog's thing, the Christmas dog costume and stocking guide covers cozy December fits instead.
Seniors + puppies · 15 minutes · Craft foam, soft elastic · Shortest wear time; comfort check every few minutes.
Seven no-sew bat wing versions
| Version | Fabric or material | Who it suits |
|---|---|---|
| 1. Flat felt wings | Black felt, soft elastic, fabric glue | Corgi default: short back, zero drag |
| 2. Layered wings | Black felt base, purple top layer | Big dogs that need wingspan in photos |
| 3. Harness-clip wings | Felt on an adhesive Velcro strip | Dogs that tolerate a harness, hate new straps |
| 4. Hoodless bat cape | Black fabric, ribbon ties | Dogs that hate head coverings |
| 5. Glitter-edge party wings | Felt with glitter-glue edges | Indoor party photos |
| 6. Owner-and-dog matching | Felt for two, one template | Matching photo sets |
| 7. Senior-and-puppy light wings | Craft foam, soft elastic | Seniors, puppies, ounce-counters |
Materials that actually work for felt wings
Seven builds, one shopping list. Everything here is craft-aisle cheap, and each row says what the item is for, what to look for on the shelf, and what to leave in the basket.
Materials for no-sew bat wings
| Item | What it is for | What to look for | What to skip |
|---|---|---|---|
| Felt sheets | The whole wing body; a firm craft felt holds a cut edge and keeps its shape | A stiff craft felt sheet in black plus one accent color, sold by the sheet | The loose, fluffy felt that sheds fibers and curls at the first cut |
| Soft elastic | The chest straps; flat elastic spreads the pressure and does not roll into a cord | Flat braided elastic, narrow enough to sit flat under the wing without rolling | Round cord elastic, clear elastic, and any elastic with a metal slider |
| Ribbon | Tying the hoodless cape and finishing the flat bow at the chest | A soft satin or grosgrain ribbon, cut longer than the measured chest | Ribbon with wired edges, stiff tulle, and anything with a rhinestone buckle |
| Scissors | Cutting felt and ribbon; a dedicated craft pair keeps felt edges clean | Sharp fabric scissors with a long blade, kept for craft use only | Paper scissors, which crush felt instead of slicing it |
| Fabric glue | Holding strap to felt while you stitch, and gluing the layered wing at the center only | A flexible fabric glue that dries clear and stays bendable, in a small bottle with a precision tip | Hot glue on bare felt, general-purpose craft glue that turns brittle, and glue guns anywhere near the dog |
| Cardboard template | The one wing shape you draw once, then flip and reuse for every future build | A stiff shipping-box panel or a cereal-box panel, with the year and the strap length written on the back | Thin printer paper, which slides while you trace, and old templates with no notes on them |
| Hook and loop dots | The harness-clip build, where the wing attaches to a strip instead of the dog | Self-adhesive hook and loop dots or a peel-and-stick strip that will hold felt to a harness strap | Sew-through hook and loop tape with adhesive only on one side, and industrial-strength tape that leaves residue on a harness |
| Safety pin | Holding the layers, the template and the strap in place while you check the fit | A few large safety pins, used and removed before the wings go anywhere near the dog | Pins with beads, glued heads, or any small part that can come loose |
| Measuring tape | The chest measurement every cut starts from, and the strap length you note for next year | A soft fabric tape measure, the kind that bends around a chest | A metal builder's tape, a tape that starts at the end, and any measurement you take from memory |
Prices move by store and season, so buy the felt and elastic first and treat everything else as a swap-in from a kit you already own.
Cut the wing template
One good template is what makes the other six builds fast, so this step runs once and gets reused. Work on cardboard first, because a mistake in cardboard costs nothing.
- Draw one bat wing on the cardboard panel: a wide shoulder curve, a scalloped bottom edge, and three points on the outer side. Keep the wing no wider than the dog can carry without dragging.
- Cut the cardboard wing out with scissors, then flip it over and trace it again so you have a left wing and a mirror right wing. A wing traced from itself is always symmetrical; one traced from the other is not.
- Stack two felt sheets with the grain running the same way, pin the cardboard template through both layers, and cut felt two layers at once. Two layers in one pass gives you a matched pair and a spare.
- Hold the cut wing up against the dog before any glue goes on and check the wing clears the shoulder. If the top edge sits on the shoulder blade, the dog will feel it on every step, so shrink the template and cut again.
- Write the date, the dog, the strap length and the wing width on the cardboard panel, then file it with the box. That note is what makes next Halloween a 10-minute build.
Attach the straps
The straps are the only part that touches the dog, so they get the most care. Two short straps per wing, a flat bow at the chest, and nothing that goes anywhere near the neck.
- Cut two short straps per wing, each one longer than the measured chest so there is enough tail to tie a flat bow, then trim the tails short once the fit is checked.
- Glue the strap ends to the wing with a flexible fabric glue, and sew them if you can: a running stitch through felt and elastic takes the load the glue would otherwise carry alone.
- Sit the joined seam centered on the chest, and make sure the strap sits behind the front legs, not on the shoulder and not on the soft skin of the armpit.
- Tie a flat bow at the chest, never a knot you have to pull tight, and leave the bow tails short so nothing dangles into a paw or a mouth.
- Slide two fingers under the strap before you call it done: snug enough to stay, loose enough to breathe, and easy enough to pull off in one move if the dog has had enough.
- Keep every strap off the neck. A collar and a tag stay on the dog, and the wings hang from the chest strap or the harness, never from anything around the throat.
Fit check before the glue dries
A few minutes of checking now saves a rebuild later. This is the pass we run on every build, from the flat felt wing to the layered one.
- Hold the wing against the dog's side first, before any strap is tied, and look at where the top edge falls relative to the shoulder.
- Ask the dog to sit, then to turn in a slow circle, and watch the wing through both moves. A wing that lifts or twists during a turn needs a strap moved, not a wing trimmed.
- Trim anything that touches the ground when the dog stands, and leave a little clearance so a wing tip does not scoop up leaves or wet pavement on a walk.
- Check the wing does not block the side of the eye from any angle, including the tilt the dog uses to look up at you.
- Check the ears, the tail and the back end stay fully free, with nothing on the head and nothing that a paw can reach and pull.
- Only after the dog is relaxed does the glue get to set. Dry time is patience time, and it happens with the wings off the dog.
A wear-time plan that stays a habit
Treat wear time as a choice you make each year and a habit you build slowly. Most dogs accept wings better when the first session is short and indoors, with a treat and a photo at the end, and a break before the wings go back on.
Short sessions with a break between them are the rhythm that works: wings on for a few minutes, wings off for a break, then again if the dog is still relaxed about it. Start inside where the floor is dry and nothing can snag, and end the session while the dog still likes it. Photo day can be one long session built out of three or four short ones.
Watch for the signals that say the session is over: a dog that freezes in place, paws at the wing, tries to lie down on it, or shakes the whole thing off in one move. Any of those means the wings come off now, not after one more photo. A costume that limits movement, sight or breathing is a bad idea, and small dangling pieces or costume accessories are a choking hazard.
Never leave a costumed dog unattended, even for a minute, even indoors. Wings come off for eating, sleeping, drinking, and every car ride. If the pet goes out after dark, a reflective collar, a secure leash and proper ID make the walk safer, and the wings come off in the car and at home. Costume safety is common sense plus your own dog in front of you: for anything beyond the obvious, this page is for informational purposes, consult your vet.
Common problems and fixes
Felt wings fail in six predictable places, and every one of them has a fix that does not need a new felt sheet.
What goes wrong and what to do
| Problem | Why it happens | Fix |
|---|---|---|
| Felt curls at the edge | Felt cut against the sheet's grain, or a wing stored folded for months | Cut with the grain running down the wing, press the edge flat with a warm iron over a cloth, and store the wings flat or hung rather than folded |
| Glue goes stiff and cracks | A general-purpose craft glue dried thick between felt and elastic | Peel the strap, scrape the old glue, and re-glue with a flexible fabric glue in a thin layer, then stitch through both layers |
| Wing spins around to the back | Two straps of different length, or a seam that slid to the softest part of the chest | Measure both straps from one mark, center the seam on the chest, and pin the layers during the fit check so the wing holds its place while the glue sets |
| Strap slides under the armpit | The strap sits too far forward or too far back on the chest | Move the strap behind the front legs and re-check the two-finger gap, then mark the strap position on the template for next year |
| Wing drags on wet ground | The wing template was cut wide for the dog, or the ground is wet and the felt soaks it up | Trim the wing tip for clearance, skip the wings on a day with rain in the forecast, and re-flatten the felt before the next outing |
| The dog shakes it off in one move | The build went on before the dog was relaxed about it, or the strap is loose enough to slip | Work back through the sniff, hold, then strap steps, keep the two-finger fit, and treat a single shake as the end of that session rather than a fit problem |
Every fix above is a process fix: measure once, cut with the grain, center the seam, and check the fit before the glue sets.
Store it for next year
A build earns its keep when next October is easy, so the wings go away dry and flat. Felt holds up for a year in a closet that way.
- Brush the fur off before the wings go in the box, because fur works its way into the felt and comes out badly later.
- Re-flatten the felt with a warm iron over a cloth, then fold the wings with the straps untied so the elastic stays relaxed.
- Keep the cardboard template with the year written on it, plus the strap length that worked and the wing width, so the next build starts from the finished one.
- Store the set somewhere dry and out of direct sun, in a box with the photo from this year tucked in as a reminder of how it looked.
- Retire a wing when the felt is thin, the glue seam has opened, or the elastic has gone slack, and cut a fresh pair from the template instead of patching it.
When to skip the wings
Some years the right answer is no wings at all, and that is a normal outcome rather than a failed build. These are the situations where we set the felt aside.
- A dog that freezes when anything goes on the body, or that has never worn a collar, a bandana or a harness, gets the wings only after a slow introduction, and sometimes not at all.
- A puppy still chewing everything turns wings into a snack, so wait until the chewing phase has calmed down.
- A day with rain in the forecast is a bad costume day, because wet felt is heavy, cold and slow to dry.
- A dog with a skin issue, a patch of raw skin, or a healing incision anywhere a strap would sit is a dog with no strap, and that means no chest-tied wing this year.
- A dog that pants hard, lies down, or tries to leave the room the moment the wings go on is telling you clearly, and the honest move is to take them off and keep the costume for the photos only.
Bat costume questions
What if the wings fail the comfort check?
A costume that limits movement, sight or breathing is a bad idea, and small dangling pieces or costume accessories are a choking hazard. If your dog freezes, scratches, or sits down and refuses to move, loosen the strap, simplify the build, or skip the costume.
Can I use glitter on bat wings?
Glitter glue only, never loose glitter a dog can lick off, and the wings have to be fully dry and flake-free before they go on. Dried overnight is the version we build.
What about an evening walk in the costume?
If the pet goes out after dark, a reflective collar, a secure leash and proper ID make the walk safer. Keep the walk short and take the wings off in the car and at home.
Felt or stiff craft foam for the wings?
Felt is the friendly first material: it bends instead of poking, it cuts with ordinary scissors, and a curled edge is a two-minute fix. Craft foam is lighter and holds a crisp wing shape with no structure, which is why the senior-and-puppy build uses it. Foam can crease permanently if a dog leans on it, and a thin foam edge can feel stiff against fur, so felt wins for most dogs and foam wins for the ones that notice every ounce.
How do I wash a felt wing?
Brush the fur off first, then hand-wash cool with a mild soap, squeeze the water out through a towel, and lay it flat to dry with the wing pinned into shape. Never soak a glued seam, never wring it, and never put felt in a dryer, because heat loosens the glue and shrinks the fiber. If a wing has glitter glue on the edge, spot-clean only.
How do I keep the wing from spinning around to the back?
The wing spins when the two straps are different lengths or when the glue seam sits on the softest part of the chest. Measure both straps from the same mark, glue and sew if you can, and keep the joined seam centered on the chest so the weight sits even. A safety pin through both layers during the fit check shows you where it wants to rotate before the glue sets.
Should I sew or glue the straps?
Glue alone is fine for a photo-only build that comes off the same evening. Sew if you can, because a glued seam stiffens as it dries and felt glued to elastic peels apart at the edges first. The strap steps above use both: glue holds the strap while you stitch, and the stitch carries the load later. Use a fabric glue that stays flexible when it dries, not a general-purpose craft glue that turns brittle.
What do I do if my dog hates the wings?
Take them off, then work back in smaller steps. Let the dog sniff the wing on the floor, hold the wing near the body without strapping it, and only attach the straps once the dog is relaxed about the feel. A costume that limits movement, sight or breathing is a bad idea, and small dangling pieces or costume accessories are a choking hazard. If your dog freezes, scratches, or sits down and refuses to move, loosen the strap, simplify the build, or skip the costume.
How should I store felt wings between Halloweens?
Brush the fur off, re-flatten the felt with a cool iron over a cloth, and fold the wings with the straps untied so the elastic stays relaxed. Keep the cardboard template with the year written on it, and note the strap length that worked so next year starts from the finished build instead of a fresh guess. Store the set somewhere dry and out of direct sun, since a damp closet spots felt and a sunny shelf fades it.
Costume checklist: copy this before you cut
- Chest measured behind the front legs; straps cut longer than the measurement so the tie sits flat
- Two fingers fit under every strap
- No small parts, buttons, or loose glitter in licking reach
- Ears, eyes, and tail fully free; nothing on the head
- Short indoor wear test before photos or walks
- Supervised the whole time; costume off for eating, sleeping, car rides
What we use
What we use for no-sew dog costumes
Felt, soft elastic, and fabric glue cover all 7 builds, the same three basics we reach for in every no-sew guide.
See what we use →As an Amazon Associate we earn from qualifying purchases.
Save these on Pinterest
Saving beats memorizing. Pin the wing style that fits your dog's size, then come back with felt and a tape measure. The Holiday & Gifts collection holds the matching-owner and ghost-corgi guides.
Costume fit and safety basics the ASPCA teaches for Halloween: ASPCA Halloween safety tips.