 PawStyle Daily
Best Pet Supplies & Gift Guide
Custom Pet Portrait Keychain — DIY Two Ways
One photo of one pet, a small oval of plastic or resin, and a ring that takes a key. That is the whole project. The shrink plastic version is the craft-night one; the resin version is the gift that looks bought. The steps below cover both, plus the sealing and boxing that decide whether the piece survives daily keys or chips inside a pocket.
By PawStyle Daily · Updated 18 November 2026
Good to know: a photo that crops well · two methods, one of them for kids · a coat that takes a pocket · a box worth opening.
Pick the photo first
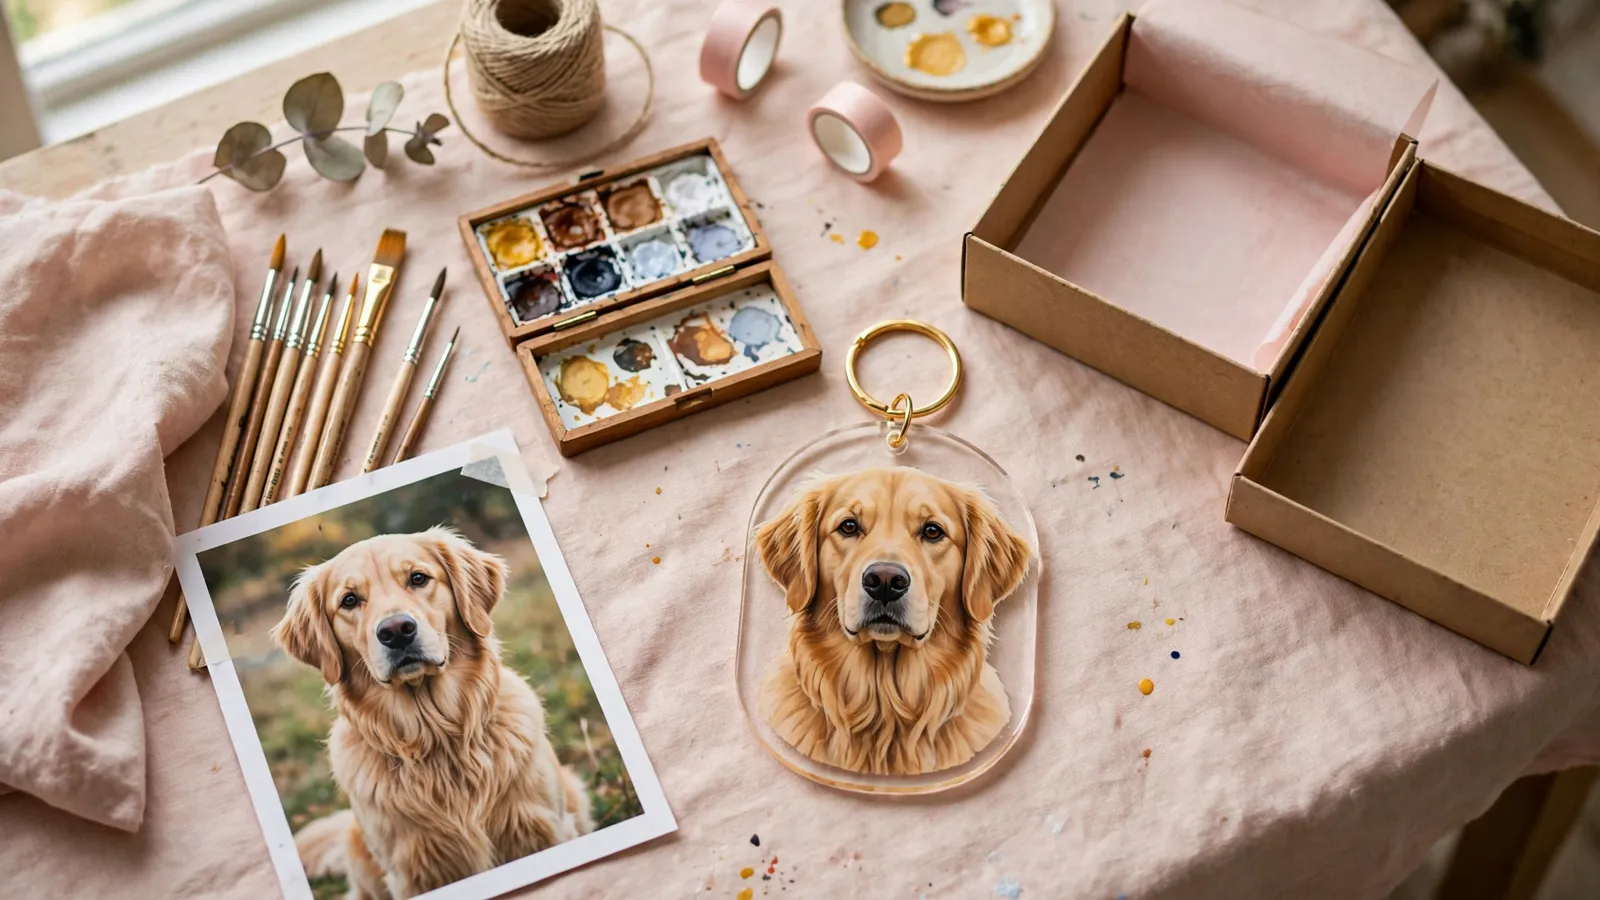
Start with the photo you love, then take a second one for the keychain. The second is the one that works: a single pet in the frame, both eyes toward the camera, a plain background behind the head, and daylight falling on the face rather than behind it.
Shoot near a window with the pet facing the glass, and take a step back rather than leaning in. You can crop tight later. You cannot crop back out once the photo has been taken.
Then crop to an oval. A keychain face is small, so the head fills most of the shape with the ear tips just inside the edge. A full-body photo turns into a smudge of fur at that size, and a patterned rug behind the head turns into noise.
If the only good photo you have needs tidying before it is printable, the photo-to-portrait guide covers the crop and the clean-up, and the portrait-from-a-photo route is the shortcut when the source picture is old and small.
Method one: shrink plastic
Shrink plastic is the version to start with: cheap, forgiving, and it bakes in a home oven with an adult watching through the door.
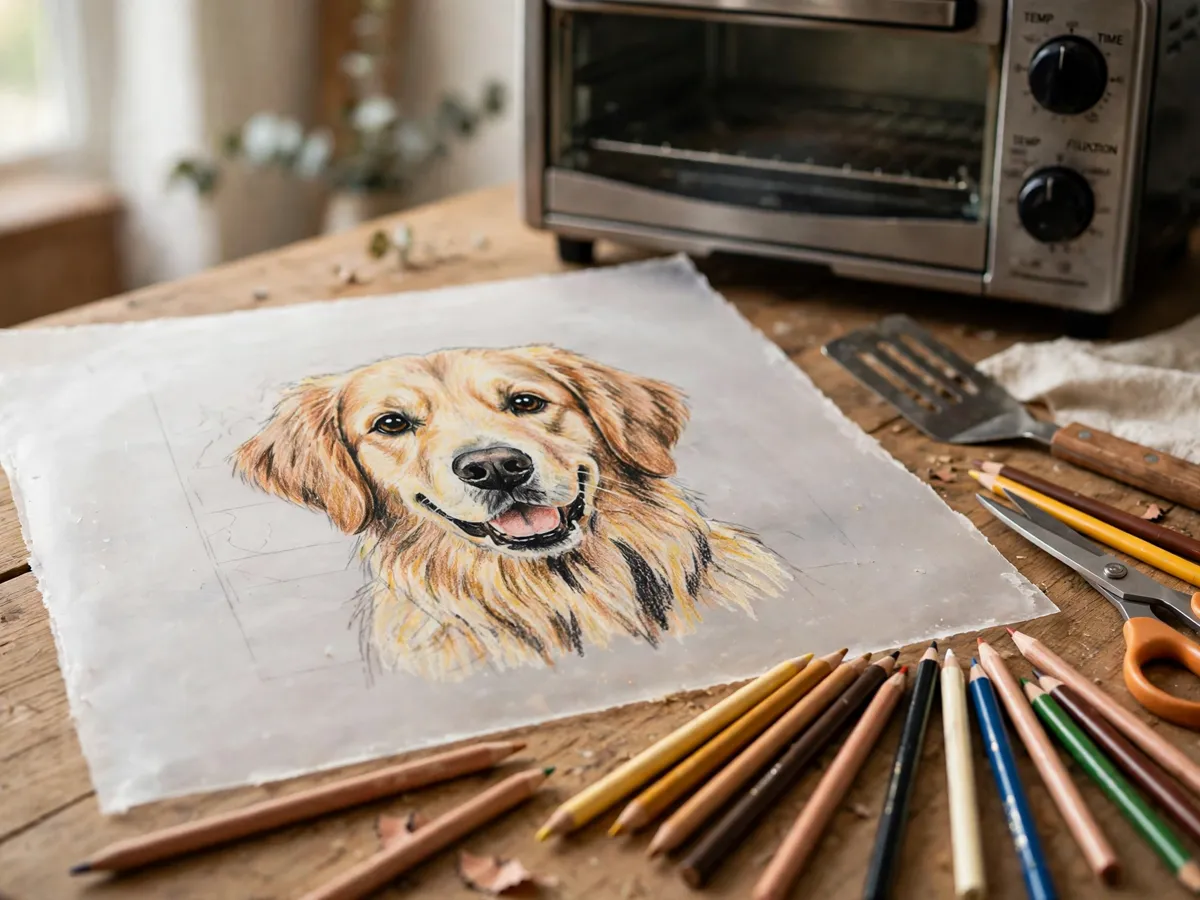
- Print the cropped portrait bigger than the finished piece, because the plastic shrinks as it bakes. Aim for a printed face with room to spare and the finished oval lands near the size you wanted.
- Tape the print to the plastic sheet and trace the head, the eye line and the ear tips with a fine marker. Lift the print away and the outline stays on the sheet.
- Turn the sheet over and work on the frosted side. Colored pencils grab the frosted surface and stay where you put them, and the glossy side is the face that ends up showing.
- Cut with a margin outside the line, then tidy the oval with small snips. Sharp cutters, and an adult does the cutting when a kid is helping.
- Punch the hanging hole before baking. The hole shrinks with everything else, so punch it wider than the ring you plan to use.
- Bake on the baking paper the packet supplies, at the temperature and for the time the packet gives. Watch through the oven door: the piece curls first and then flattens itself.
- Press it flat while it is still warm, with a cloth between the plastic and a book or a cutting board, and hold it there until it stops moving.
If you would rather trace than draw, print one of the black cat coloring pages and take the outline straight off the sheet.
Method two: resin and a printed photo
Resin gives a glossy, thick-edged piece with the print sealed inside it. It takes longer than the plastic version and it looks like something from a shop, which is exactly why it is the gift version.
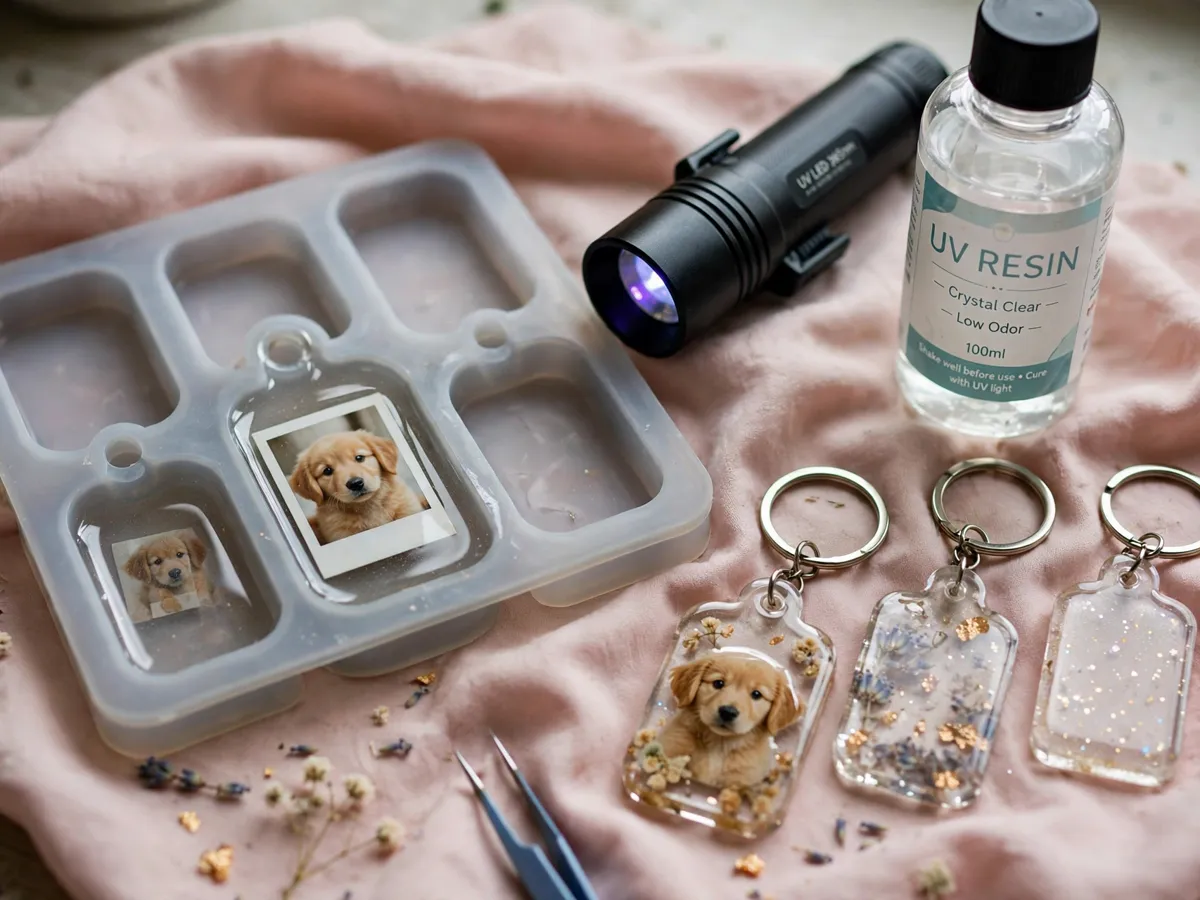
- Trim the print to sit inside the mold with a little clearance. A print that touches the mold wall shows its paper edge through the finished piece.
- Seal the back of the print with a thin coat of resin or a clear sealer and let it dry until it stops feeling tacky. An unsealed print darkens and its fibers show through the pour.
- Pour a thin layer of resin into the mold, lay the print face down into it, and press from the middle outward so no air stays trapped under the photo.
- Top the mold up to the rim and lift the bubbles out with a heat tool or by breathing on the surface, held above the resin rather than in it.
- Leave it to set for the time the resin package gives, in a room at the temperature the package names. A UV torch sets a thin pour fast; a deep mold needs the full setting time the bottle asks for.
- Leave it longer than feels necessary before you handle it. A piece that reads firm at the edge can still take a fingerprint in the middle.
The hardware
A split ring, a swivel clasp, or a short chain. The ring takes the wear, so it is the part worth buying properly rather than in a mixed bag of findings.
- A split ring with a flat coil. A cut end catches the lining of a pocket and works itself open, and a keychain that opens is a keychain you lose.
- A swivel clasp if the keys live in a pocket. It sits between the ring and the body and keeps the piece hanging flat instead of sideways against a thigh.
- A chain only for a bag. A short chain turns the piece into a bag charm. Skip it for a key ring, because the chain is the part that breaks first.
- A hole that clears the ring. The hole has to take the ring's gauge with room to turn, and the ring has to carry a key ring and a carabiner without stacking into a lump.
Size the piece against the pocket it will live in, not against the photo. A keychain that catches on a wallet is the one that ends up in a drawer.
Seal it for daily keys
A second thin coat over the face, and a coat over the cut edge, is what turns a craft piece into something that lives on a key ring.
Brush it on and let the coat flow over the edge rather than pushing it with the brush. The edge is where the coat either covers or pools, and a pool at the edge is what chips later.
Round every corner of the outline. A point catches on the inside of a pocket and chips first, so shape the oval as you cut rather than after it bakes.
The edge and the hole wear before the face does. If you reinforce only one part of the piece, reinforce those and leave the artwork alone.
Finishing it as a gift
A small box, tissue, a card with the pet's name written by hand, and a photo of the pet tucked behind the lid.
Write the name and nothing else on the card. It is the line the person keeps, and a printed message on the same card undoes it.
Line the box with tissue in a tone picked from the pet's own coat, lay the keychain on top, and close the lid so the photo sits underneath it. Opening the box shows the photo and the object made from it at the same moment.
Wrap the box in paper rather than dropping it into a gift bag. A keychain in a bag reads as an errand; the same keychain in a box reads as a gift. If it has to travel, tape the lid shut so the tissue stays put, then box it again before it goes in the post.
Pair it with something flat and printable and the gift gets a second layer without a second parcel: the watercolor print guide makes a card-sized companion, and the small-gift list has more pieces to tuck in beside it.
Common failures and the fix
- Cloudy resin. The resin went in cold or the room was damp. Warm the bottle in your hands first and pour in a dry room.
- Curled plastic. It went into the oven unevenly, or it came out before it had flattened. Warm it again on baking paper and press it while it is soft.
- Chipped paint. The surface had oil from your fingers or the pencil was very waxy. Wipe the frosted side before you color, and seal the finished face.
- A hole that shrank too small. Ream it with a small round file, or drill it from the front so any chip lands on the back where nobody sees it.
- A print that slid under the resin. The sealer on the back was still tacky. Let it dry properly next time, and set the print with a drop of resin under it.
None of these ruins the piece. A cloudy pour can be sanded back and recoated, and a curled oval can be warmed and pressed again.
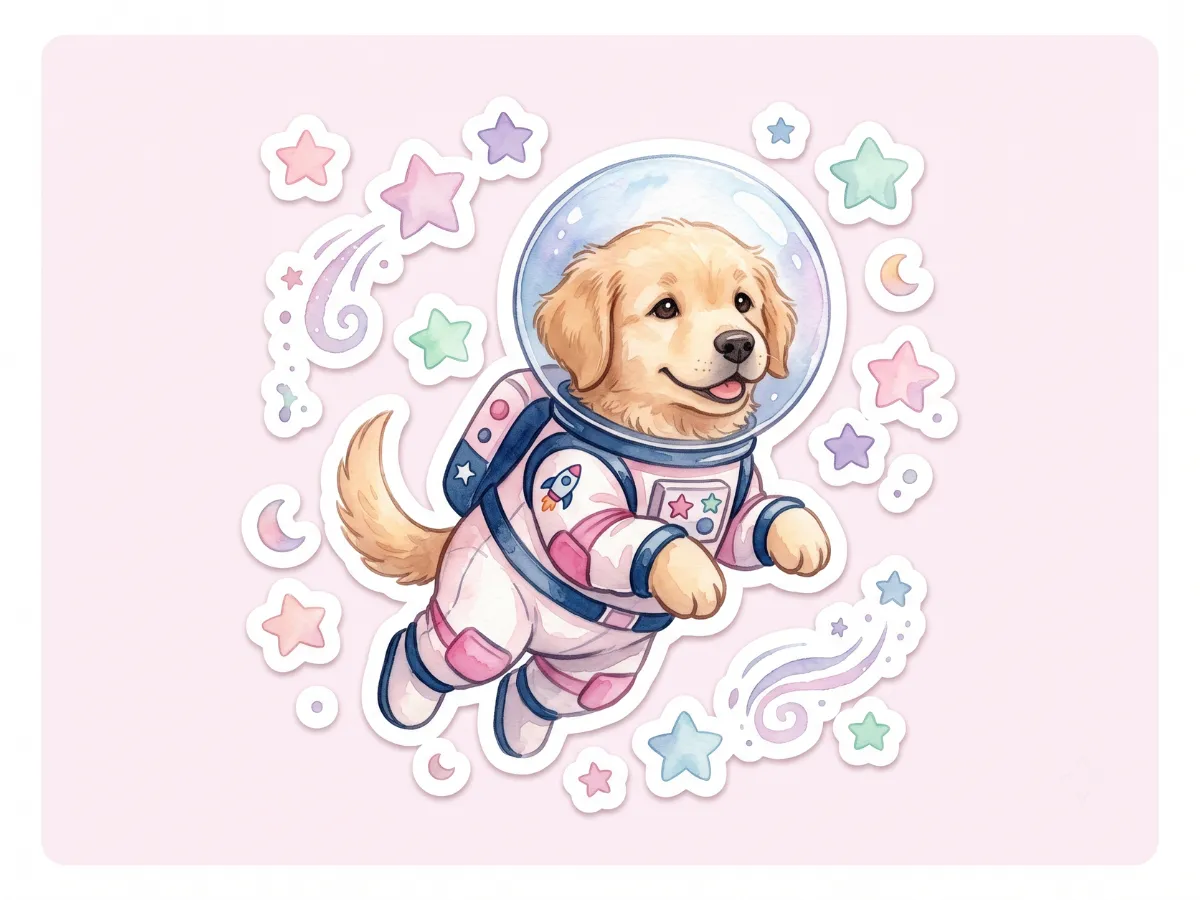
Start the craft box
Shrink plastic, resin and keychain blanks
Frosted shrink sheets, a small resin kit with a UV torch, split rings and swivel clasps, plus a box and tissue to finish the gift.
See the craft supplies →As an Amazon Associate we earn from qualifying purchases.
Questions about the pet portrait keychain
How long does it take?
An evening, and most of that is drying time: the sealer behind the print, the resin setting time, or the second coat over a finished shrink piece. The tracing and the cutting are the short part. Start the sealer first and do the drawing while it sets.
Can a kid do it?
The tracing and the coloring, yes. The cutting, the oven and the resin belong to an adult, and the cutters have to be sharp so the plastic does not tear. Set the child up at one end of the table with the pencils and keep the hot and sharp steps at the other.
Printer or hand-painted?
Hand-painted wins on charm and loses on likeness. A printed photo wins on likeness and needs the resin method, because printer ink and shrink plastic do not get along. If the gift is for someone who knew the pet, the hand-painted version is usually the one that gets kept.
Will it survive a keychain?
The edge and the hole fail first, so round the outline, seal the cut edge and use a ring that clears the hole. A raw shrink piece with a sharp corner chips sooner; the same piece with a coat over it keeps its shape in a pocket.
Can I use a phone photo?
Yes, when the light was in front of the pet and the background was plain. A phone photo taken in a bright room crops down to a small oval perfectly well. The ones that fail are flash-on-the-wall shots and anything taken from above the head.
Save these on Pinterest
Pin the method you want to try before you buy supplies, so the plastic and the resin do not both end up in the basket. The Pet Art collection holds every portrait and print guide on the site, and the portrait-from-a-photo route is where to start if the photo still needs work before it becomes a keychain.