 PawStyle Daily
Pet Art & Wall Prints
DIY Pet Portrait From a Photo — Trace, Paint or Collage It Tonight
One printed photo of your pet, an evening and a kitchen table. The three methods below all start from the same silhouette and end in something you would hang — and none of them asks you to draw anything freehand.
By PawStyle Daily · Updated 18 November 2026
Good to know: no drawing lessons · one photo, three treatments · frames a 5x7 or 8x10 · print at 100% scale.
Pick the photo that survives tracing
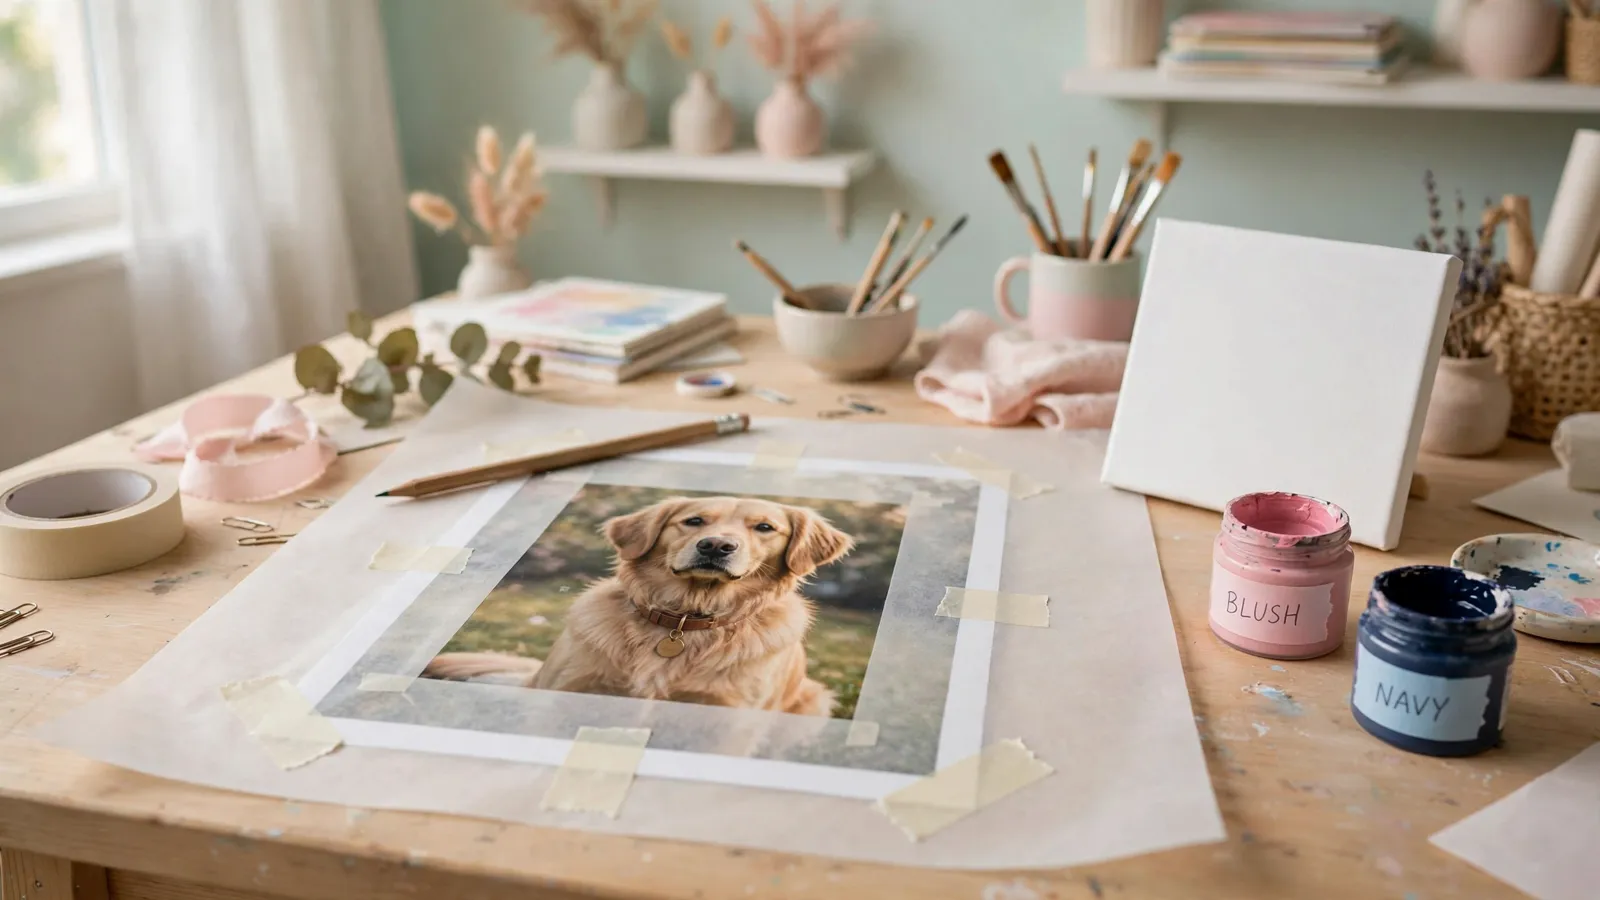
Before any method, the photo has to hold up to being copied, and that is mostly a matter of how it was taken.
- Daylight, not lamp light. Window light across the face keeps the fur edges readable in every method. A photo taken in warm evening light flattens the silhouette the moment you simplify it to two colors.
- Eye level, not above. Crouch or lie down to match the pet's height. A photo taken from standing distorts the proportions in exactly the way you will spend an hour trying to correct.
- Whole animal in frame. A cropped tail ends up cropped on the wall too, and it looks like a decision nobody meant to make.
- Print once at 100%. Fit-to-page shrinks the margins without your permission and every measurement after that is wrong. Check the print, then trace from the print, not from a phone screen.
Method 1 — Trace and ink
The most forgiving method and the one that gives a clean graphic result. You copy a silhouette with tracing paper, then make it deliberate with ink.
Materials
- Your printed photo, trimmed to 5x7 or 8x10
- Tracing paper or baking paper, cut to the same size
- A pencil and a fine-tipped black ink pen
- Tape
Steps
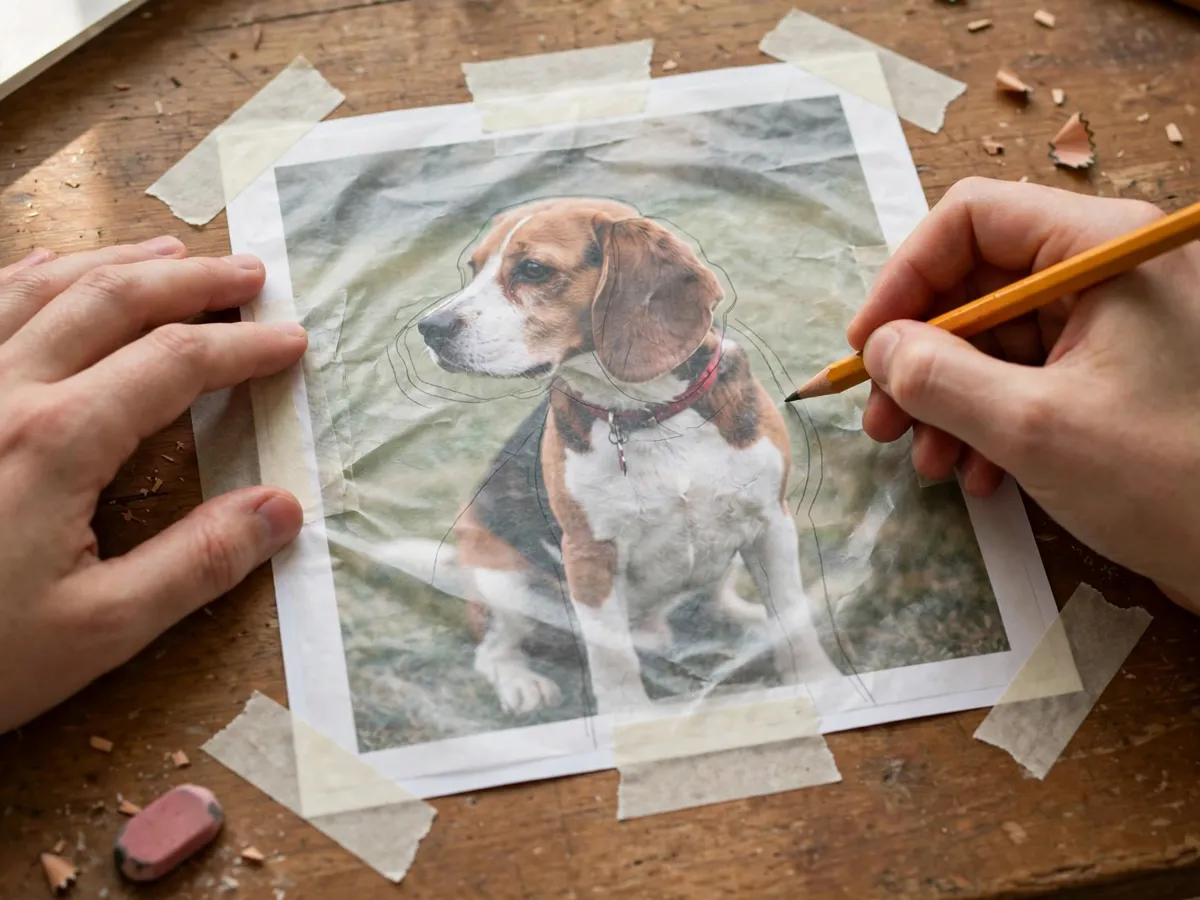
- Tape the tracing paper over the printed photo and trace the outer silhouette with the pencil — just the outline, one continuous line, ears and tail included.
- Flip the tracing paper and go over the line on the back with the pencil, pressing a little harder, so the back of the sheet now carries a soft carbon copy of the outline.
- Lay the paper pencil-side down onto a clean sheet of card stock or plain white paper and rub over the front — the silhouette transfers in faint grey.
- Go over the transferred outline once with the ink pen, slowly, accepting the wobble. A single weight of line, drawn in one pass, looks more confident than a corrected one.
- Stop. One unbroken contour line of your pet, signed and dated in pencil on the back, is the finished piece.
If one ear comes out wrong, redraw the whole sheet rather than patching the line — a portrait with one confident mistake reads better than one with five careful repairs.
Method 2 — Paint by shape
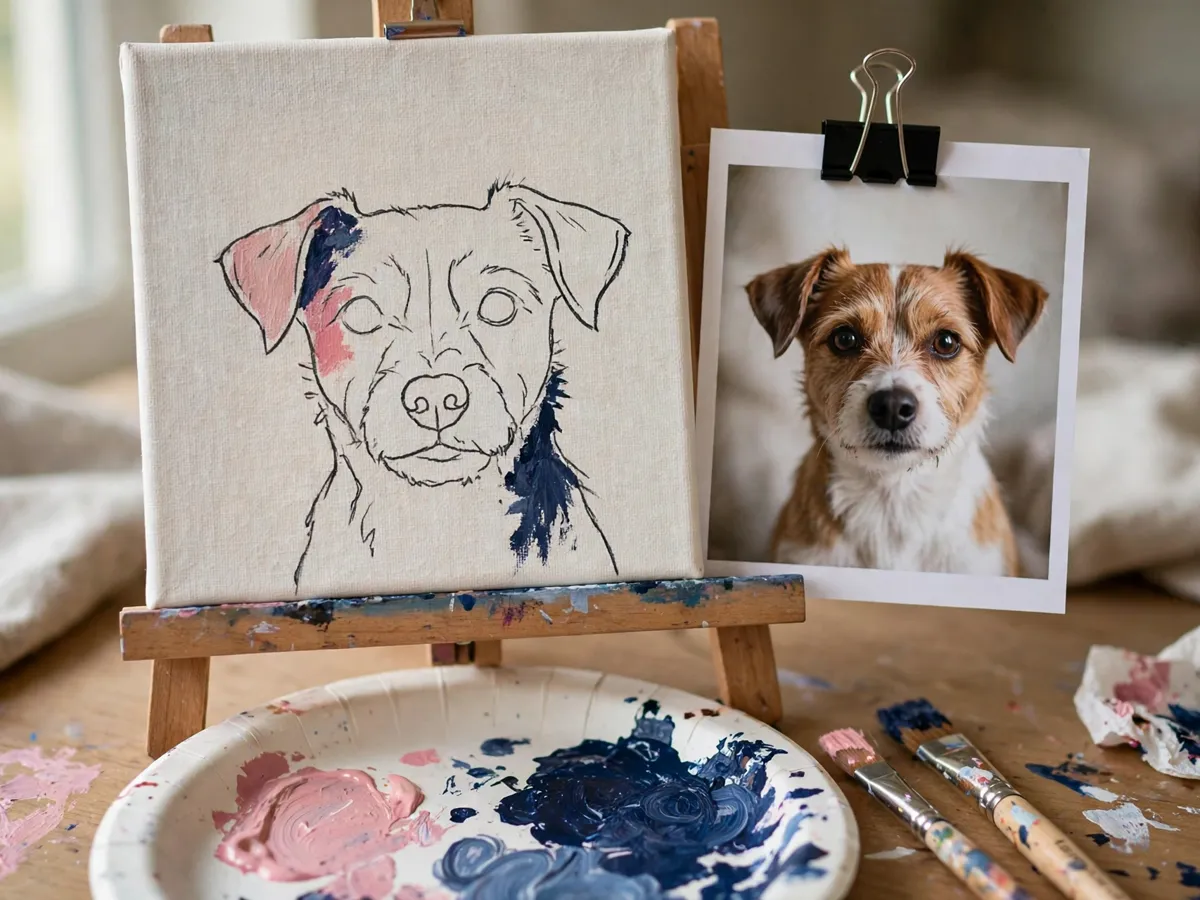
The same silhouette, but filled with flat color in two or three blocks. No blending, no brush control, no watercolor anxiety: each shape is one color, one coat, done.
Materials
- The 5x7 or 8x10 tracing from Method 1
- Thick paper or card stock that suits the frame
- Paint in 2-3 flat colors — blush, deep navy and natural cream is the set that flatters fur and rooms alike
- A food tin or a cup to draw circles with, plus the ink pen
Steps
- Transfer the silhouette onto the card stock as in Method 1.
- Divide the body into two or three big shapes — head, chest, haunch — and assign each shape one color. No shape smaller than your thumb; the point is blocks, not detail.
- Fill each shape flat, edge to edge, in one coat. Do not go back over a dry area; a second coat is how flat paint turns streaky.
- Leave the background plain paper. A painted pet on bare paper reads as a deliberate style; a painted pet on a painted background reads as an art lesson.
- Sign it small in pencil and let it dry flat before framing.
Two colors if you want calm, three if you want playful — blush against deep navy is the version that photographs best, and cream stays the quietest choice for a pale wall.
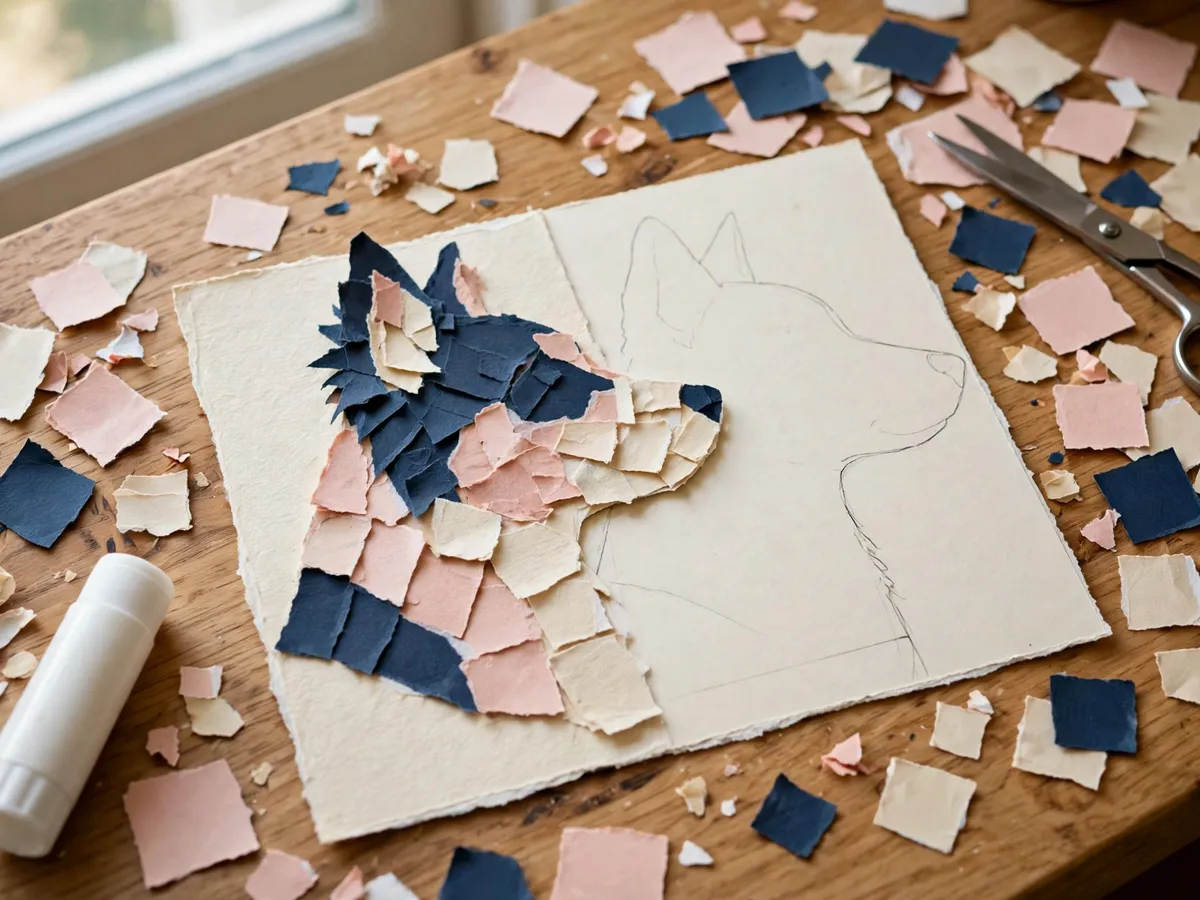
Method 3 — Torn-paper collage
The no-skill-expectations method. Paper is torn, not cut, and the rough white edges are the whole look.
Materials
- Colored paper — magazine pages, wrapping paper, old gift bags, construction paper, whatever the drawer offers
- A glue stick or white glue
- The 5x7 or 8x10 silhouette from Method 1 as the template
- Card stock or the backing of a picture frame
Steps
- Tear the paper into rough pieces about the size of a postage stamp. Tear toward yourself, never cut — the torn white edge is the look.
- Lay the silhouette template on the card stock and start filling the body shape from the bottom up, overlapping the pieces slightly so no bare card shows through.
- Pick the colors before positioning any of them: darks toward the silhouette edges, lights in the middle, and one accent color used no more than three times across the whole animal.
- Work outward to the outline and stop just past it — a couple of torn edges escaping the silhouette is the charm, not an error.
- Give the whole piece one thin coat of glue over the top if you want it sealed, then let it dry flat overnight before it goes anywhere near a frame.
A collage done in twenty minutes with a glue stick will beat a careful one finished in an afternoon, and the dog will not care either way — but the wall will.
Frame and hang
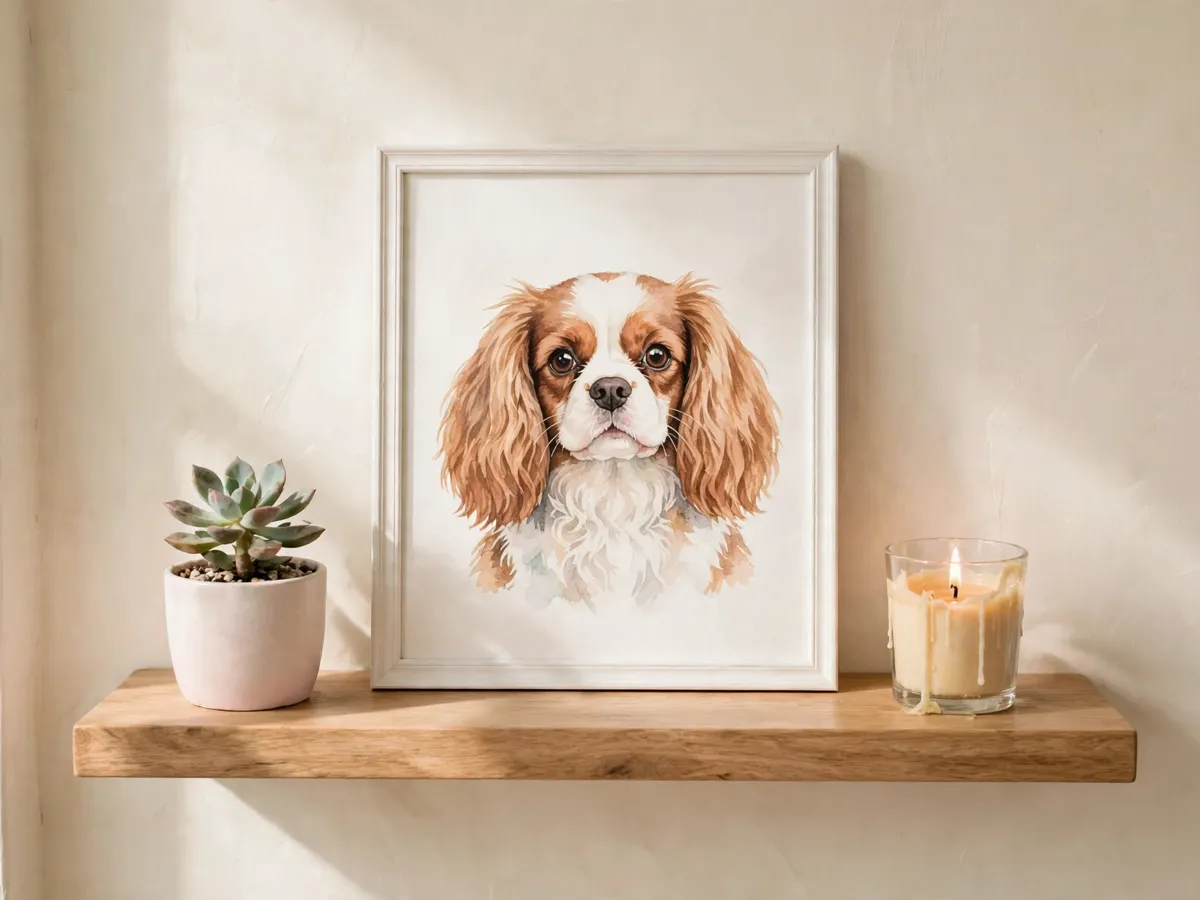
The finish matters as much as the drawing, and both of these are craft measurements rather than guesswork.
- Sizes. 5x7 for a desk frame or a shelf easel, 8x10 for the wall. Both take a standard ready-made frame with no custom cutting.
- Mat. A mat that opens about one inch wider than the print gives the portrait air and hides a slightly crooked trim. Pale mats flatter blush and cream; black mats suit the ink version.
- Print settings. 100% scale, never fit-to-page, on matte paper. Print one test sheet first.
- Height. Hang at eye level when standing — about 57 to 60 inches from the floor to the center of the piece, and the same rule applies to a solo portrait and to a pair.
- Light. Keep the finished portrait out of direct sun and away from a lamp that shines straight onto the glass; both wash out a flat painted surface faster than you notice.
Paper templates taped to the wall first still save nail holes, and a level drawn once across all the templates keeps a matched pair straight.
When the first one looks wrong
Proportion, not talent, is the usual culprit, and all three fixes are quick.
- The head is too big. You traced the photo from slightly above rather than at eye level. Re-trace from a crouch, or fold the bottom of the tracing up a little before you ink it.
- The legs are too short. Common with photos of a pet lying down — the foreshortening is honest, it just looks odd on a wall. Either accept it as the style or pick a photo where the pet is standing.
- The whole thing looks flat. That is Method 2 working correctly, not failing. Add the highlight back with one small torn piece of pale paper over the brightest spot, and the portrait returns.
- It still looks wrong. Put it in a frame and step back ten feet. Nearly every portrait salvages at that distance.
The commission path exists for exactly this moment — the custom pet portrait guide covers a version made from the same photo without the drawing.
Frame it tonight
Tracing paper, pens and paint supplies
Tracing paper, fine ink pens, flat-color paint sets and ready-made 5x7 or 8x10 frames — everything the three methods ask for, in one list.
See the portrait supplies →As an Amazon Associate we earn from qualifying purchases.
Save these on Pinterest
Pin the method you plan to try. The Pet Art collection holds every portrait and print guide on the site, and the watercolor print guide is the quiet companion piece for a small wall.